Sanity Savers: Make Your Own Piggy Bank

Sponsored by: Wegmans

Written by: Will Kawalec
Lead Play to Learn Facilitator  

Materials:

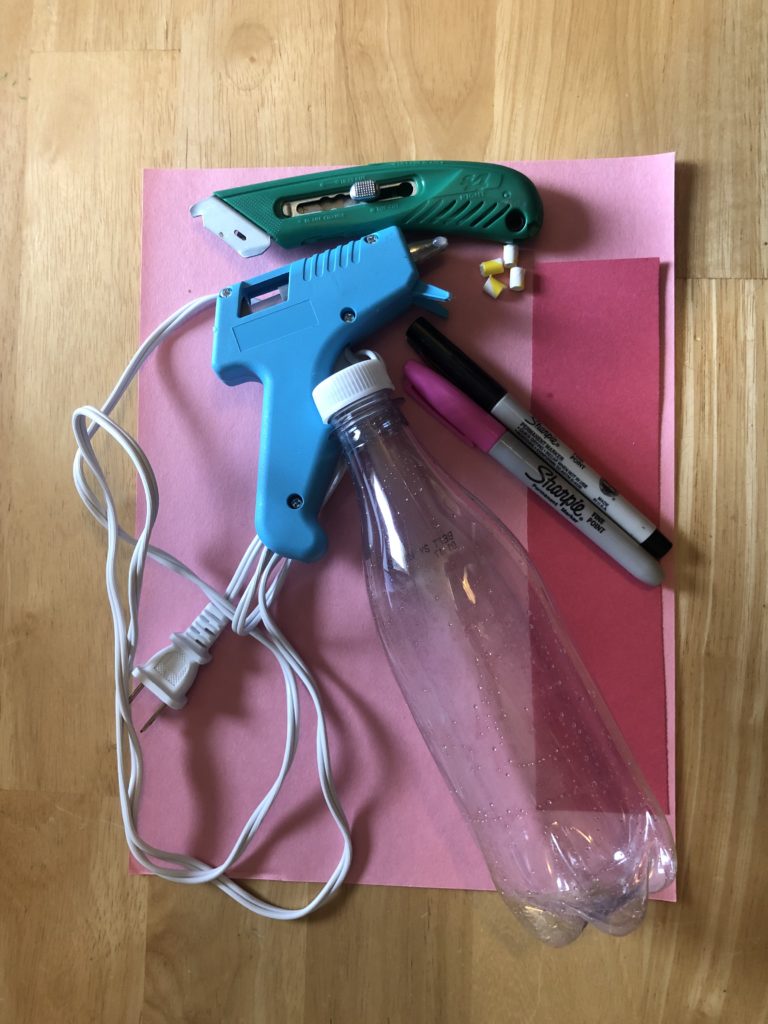
Empty Plastic Bottle, label removed, cleaned and dry
Scissors
Box cutter
Construction paper
Tape
Hot glue or regular glue
4 beads or wooden block. 
Sanity Savers: Make Your Own Piggy Bank

Length:

Set up: 2 Minutes
Activity 5-15 Minutes  

Academic Subject(s): Engineering, Math, Art 
This lesson supports areas of Elementary Education and elements of Pre-K.

Today is National Farm Animals Day! While we are all really missing our Farm to Fork play zone right now, I have put together this project to help remind you of some of the fun lessons we teach through play in Farm to Fork and our Art Studio right next door! 

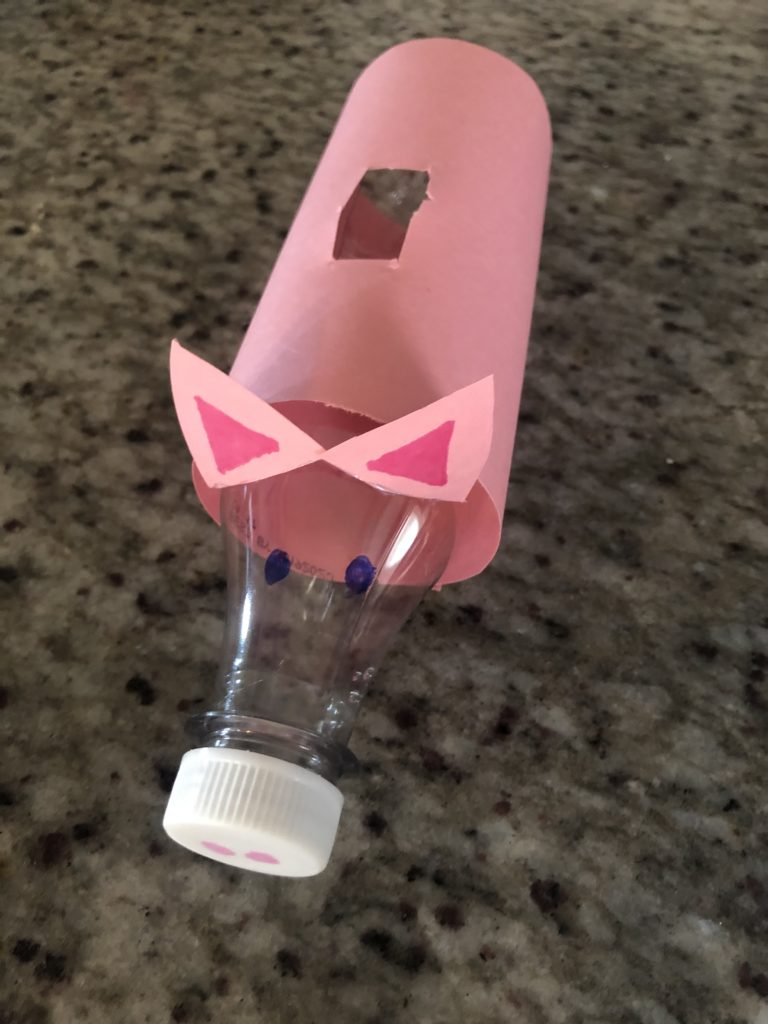
In this project, children will create a piggy bank they can use for keeping coins and money.  This bank will be creatively decorated and be able to hold actual money.  Aside from the actual construction of the piggy bank, children can learn how to count money and place it in their newly created bank all while celebrating one of our favorite farm animals – the pig!  
Sanity Savers: Make Your Own Piggy Bank

Directions:

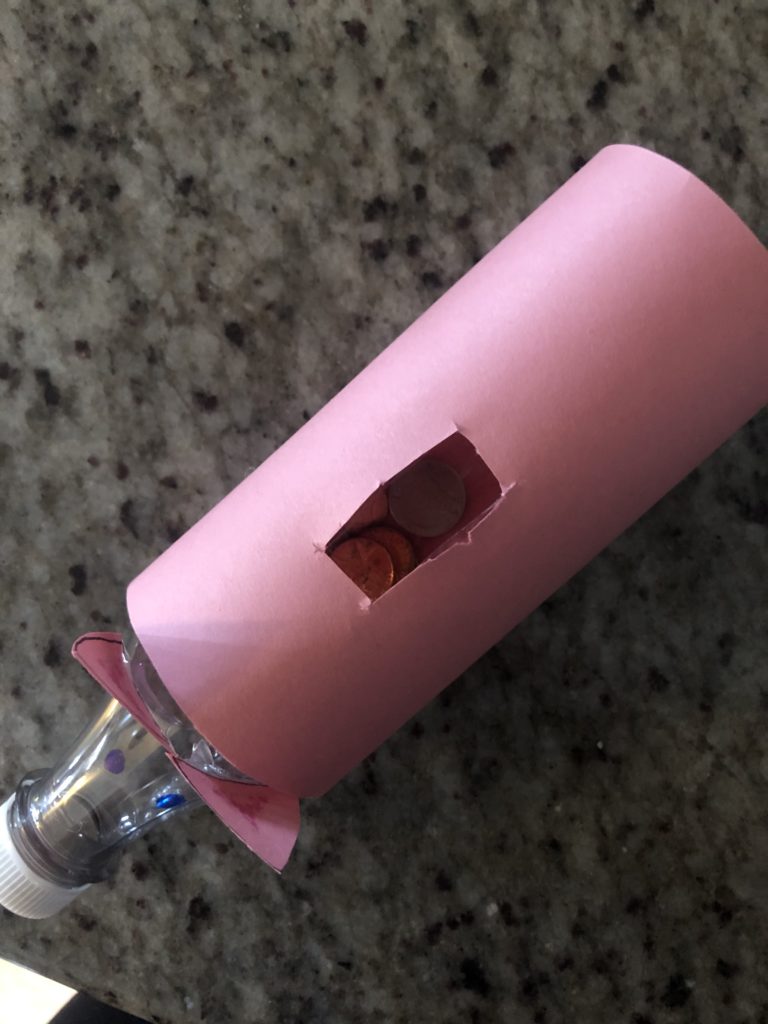
Step 1: This first step is really for our grown ups. Using the box cutter, cut a slice in the center of the bottle, large enough for coins and folded paper money to fit inside. If the edges are sharp, you can choose to sand down the sides before giving the bottle back to your child for the creative part!
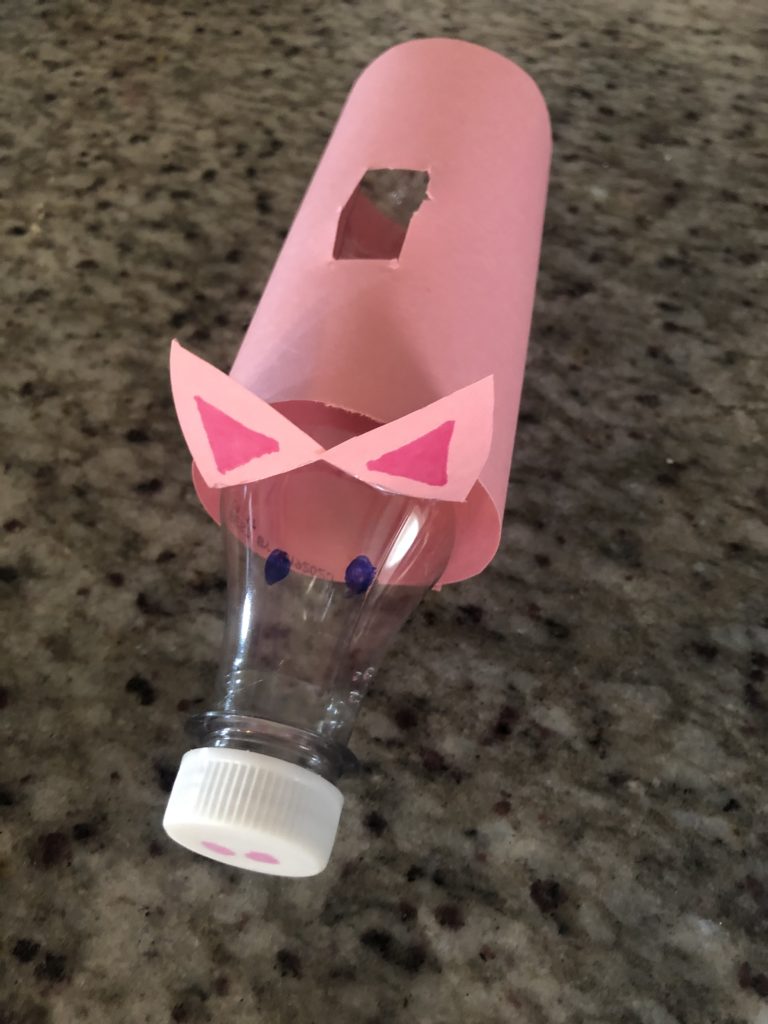
Step 2: Measure the amount of construction paper you will need to wrap your bottle, this is the body of your pig. I chose to use pink but you can use any color! Once you have measured the proper amount, cut your construction paper to fit and fasten it to your bottle using glue or tape.  I secured mine with the seam on the bottom. Because I chose to do it this way I also needed to recut the money slot cut in Step 1.  

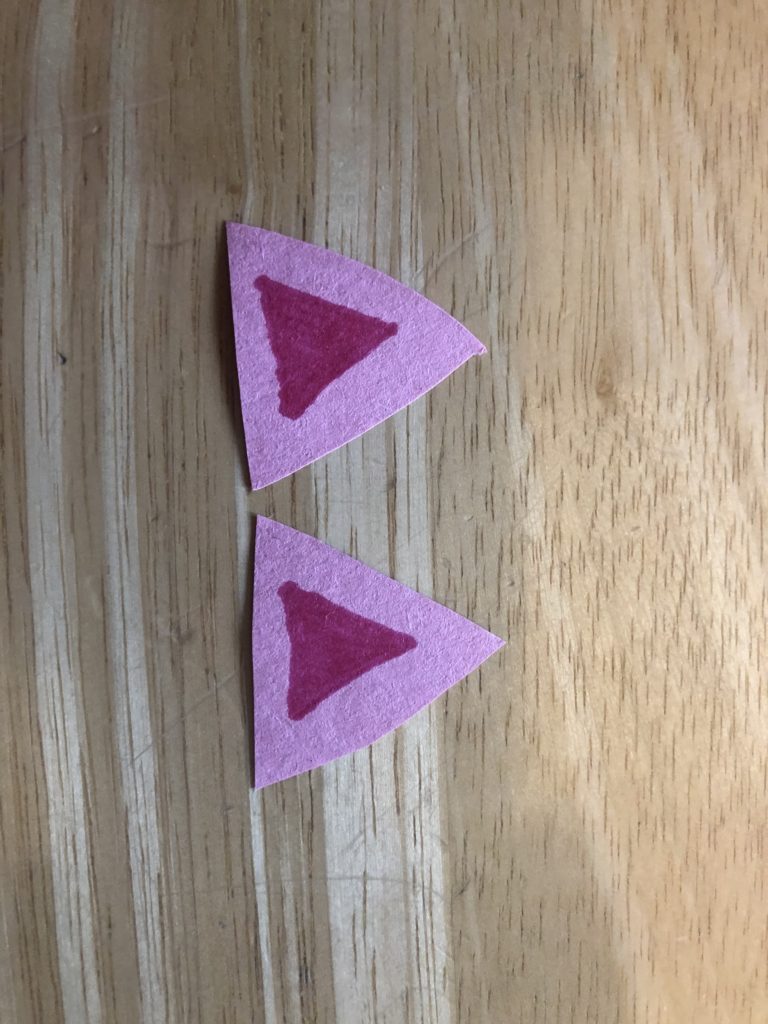
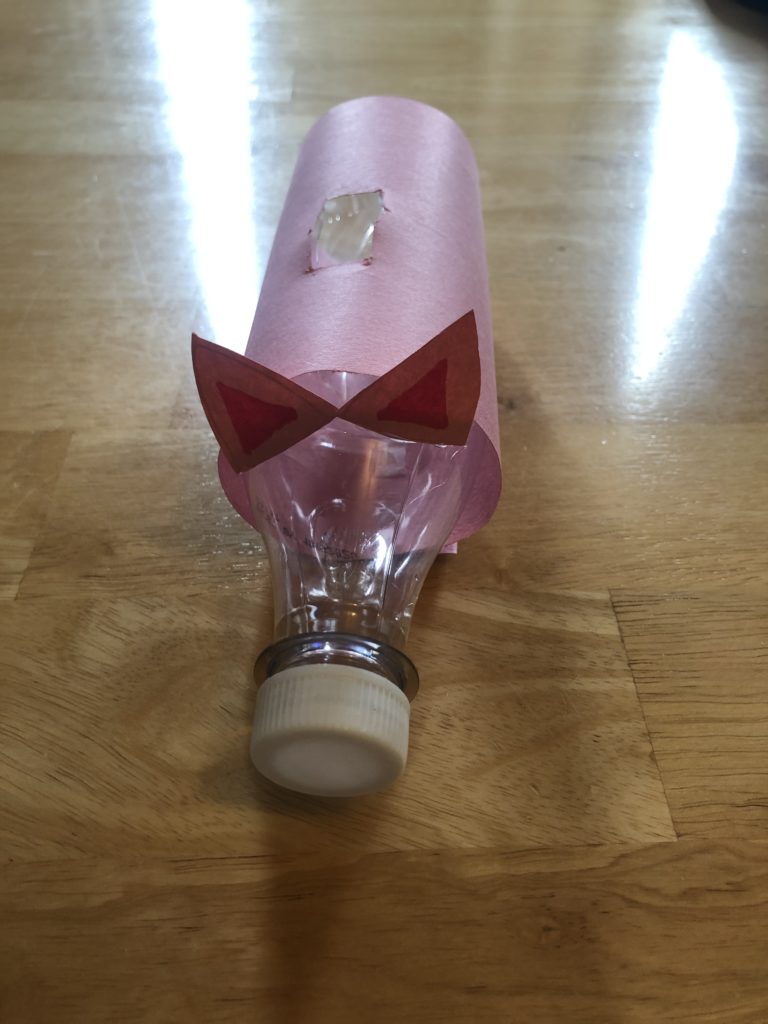
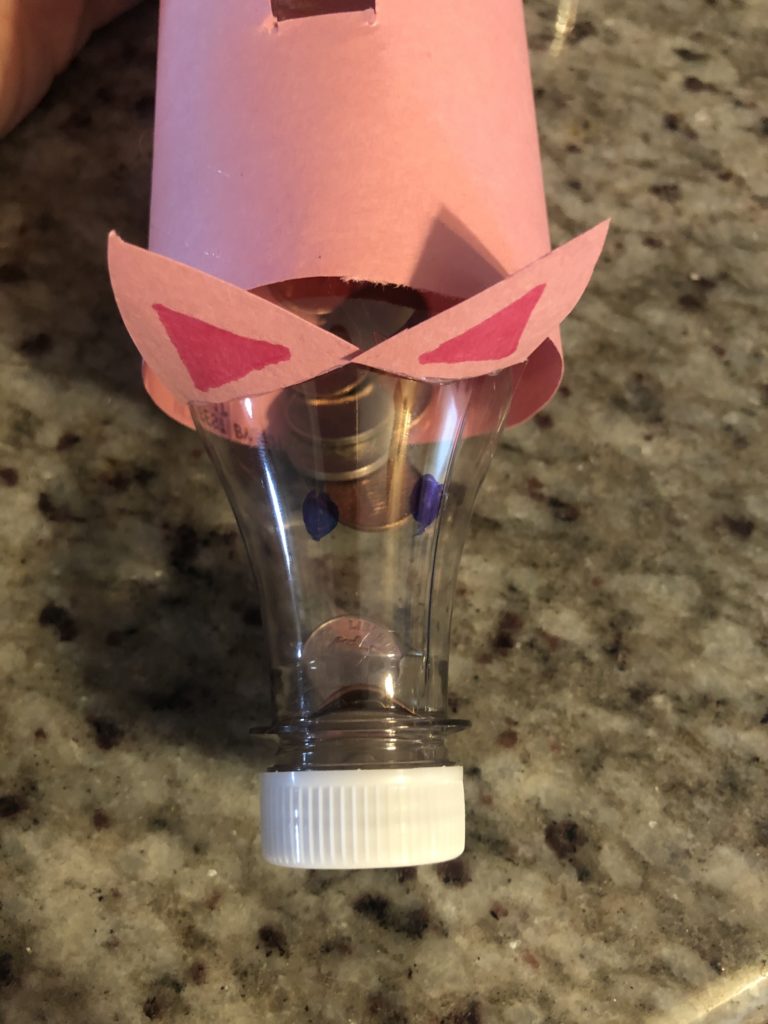
Step 3: Create the ears of your pig by cutting out triangle ear shapes on construction paper. Use the glue to attach these to base of the neck of the bottle. Make sure the ears are glued on the same side of the bottle as the slot created in Step 1.
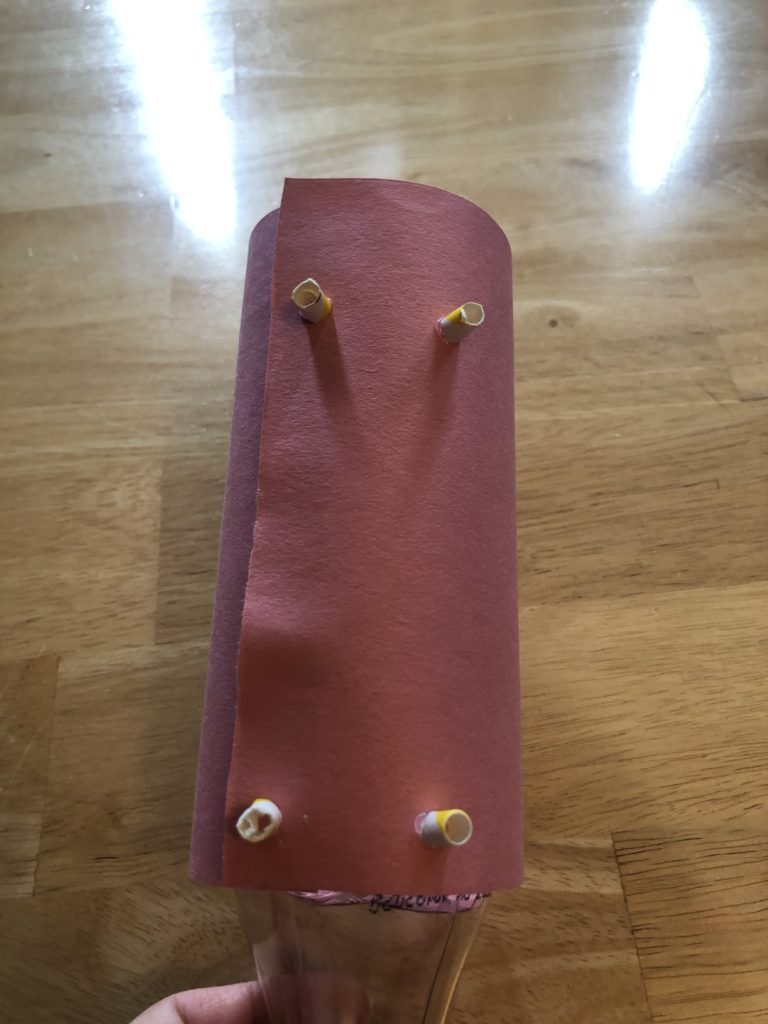
Step 4: Glue the beads or small wooden blocks to the base of your bottle. These should be glued to the opposite side of the slat your grownup created so that slot remains on top. Space the beads or wooden blocks out evenly, these are your pig feet!
Step 5: Use a permanent marker to decorate your pig! Don’t forget to add eyes on the top of the just after the ears and a nose on the bottle cap.
Step 6: Once all the parts of your pig are dry you are ready to start saving money!      

For more Sanity Savers projects click here!

Sanity Savers: Salt Dough Unicorns and Easter Eggs

Sponsored by: M&T Bank

Written by: Amelia Schrader
Senior Manager of Learning and Education  

Sanity Savers: Salt Dough Unicorns and Easter Eggs

Materials:

Salt Dough
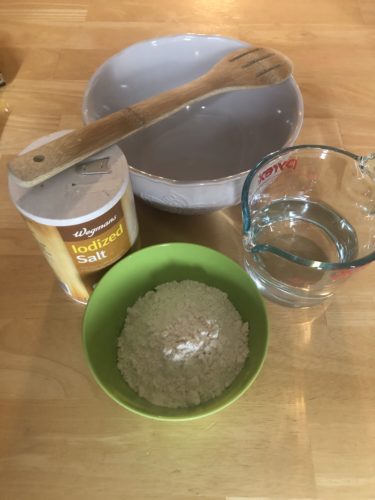
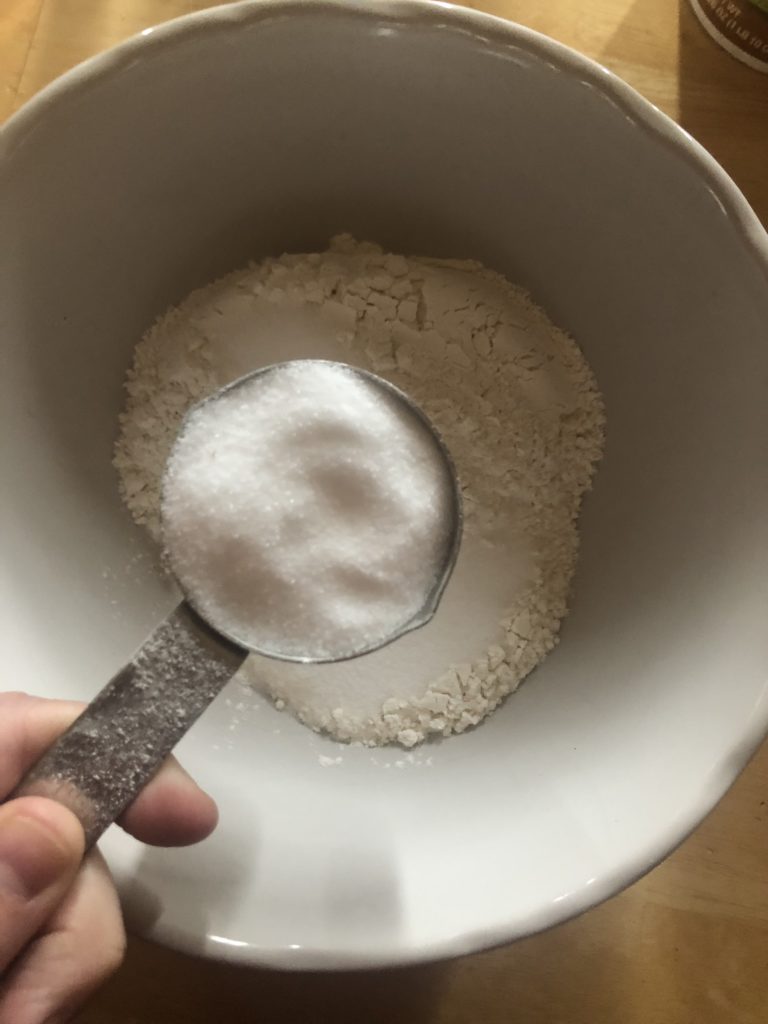
· 1 cup flour
· ½ cup salt
· ½ cup cold water
· Large mixing bowl

Sanity Savers: Salt Dough Unicorns and Easter Eggs

Unicorn
Cookie Cutter (or make your own)
Rolling Pin
Oven
Baking sheet
Colored markers or paint
Yarn
Drinking straw  

Sanity Savers: Salt Dough Unicorns and Easter Eggs

Length:

Set up: 10 minutes
Bake Time: 2 – 2.5 hours
Decoration time: 10 minutes+ 

Academic Subject(s):

Math, Science, Art  

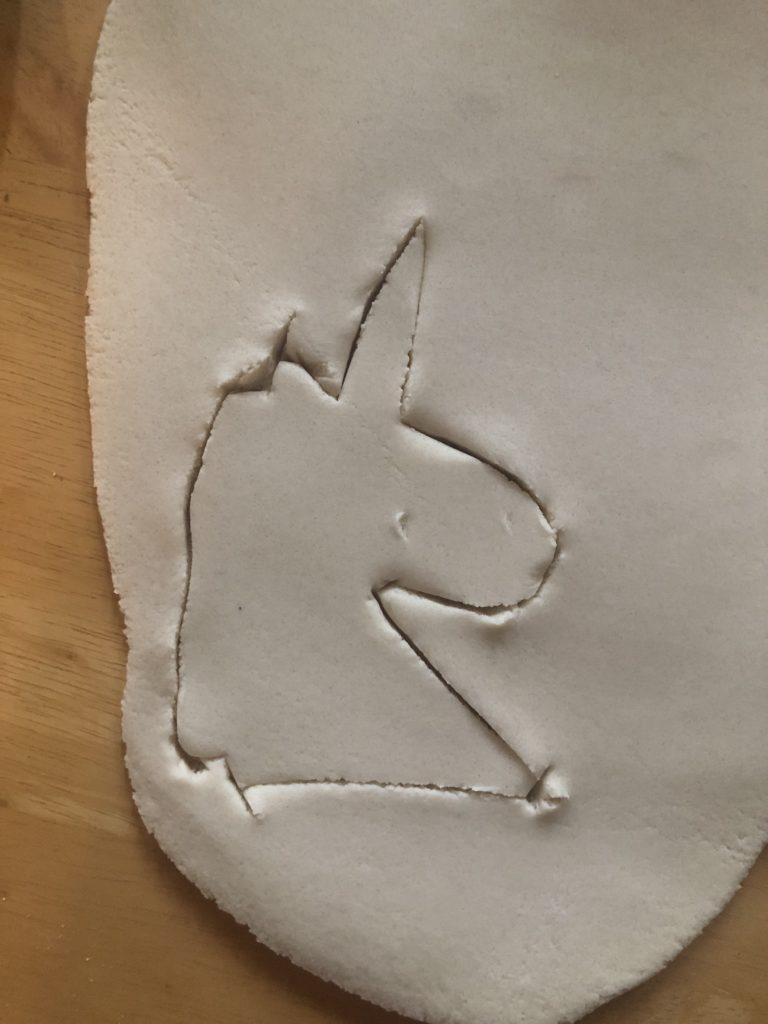
Today, we are decorating salt dough unicorn ornament.  It is national unicorn day and there isn’t a better way to celebrate than making your own unicorn!  

Salt dough is a simple recipe with ingredients most of us have in our homes. This recipe can be used to make countless keepsakes including foot or hand-print memories, holiday ornaments or special decorations for your room!  

Directions:

Step 1: Start by making your salt dough. You will want to measure each ingredient then mix the salt and flour together. Next, slowly add in the cold water until it is full incorporated. You will want to kneed the dough for about 5 minutes then let it rest about 10 minutes before Step 2.   
Step 2: While your dough is resting, pre-heat your oven to 250 degrees.  You can get your cookie cutters ready.

Sanity Savers: Salt Dough Unicorns and Easter Eggs


Now not everyone has cookie cutters so here are some ideas to create your own:
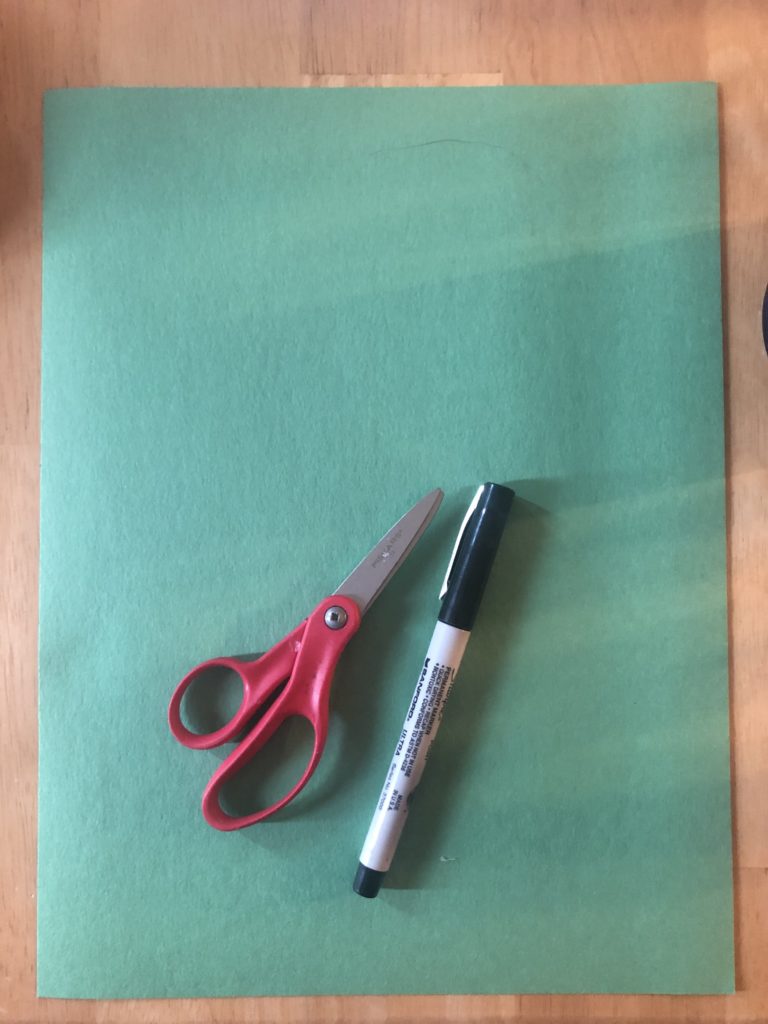
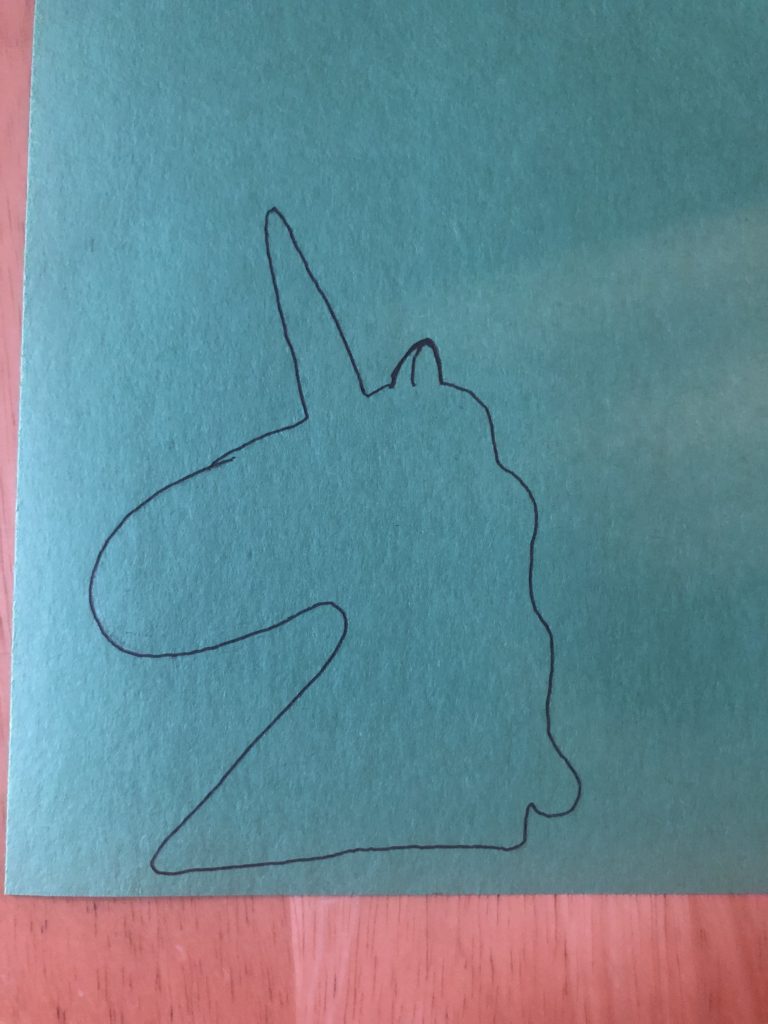
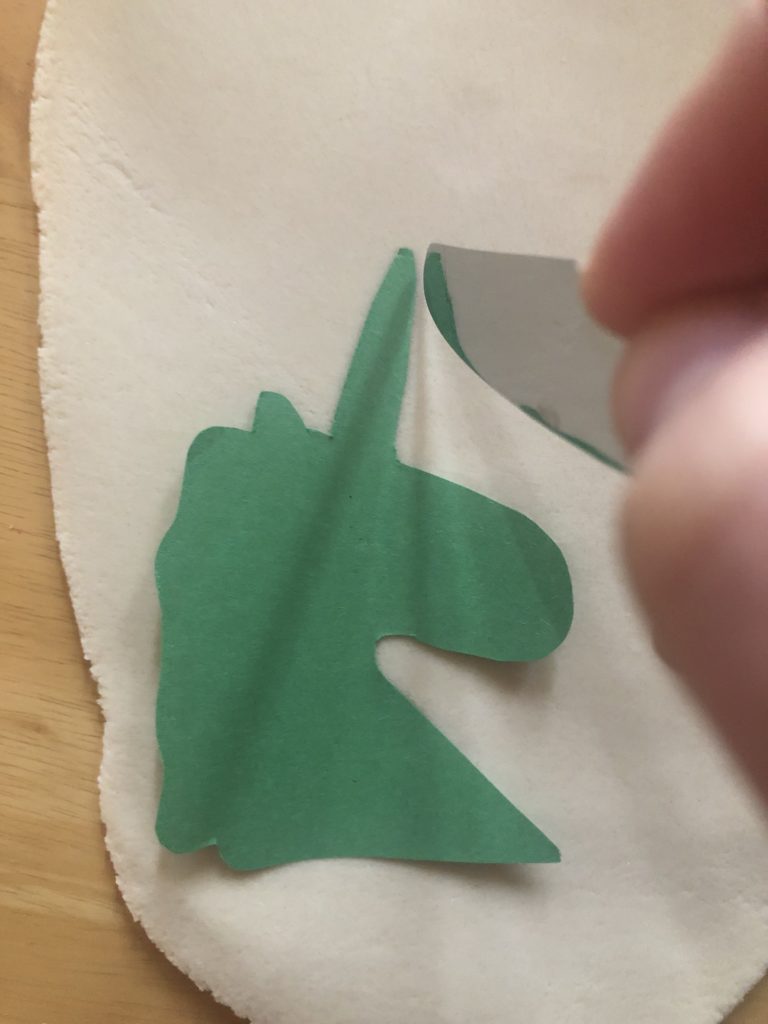
1.    Cut out an outline of your desired design on a think piece of paper. You can then place this piece of paper on top of your rolled out salt dough and cut around the outline using a knife – even a playdough knife will work! I used this method for my cookie cutters as I am also out of aluminum foil!
2.    Take a strip of aluminum foil and roll it into a thin strip. Then bend the strip into your desired shape, securing the ends together with tape.  


Step 3: Once your dough has rested, roll out your dough on a lightly floured surface. The dough should be about ¼- ½ inch thick. You can now use your cookie cutters to cut out the shapes of your ornaments!  
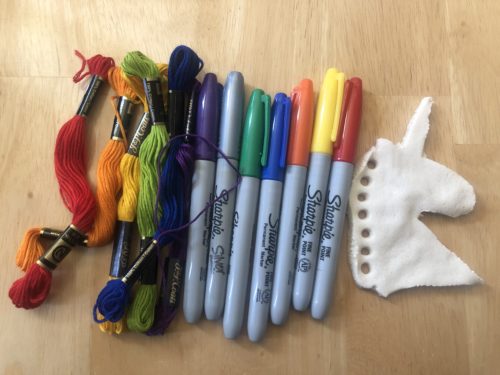
Step 4: Use the straw to put a small hole in the top of the ornament. This is where you will tie a string to hang your ornament later. If you do not want to hang your ornament you can skip this step – but remember you cannot go back and add the hole after the dough is dried out.   For the unicorn ornament, I also put in several holes along the mane of the unicorn. This will be used later for decoration!  
Step 5: Once your oven is preheated you are ready to bake! Place your cut out shapes onto a baking sheet. Place in over for about 2 hours. Actual drying time will depend on the thickness of your dough. You can also skip this step and allow the dough to air dry but this can take several days.  
Step 6: Remove the salt dough shapes from the oven once dried and allow to cool completely.

Now it is time to decorate!   For my unicorn, I used different colored pieces of string and tied them in the holes made in the mane in Step 4. I also used markers to decorate the eyes and horn of the unicorn! Let your imagination run wild!  

You can follow these same steps to make any type of salt dough decoration! Easter is coming up this weekend and instead of a unicorn ornament you could make several Easter Egg ornaments. These could be a great alternative for those of you who did not get a chance to buy the plastic eggs for an egg hunt!  Share your final creations on the Explore & More Facebook page!!      

For more Sanity Savers projects click here!

Sanity Savers: Shaving Cream Easter Eggs

Presented by: M&T Bank

By: Amelia Schrader
Senior Manager of Learning and Education

Materials:

Hard boiled Egg: Eggs (however many you want to make)
Large pot
Water
Timer
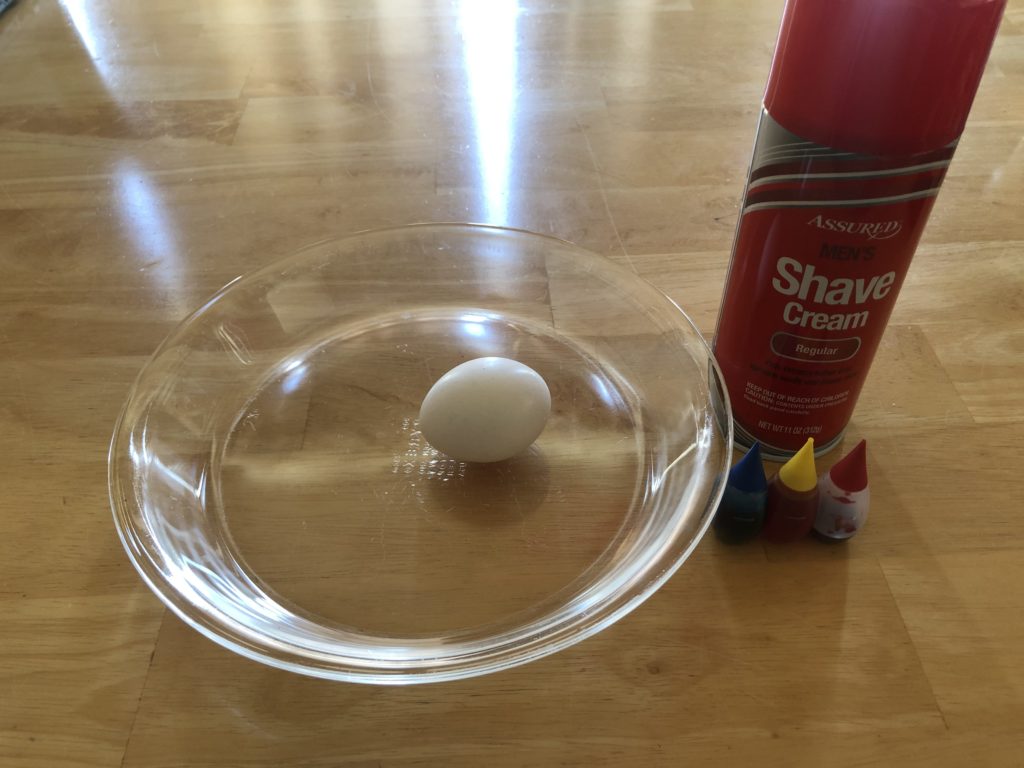
Shaving Cream
Food Coloring
Shallow Dish (a baking tray or pie plate work nicely) 
Paper
Egg: Construction or printer paper (any color but white is most vibrant) Shaving CreamFood Coloring ScissorsShallow Dish (a baking tray or pie plate work nicely)  

Sanity Savers: Shaving Cream Easter Eggs

Length:

Set up: 5 Minutes
Inactive Time: 10-30 minutes
Activity: 5 minutes   
Academic Subject(s):Science, Art   
This lesson supports the following NYS Curriculum Standards:
ARTS.VA:Cr1
SCI: P-PS1-1 

Dying Easter Eggs is a favorite tradition for many across Western New York and the globe. This lesson will teach you and your family a new technique to try out this year! The great thing about this technique is it can be used on real hardboiled or blown eggs AND on paper to have a keepsake that will last a lifetime.  

Directions: 

Hardboiled Egg
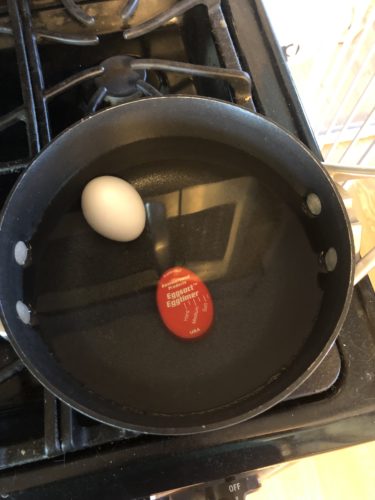
Step 1: Carefully place raw egg into a clean pot. Fill the pot with water until it is about 1 inch over the top of the egg. Bring the water to a boil then start a timer for 7 minutes. I have an egg timer that goes right into the water with the eggs. However, you can just use a normal kitchen time or your phone as well! Once the timer expires, turn off the stove and carefully remove the egg from the hot water with a spoon. Allow egg to cool. It is important that you egg is completely cool, this activity will not work correctly with a warm egg.  

Sanity Savers: Shaving Cream Easter Eggs

Paper Egg
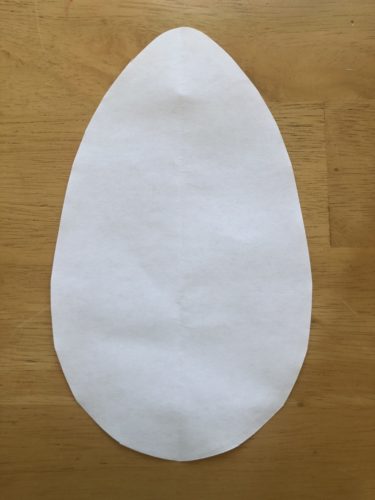
Step 1: Cut out the shape of an egg from your paper. The thinker the paper you have the better! However, plain printer paper will also work fine.

Sanity Savers: Shaving Cream Easter Eggs

 The next steps are the same for both type of egg:
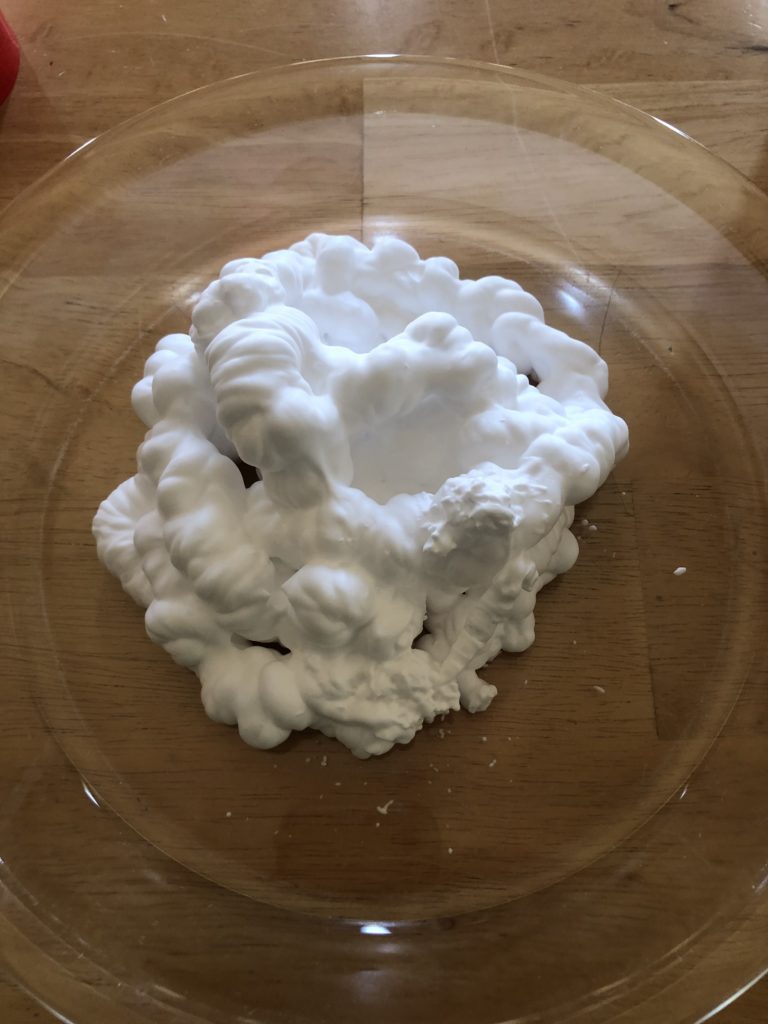
Step 2: Spray the shaving cream into the shallow dish. I used a pie plate but you can use whatever you have in your home! Flatten the shaving cream using your finger or a dull knife or craft stick. Wipe excess shaving cream on the side of the dish or wash your hands in the sink.
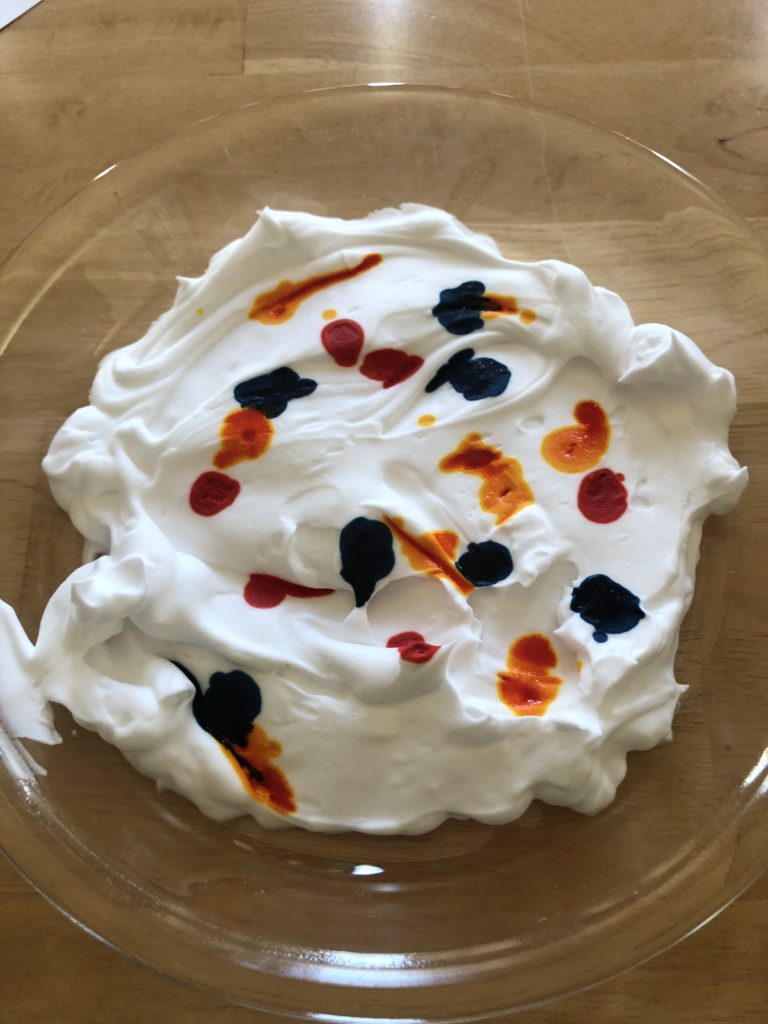
Step 3: Drop food coloring into the shaving cream. You will notice that I like to use primary colors as often as possible! I love providing different, real life examples about how these primary colors mix together to make secondary colors! However, you can use any colors you want!  

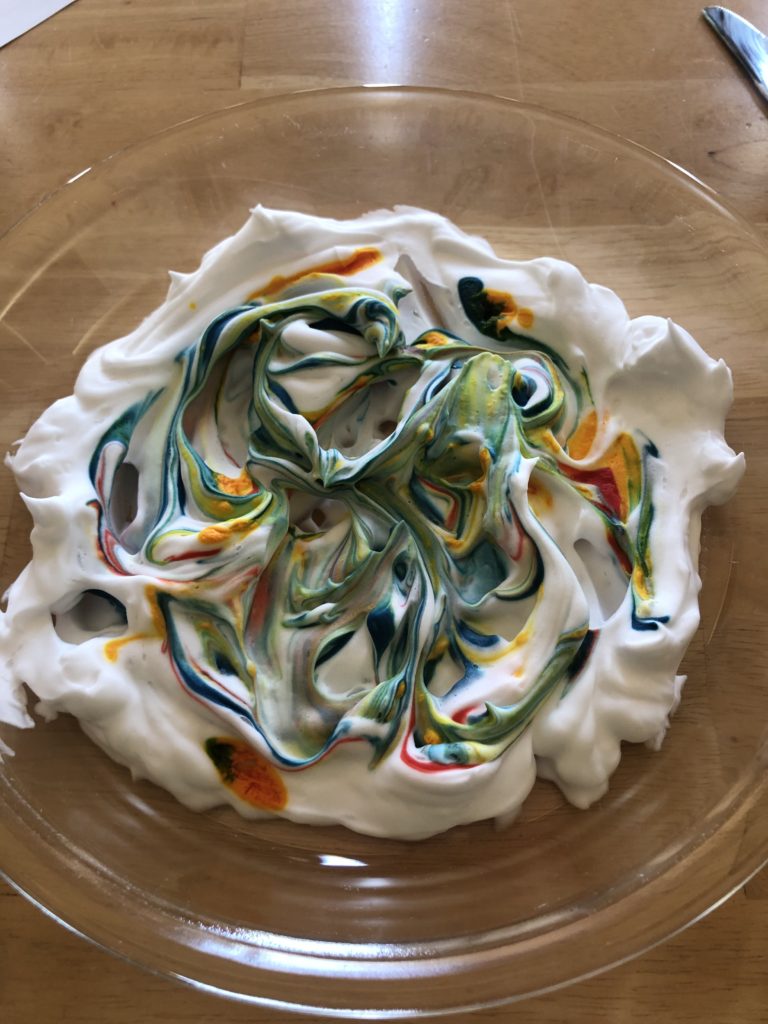
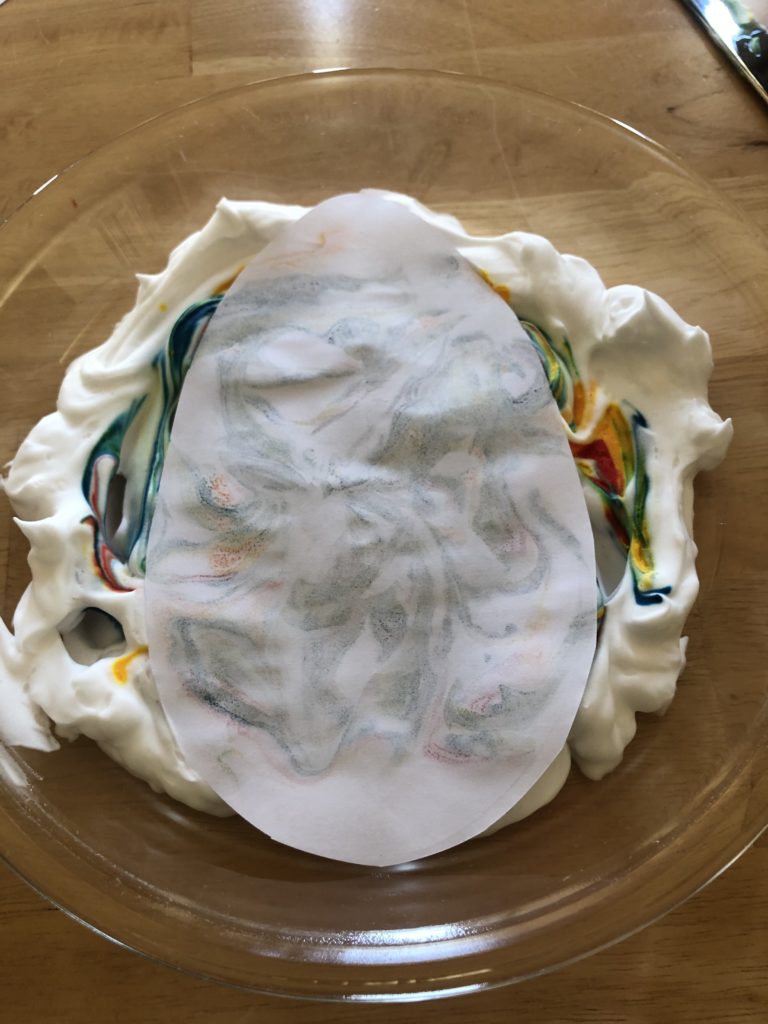
Step 4: Swirl the shaving cream to mix the colors and create a marbled effect. You can use your finger or the utensil that was used to flatten the shaving cream. Please note if you use your finger like I did, the food coloring may leave a temporary stain on your skin.  

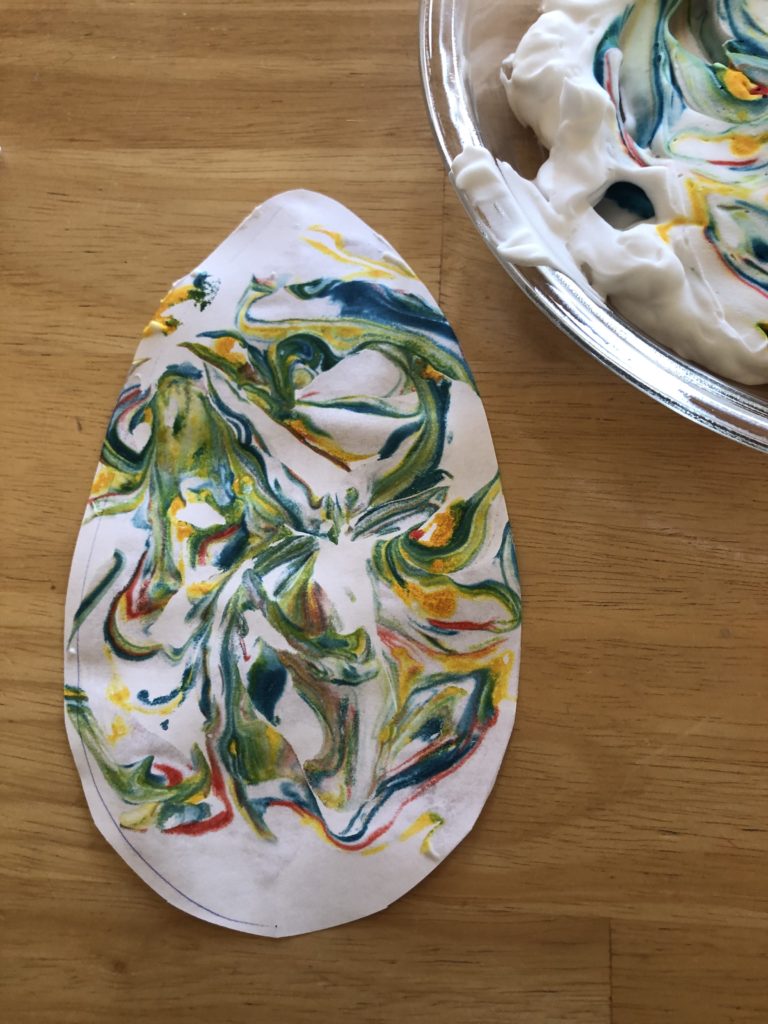
Step 5 (Paper Egg): Gently place your paper egg on top of the shaving cream. Then carefully pull the paper egg off of the shaving cream. If there is excess shaving cream on your egg wipe this off using your finger. The excess shaving cream can go back into the original shallow dish or be washed away in the sink.

 Step 5 (Hardboiled Egg): Gently place your cooled, hardboiled egg in the shaving cream. Carefully roll the egg around picking up the marbled color. Once your egg is completely covered, wipe off any excess shaving cream back into the dish or into the sink. You can also use a paper towel for this step.  
Step 6: Let both types of eggs dry. Drying time will depend on how much excess shaving cream was on the artwork.   

It’s as easy as that! This fun activity doesn’t have to relate to Easter! You can use this technique to make a lot of different types of art. You can even use this process to make cards for loved ones. The possibilities are endless when your imagination runs wild!

 Vocabulary Words

Boil: Raising the temperature of a liquid until it begins to bubble and turn into vapor 
Marbled: Having a streaked or patterned appearance.  
Primary Color: These colors cannot be created by mixing together other colors. The primary colors are red, yellow and blue. 
Secondary Color: These colors are created by mixing together two primary colors. The secondary colors are orange, green and purple. Orange is created by mixing red and yellow. Green is created by mixing blue and yellow. Purple is created by mixing blue and red.  

For more Sanity Savers projects click here!

Storytime: Eric Wood reads Little Blue Truck’s Springtime

Sponsored by: M&T Bank

Little Blue Truck’s Springtime by Jill McElmurry read by Eric Wood

The Little Blue Truck books are a favorite in our Farm to Fork play zone! So many of the animals in these stories can be found while playing in our farm! With the arrival of spring this is a perfect story to share with you today!

Our story today had lots of baby animals! Next time you go for a walk with your family, count how many baby animals you see! Do you see baby ducks? Or see any bird nests with eggs? Are there any other animals you can find from our story?

This story is great for counting practice! Can you re-watch this video and count some of the animals on each page?

Want another story? Check out our Storytime page for more stories!

Sanity Savers: Recycle Creations – Dinosaur Park

presented by national grid

Written by Dan Walsh
STEM Educator

Supplies ideas:

Any recycled materials around the house will help with this project! Shoebox, cardboard, construction paper, straw, tape, scissors, markers, rocks, fake grass, dinosaur  

Sanity Savers: Recycle Creations - Dinosaur Park

Length:

Build time: 1 hourA
cademic Subjects: Science
This lesson supports the following standards:    
ETS1.A: Defining Engineering Problems – A situation that people want to change or create can be approached as a problem to be solved through engineering. Such problems may have many acceptable solutions. (secondary to KPS2-2)  
ETS1.A: Defining Engineering Problems – Possible solutions to a problem are limited by available materials and resources (constraints). The success of a designed solution is determined by considering the desired features of a solution (criteria). Different proposals for solutions can be compared on the basis of how well each one meets the specified criteria for success or how well each takes the constraints into account.

Directions to construct a Dinosaur Park

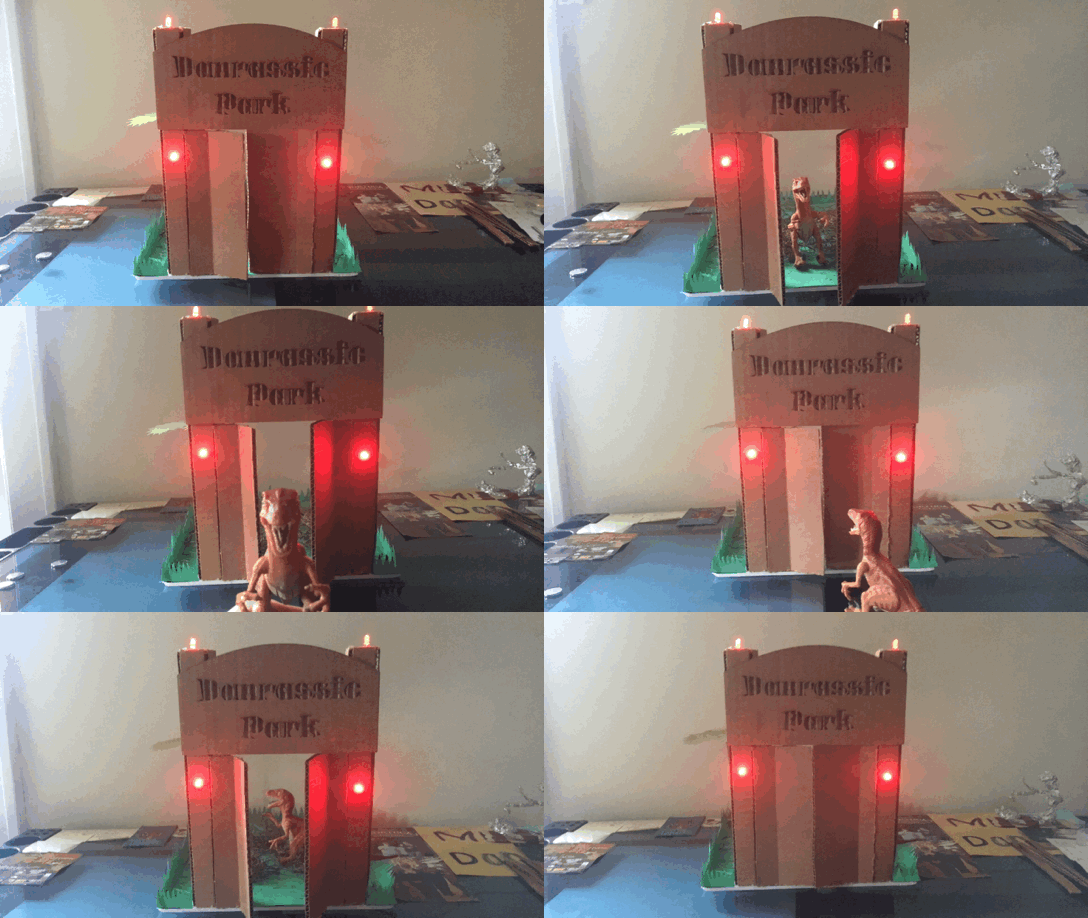
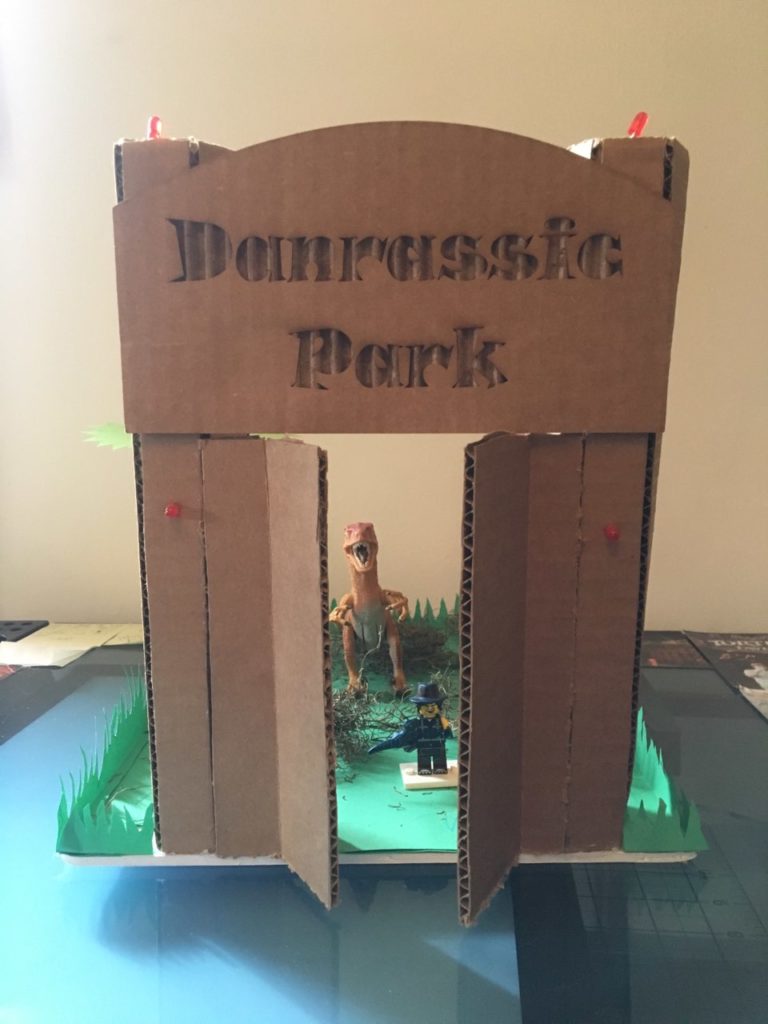
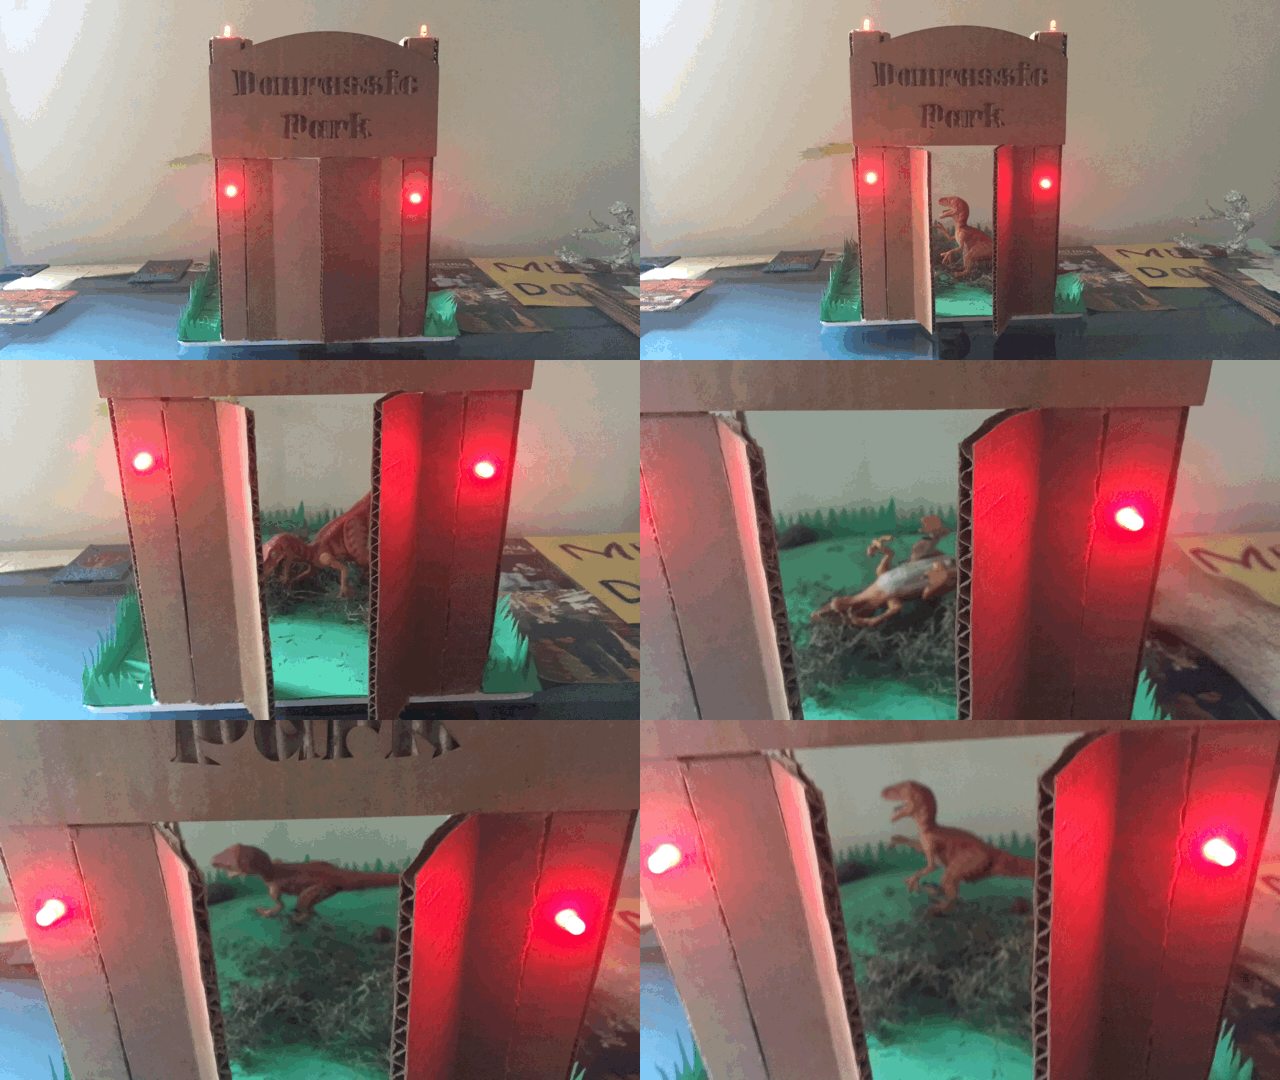
Do you love dinosaurs!? Well, this project is for you. Ralphie the raptor is looking for something fun to do. He would like to build a park just for him. Ralphie has a few requirements. First, he would like tall grass to snooze in. Second, he wants a beautiful gate to enter through. Ralphie also prefers to have some shade, so the park will need a tree or two. You can take this park idea or build your own character. Mark the Mastadon wants to have a park somewhere cold. Sarah the sea scorpion wants a park underwater! 

1.)   The first thing we need to do is get a base. A single sheet of cardboard or a shoe box will work.
2.)   Draw out on a sheet of paper where you would like everything. How big would you like your gate? Do you want a fence around your park?  Where would you like to plant trees or place rocks?  
3.)   The gate seems complicated but there are a few options to make it work. If you are using a shoebox, the back can be cut up to act as a gate into the park. OR you can find a sheet of cardboard, cut an upper case T into it. Then glue two paper towel tubes to the back. (For the lights, luckily I had them laying around, I’m a nerd. You can find inexpensive LED’s and batteries on Amazon.) 
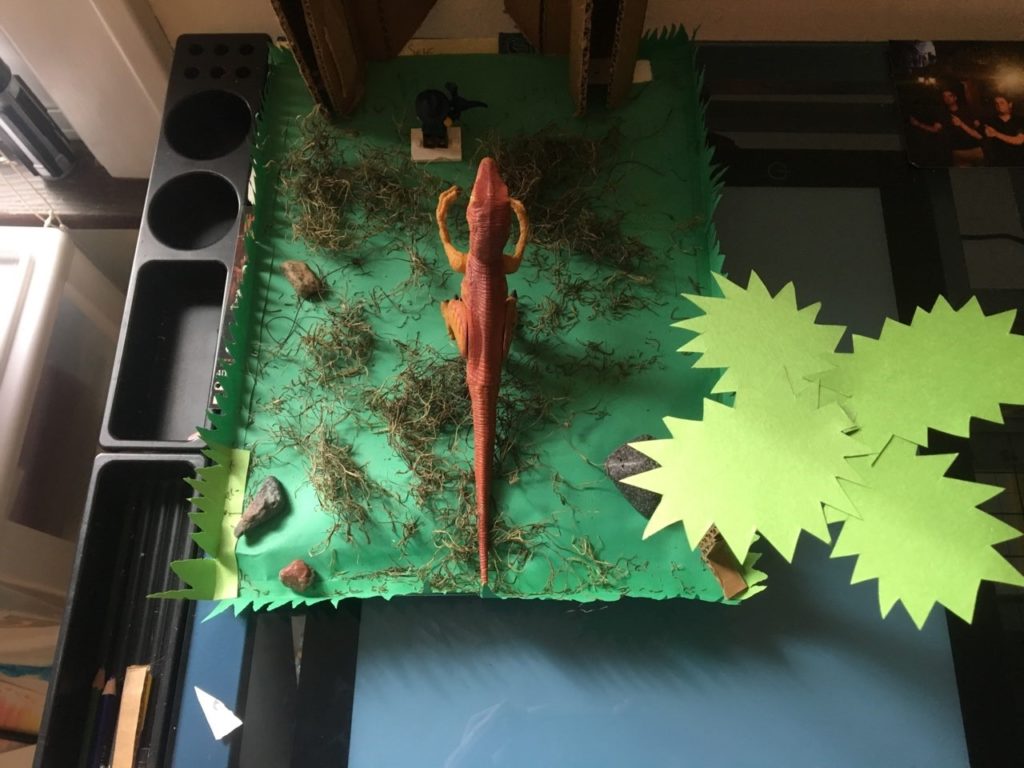
4.)   Depending on what climate your dinosaur park will be in, glue a few pieces of construction paper down onto the cardboard. Green can be grass, brown can be sand, blue can be water, white can be snow. 

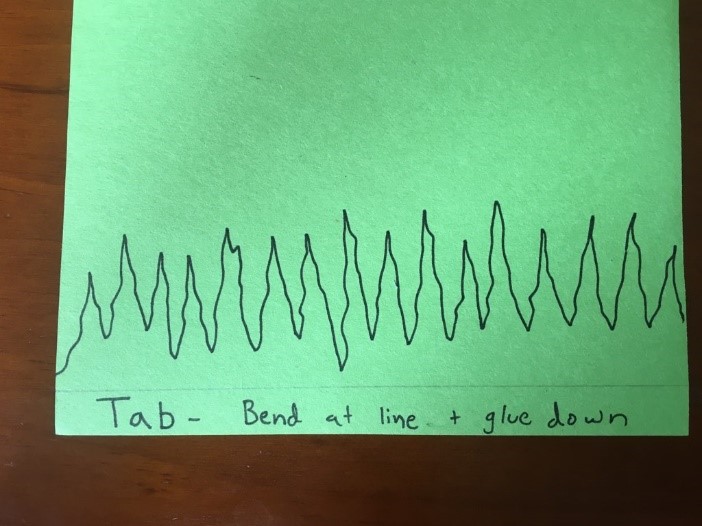
5.)   For the palm tree, draw four separate leaves. I made my leaves jagged so they would be easier to cut out. Below is a picture of the template I used. The bottom is labeled tab. I glued the tabs one on top of the other to form a palm tree. Then I glued the four leaves onto a small strip of cardboard.   
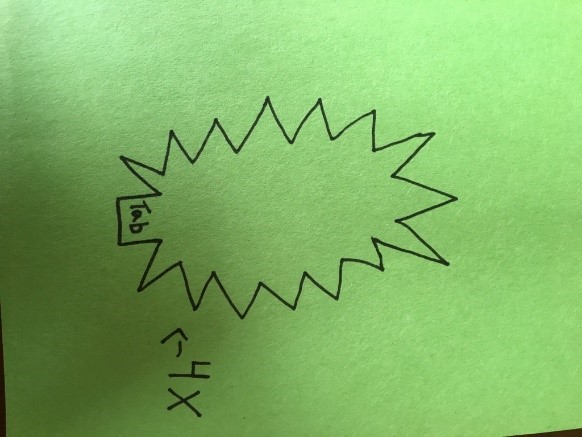
6.)   Attached is a picture of the grass template I used. You can draw and cut the grass however you would like, but make sure you give yourself about a quarter-inch tab, so that you can glue the grass down onto your park easily. Glue your grass on the edges of your park to give it a full look.  
7.)   The rest of the project is open-ended! You can place rocks anywhere in the park if you have fake grass available that will make it look a little more real! Cutting a blue piece of construction paper would make for a nice pond. 

Sanity Savers: Recycle Creations - Dinosaur Park

Fun dinosaur facts:

Did you know the state dinosaur is the eurypterus remipes, which was a sea scorpion? Most of them were smaller but the biggest one ever found was four feet long.  Velociraptors were a little shorter then what we’ve seen in movies. A full-grown adult was about six feet long and up to two feet tall!  

For more Sanity Savers projects click here!

Field trips are back! Please be aware that it will be busier than usual.