sponsored by: national grid
Written by Dan Walsh
STEM Educator
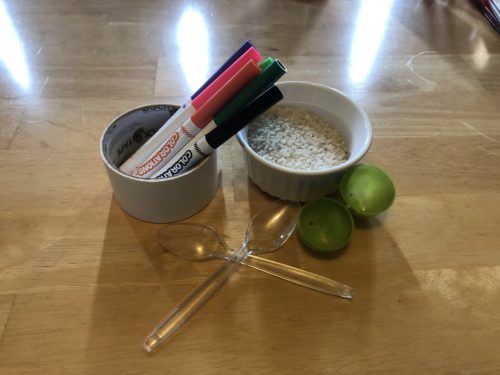
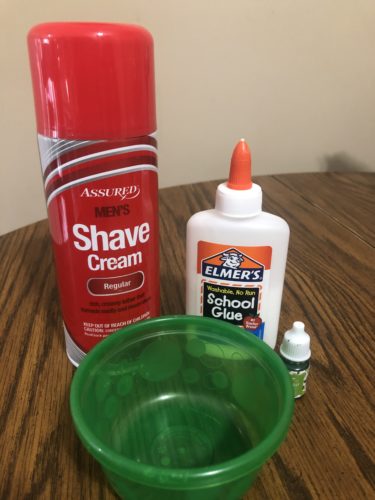
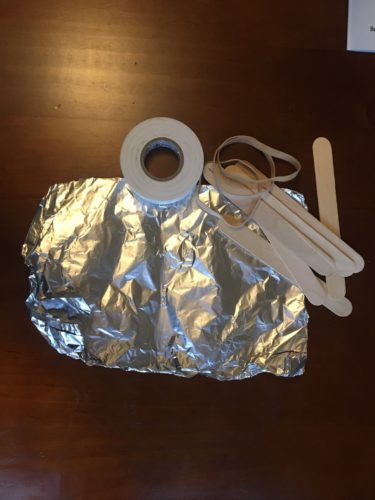
Supplies needed:
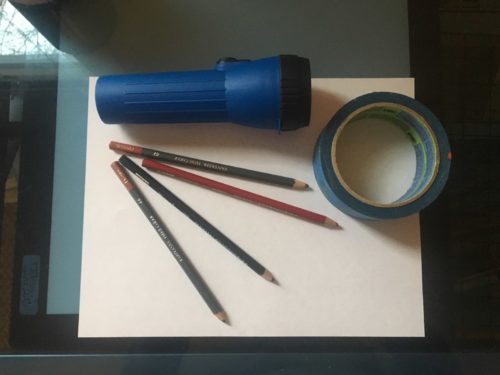
Tinfoil cut out the size of a piece of paper, tape, scissors, craft sticks/cardboard strips cut in .5 inch by 6-inch pieces. A simple ramp made from cardboard, a big book, or any flat surface the skier can run down.
Length:
Build time: 5-10 minutes
Academic Subjects:
Science/ Engineering
This lesson supports the following standards:
ETS1.A: Defining Engineering Problems – A situation that people want to change or create can be approached as a problem to be solved through engineering. Such problems may have many acceptable solutions. (secondary to KPS2-2)
ETS1.A: Defining Engineering Problems – Possible solutions to a problem are limited by available materials and resources (constraints). The success of a designed solution is determined by considering the desired features of a solution (criteria). Different proposals for solutions can be compared on the basis of how well each one meets the specified criteria for success or how well each takes the constraints into account.
Directions for Ski Challenge:
Adding a design challenge to this lesson can add an extra layer of fun. Perry loves skiing! They are on a ski trip in the Swiss Alps. Perry has a problem when they got to the top of the hill their ski broke! Perry has just found out there is a hot chocolate sale at the bottom of the hill. Can you help Perry get to the bottom of the hill for hot chocolate?
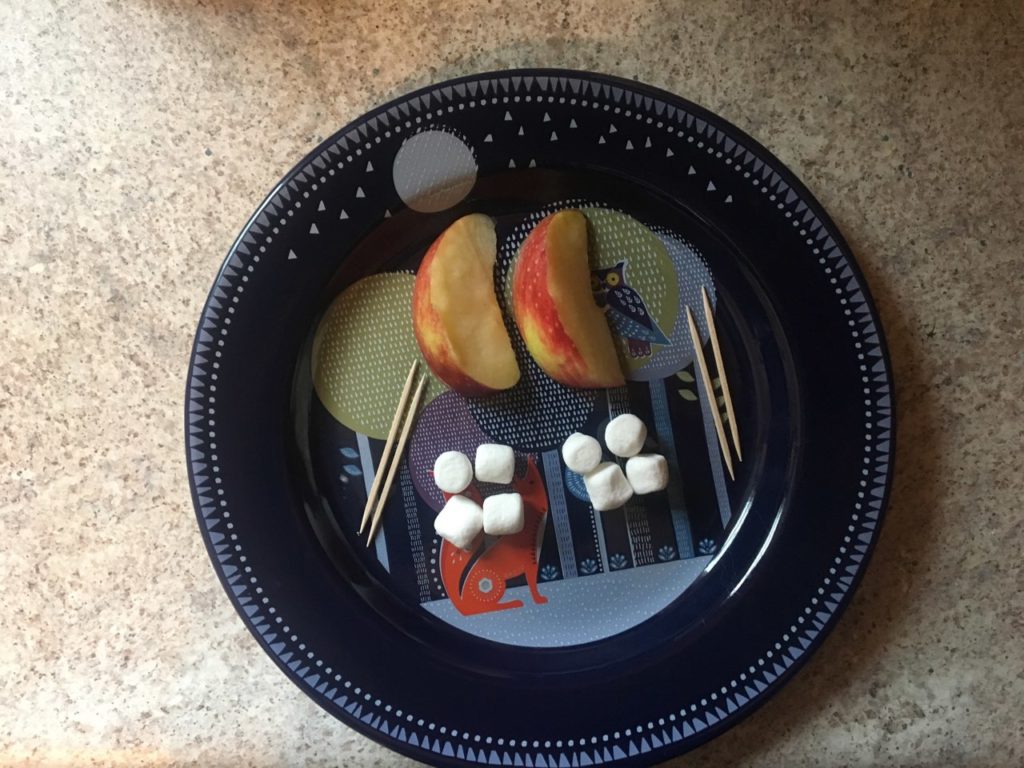
1.) Decide if you would like to build a skier, snowboarder, or a sled. A skier and snowboarder will need two craft sticks and a sled will need three sticks.
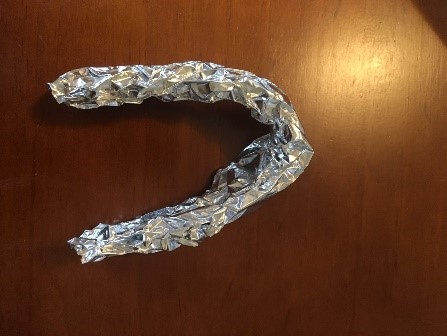
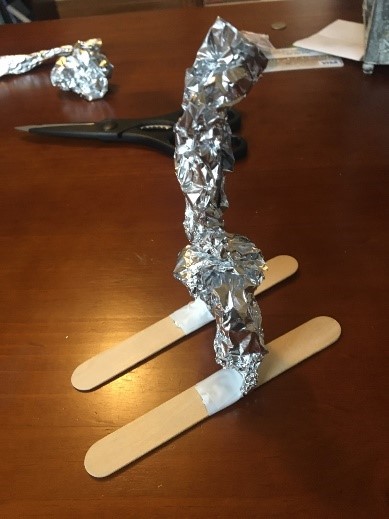
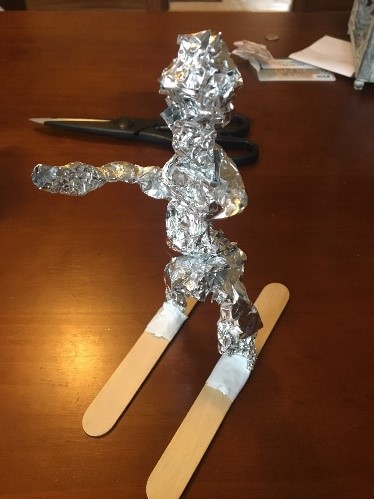
2.) Start by bending a piece of tin foil in the shape of an upside-down U. Then tape it down onto two craft sticks.
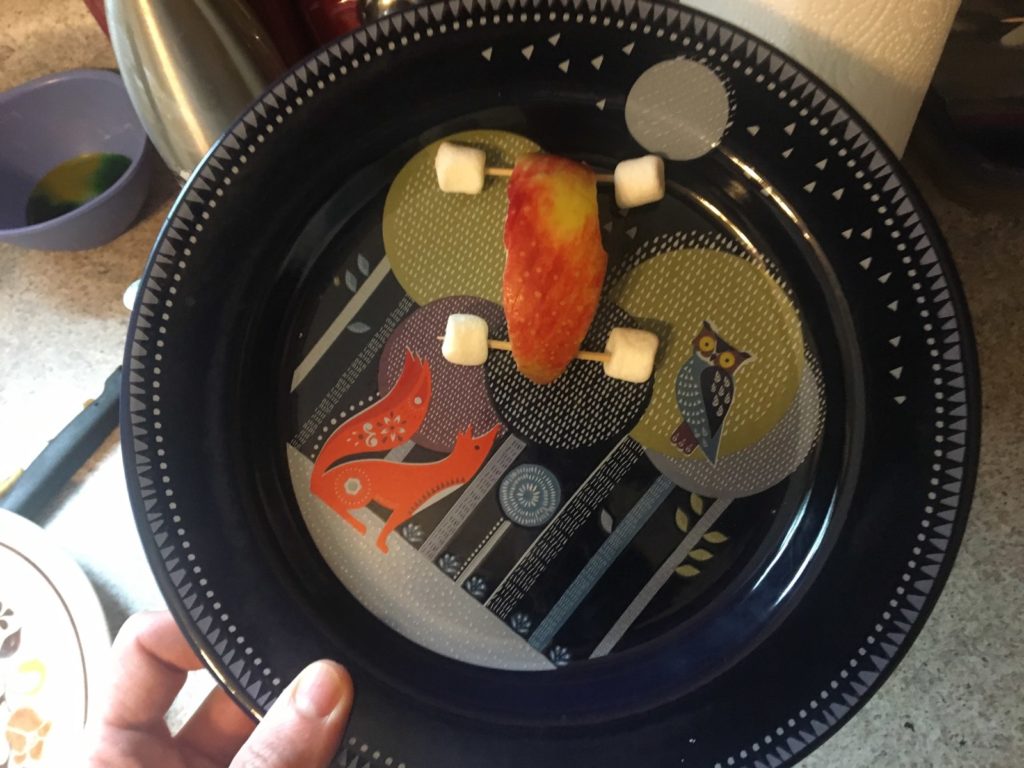
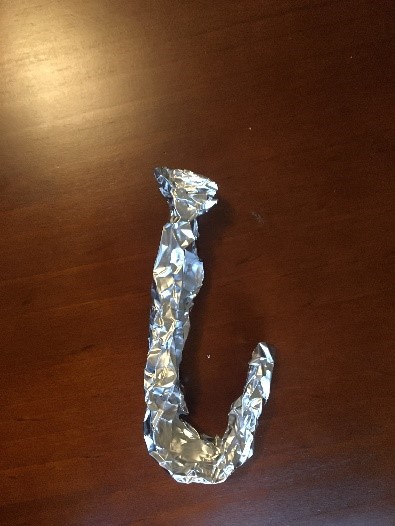
3.) Bend the next piece of tin foil in the shape of a J. This will be our body. Hook the bottom of the j around the legs and make sure it’s tight.
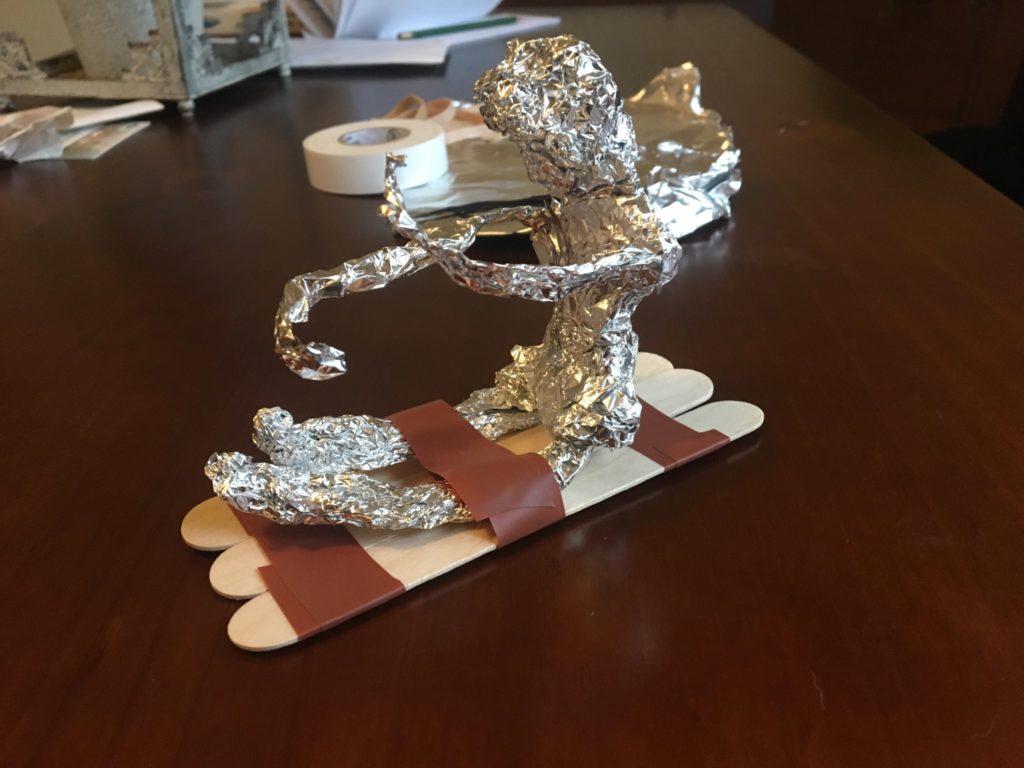
4.) With the next piece of tin foil, roll it up. This will be our arms. Place them on the middle of the body and crisscross the arms around the body.
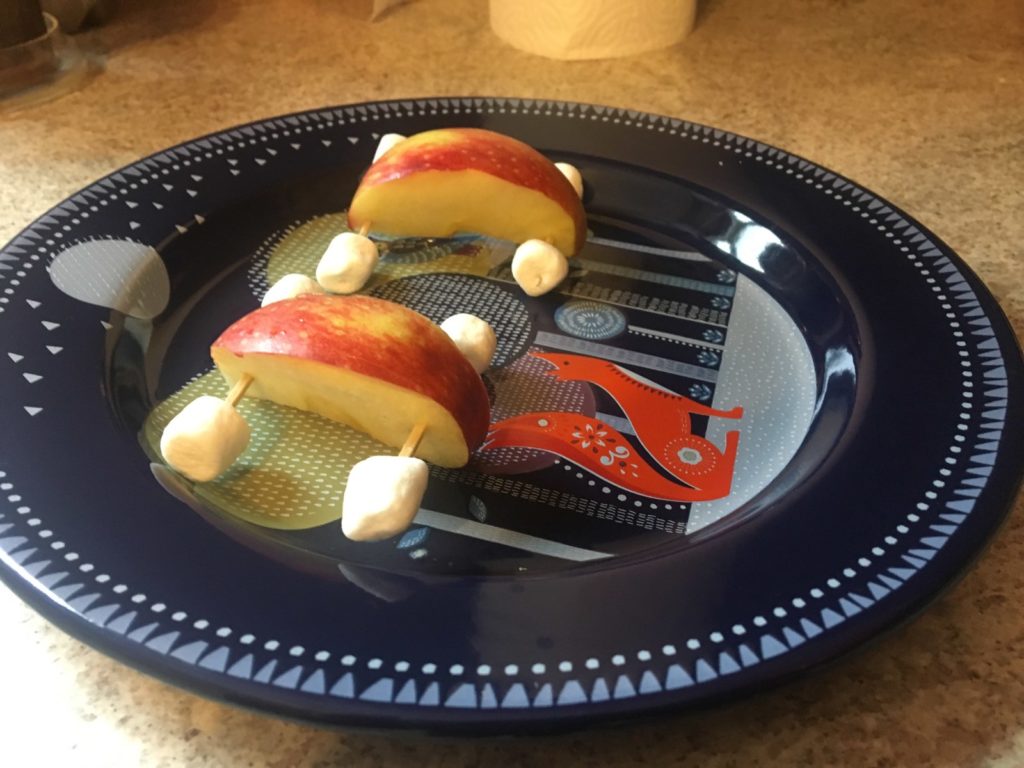
5.) With a small piece of tin foil, ball it up, then place it at the top of the body!
6.) Before we let Perry go down the hill have the student predict how Perry will ski. Will they fall over or stay up straight? Will they go slow or fast? Once predictions are made Perry is finally ready to go down the hill! Find a flat slanted surface and take Perry to the top and let them go! This is also a perfect time to introduce trial and error. At first, Perry may fall over, check to see if the skis are un-even? What if Perry is really slow? Try taping a penny to each ski and see if the weight will change the outcome.
Vocabulary words:
Prediction– the act of saying what might happen.
Trial and error– The process of experimenting with something to find the best option. Things may fail but try try again!