Sponsored by: Wegmans
Written by: Will Kawalec
Lead Play to Learn Facilitator
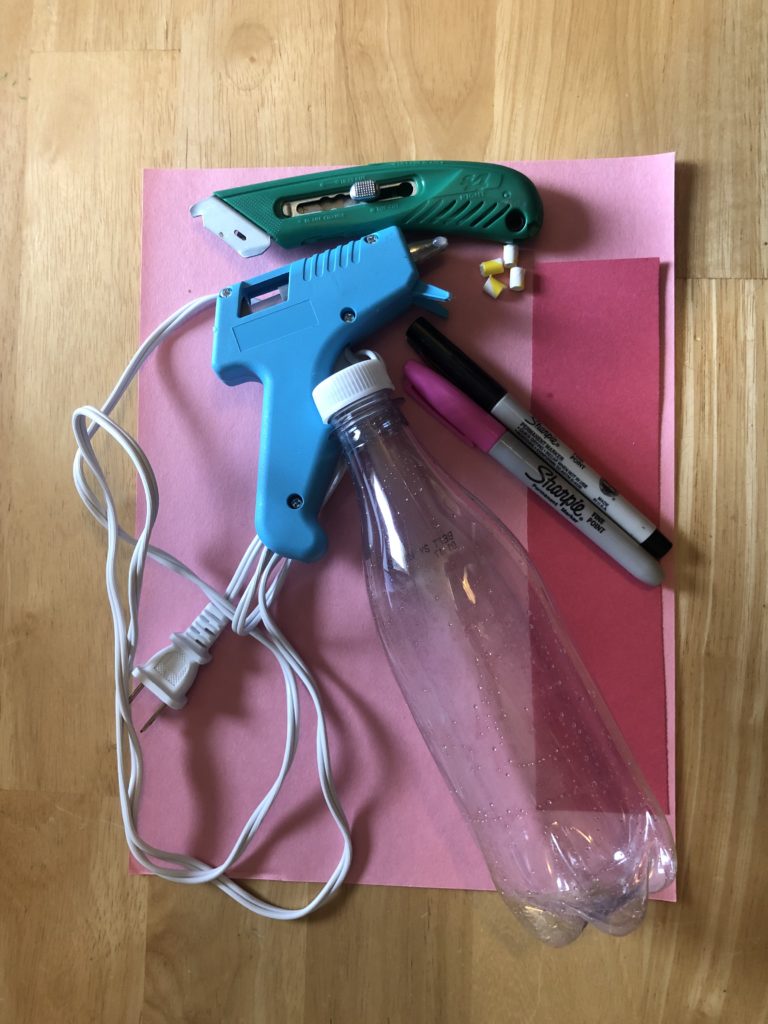
Materials:
Empty Plastic Bottle, label removed, cleaned and dry
Scissors
Box cutter
Construction paper
Tape
Hot glue or regular glue
4 beads or wooden block.
Length:
Set up: 2 Minutes
Activity 5-15 Minutes
Academic Subject(s): Engineering, Math, Art
This lesson supports areas of Elementary Education and elements of Pre-K.
Today is National Farm Animals Day! While we are all really missing our Farm to Fork play zone right now, I have put together this project to help remind you of some of the fun lessons we teach through play in Farm to Fork and our Art Studio right next door!
In this project, children will create a piggy bank they can use for keeping coins and money. This bank will be creatively decorated and be able to hold actual money. Aside from the actual construction of the piggy bank, children can learn how to count money and place it in their newly created bank all while celebrating one of our favorite farm animals – the pig!

Directions:
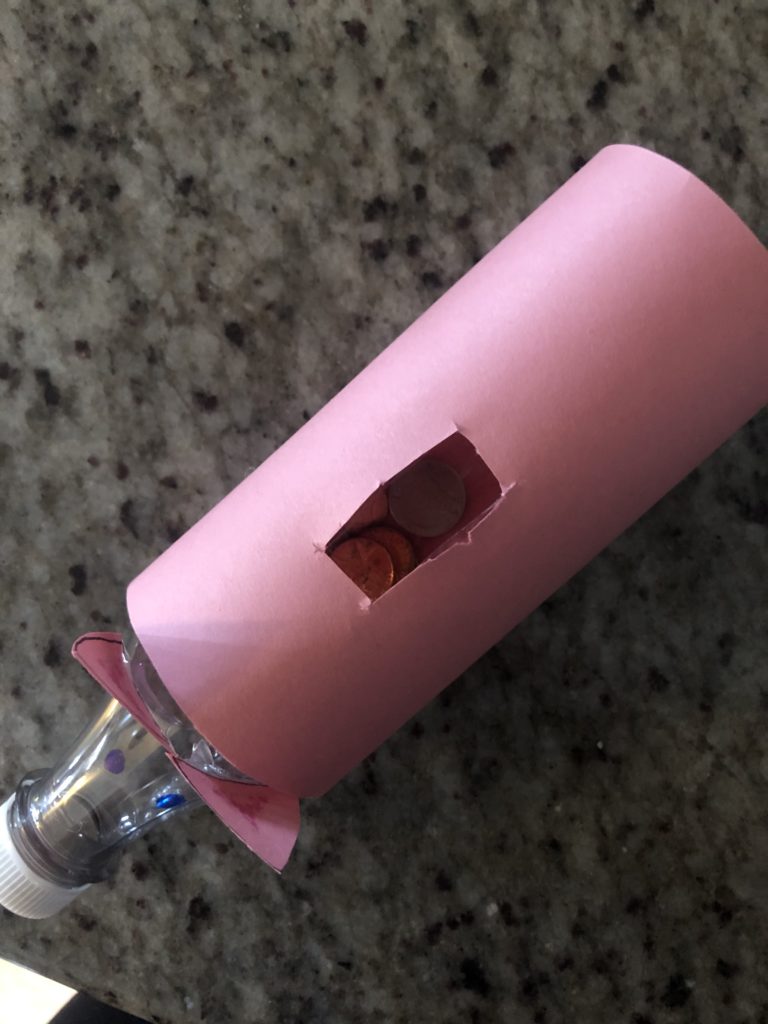
Step 1: This first step is really for our grown ups. Using the box cutter, cut a slice in the center of the bottle, large enough for coins and folded paper money to fit inside. If the edges are sharp, you can choose to sand down the sides before giving the bottle back to your child for the creative part!
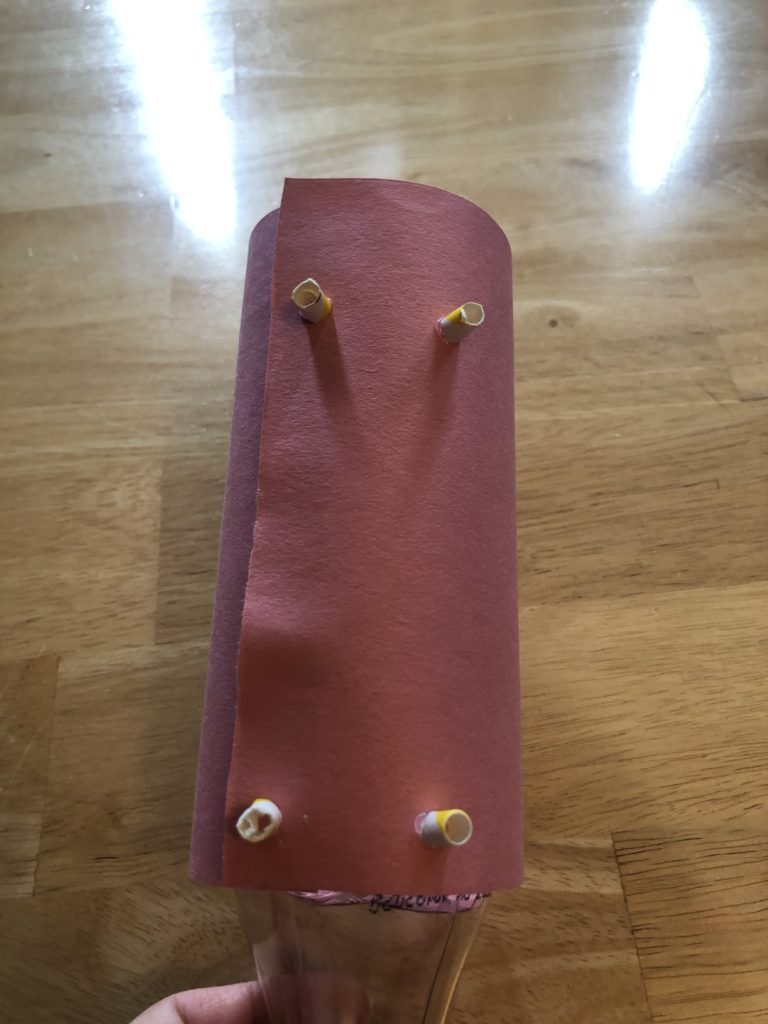
Step 2: Measure the amount of construction paper you will need to wrap your bottle, this is the body of your pig. I chose to use pink but you can use any color! Once you have measured the proper amount, cut your construction paper to fit and fasten it to your bottle using glue or tape. I secured mine with the seam on the bottom. Because I chose to do it this way I also needed to recut the money slot cut in Step 1.
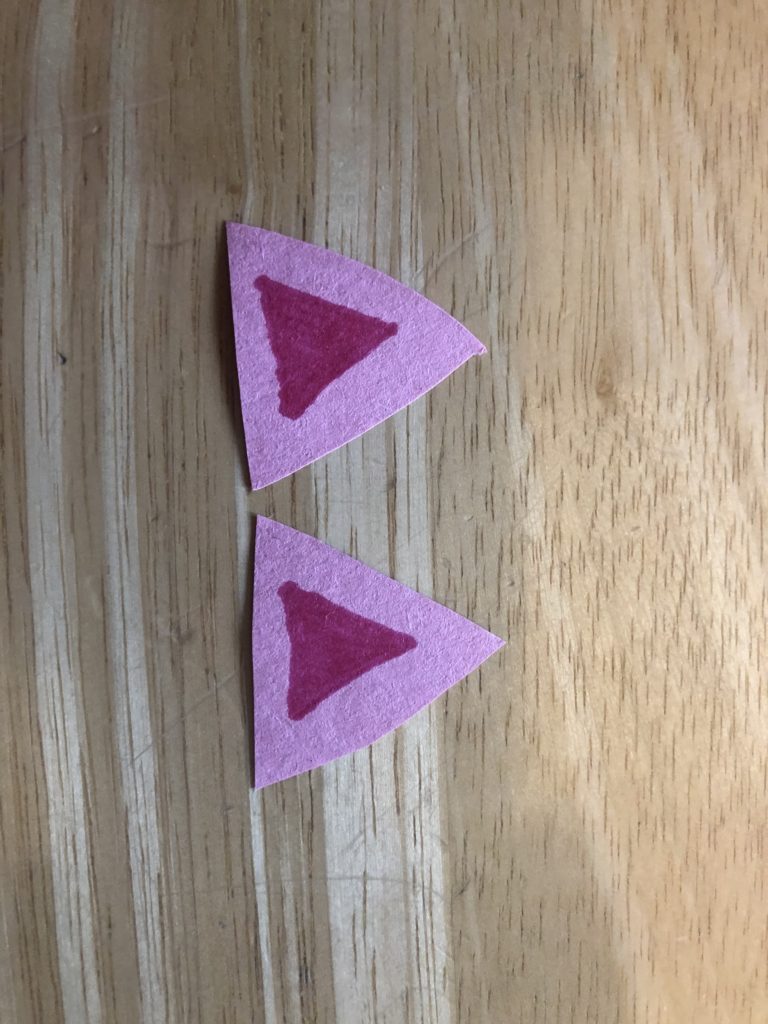
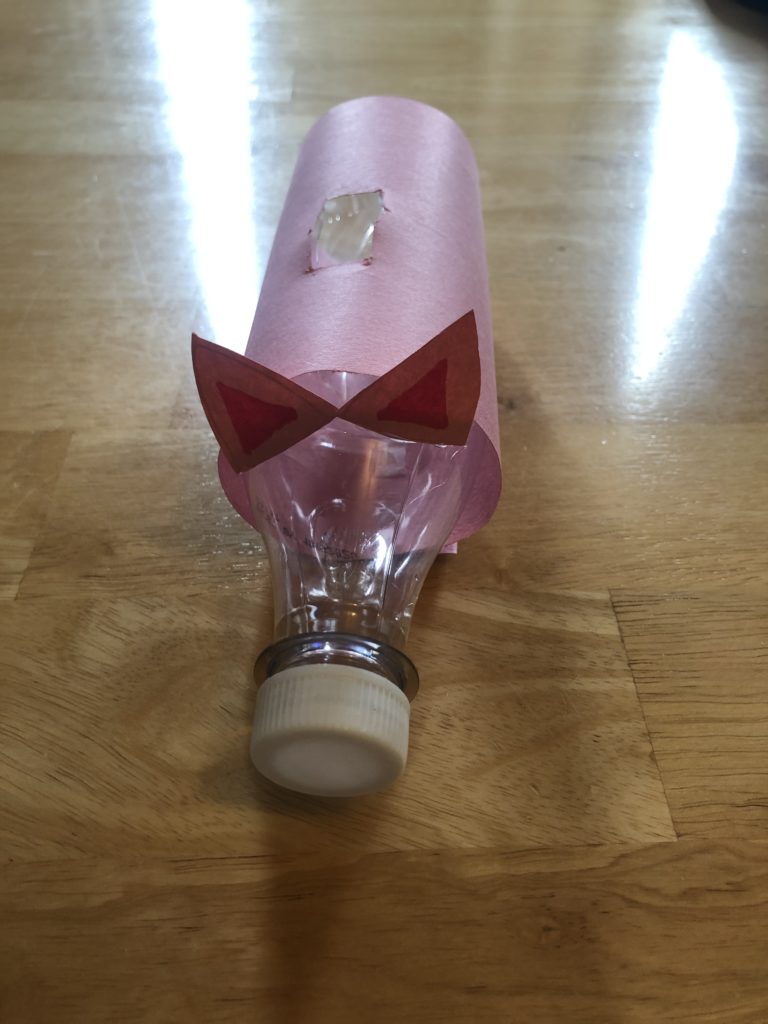
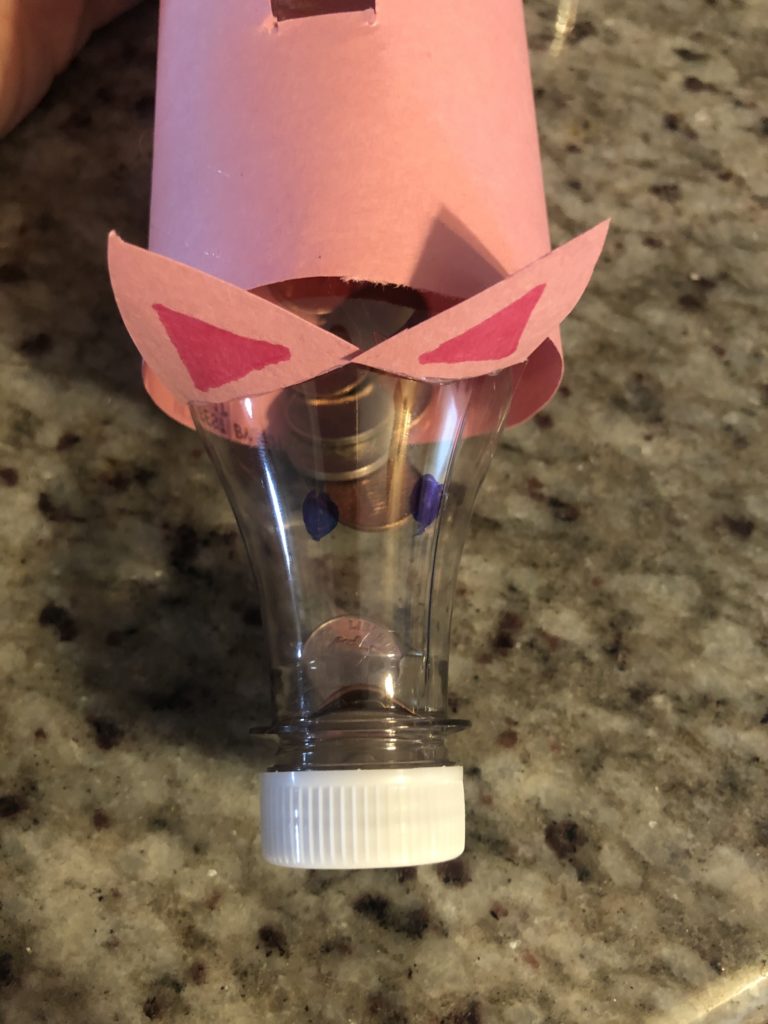
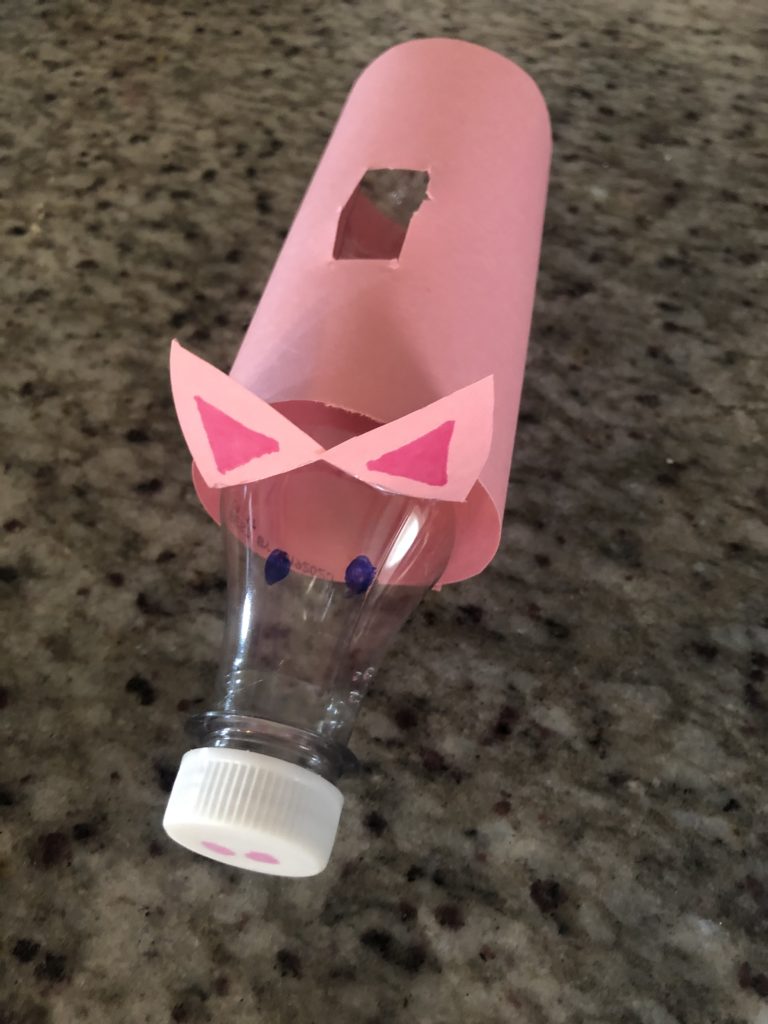
Step 3: Create the ears of your pig by cutting out triangle ear shapes on construction paper. Use the glue to attach these to base of the neck of the bottle. Make sure the ears are glued on the same side of the bottle as the slot created in Step 1.
Step 4: Glue the beads or small wooden blocks to the base of your bottle. These should be glued to the opposite side of the slat your grownup created so that slot remains on top. Space the beads or wooden blocks out evenly, these are your pig feet!
Step 5: Use a permanent marker to decorate your pig! Don’t forget to add eyes on the top of the just after the ears and a nose on the bottle cap.
Step 6: Once all the parts of your pig are dry you are ready to start saving money!