presented by national grid
Written by Dan Walsh
STEM Educator
Supplies ideas:
Any recycled materials around the house will help with this project! Shoebox, cardboard, construction paper, straw, tape, scissors, markers, rocks, fake grass, dinosaur
Length:
Build time: 1 hourA
cademic Subjects: Science
This lesson supports the following standards:
ETS1.A: Defining Engineering Problems – A situation that people want to change or create can be approached as a problem to be solved through engineering. Such problems may have many acceptable solutions. (secondary to KPS2-2)
ETS1.A: Defining Engineering Problems – Possible solutions to a problem are limited by available materials and resources (constraints). The success of a designed solution is determined by considering the desired features of a solution (criteria). Different proposals for solutions can be compared on the basis of how well each one meets the specified criteria for success or how well each takes the constraints into account.
Directions to construct a Dinosaur Park
Do you love dinosaurs!? Well, this project is for you. Ralphie the raptor is looking for something fun to do. He would like to build a park just for him. Ralphie has a few requirements. First, he would like tall grass to snooze in. Second, he wants a beautiful gate to enter through. Ralphie also prefers to have some shade, so the park will need a tree or two. You can take this park idea or build your own character. Mark the Mastadon wants to have a park somewhere cold. Sarah the sea scorpion wants a park underwater!
1.) The first thing we need to do is get a base. A single sheet of cardboard or a shoe box will work.
2.) Draw out on a sheet of paper where you would like everything. How big would you like your gate? Do you want a fence around your park? Where would you like to plant trees or place rocks?
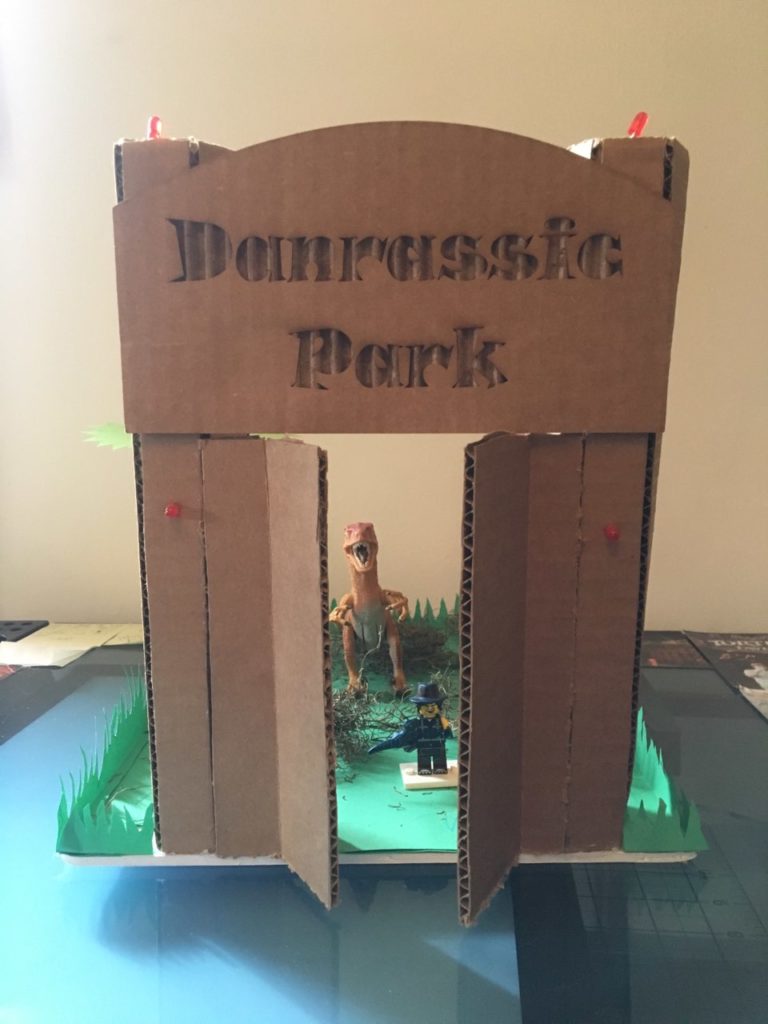
3.) The gate seems complicated but there are a few options to make it work. If you are using a shoebox, the back can be cut up to act as a gate into the park. OR you can find a sheet of cardboard, cut an upper case T into it. Then glue two paper towel tubes to the back. (For the lights, luckily I had them laying around, I’m a nerd. You can find inexpensive LED’s and batteries on Amazon.)
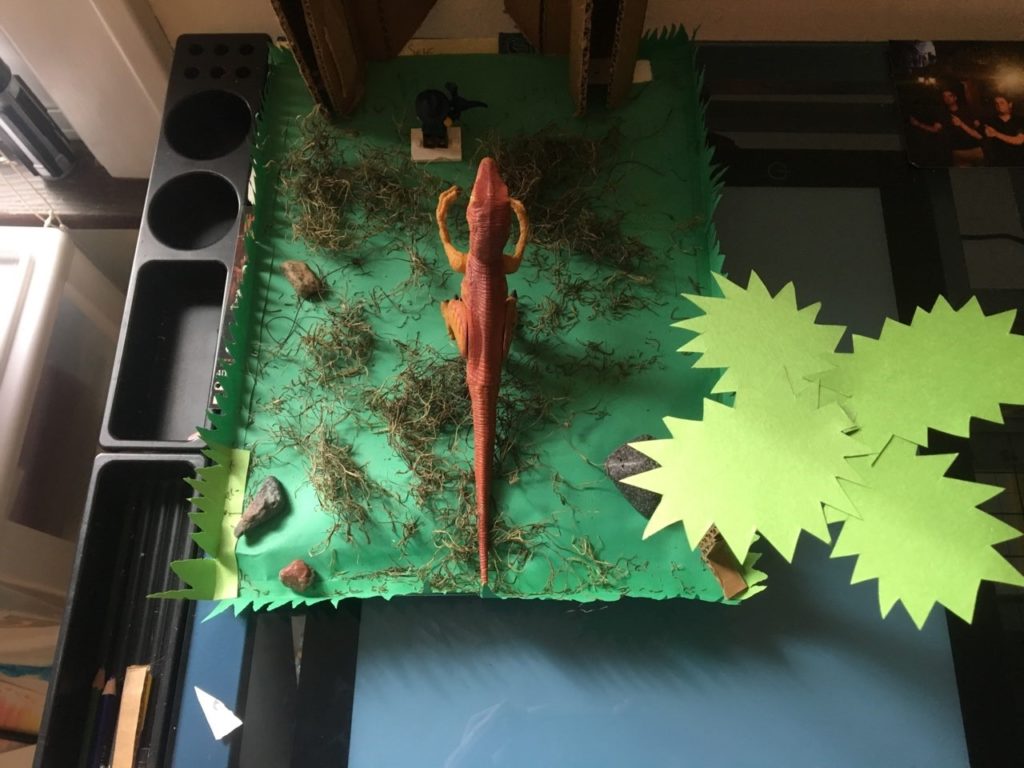
4.) Depending on what climate your dinosaur park will be in, glue a few pieces of construction paper down onto the cardboard. Green can be grass, brown can be sand, blue can be water, white can be snow.
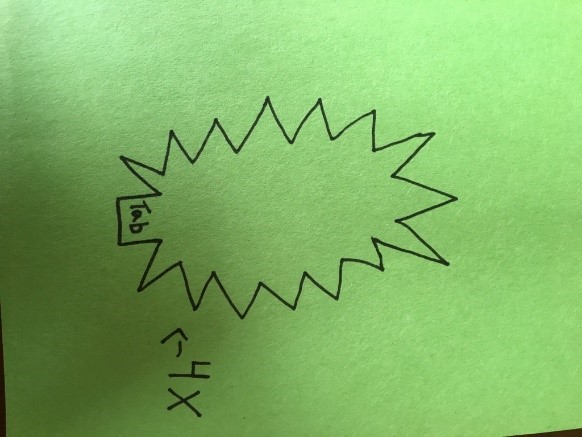
5.) For the palm tree, draw four separate leaves. I made my leaves jagged so they would be easier to cut out. Below is a picture of the template I used. The bottom is labeled tab. I glued the tabs one on top of the other to form a palm tree. Then I glued the four leaves onto a small strip of cardboard.
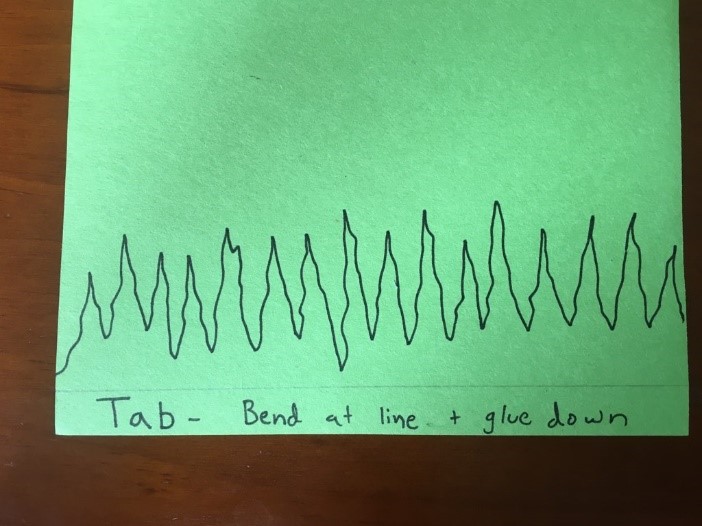
6.) Attached is a picture of the grass template I used. You can draw and cut the grass however you would like, but make sure you give yourself about a quarter-inch tab, so that you can glue the grass down onto your park easily. Glue your grass on the edges of your park to give it a full look.
7.) The rest of the project is open-ended! You can place rocks anywhere in the park if you have fake grass available that will make it look a little more real! Cutting a blue piece of construction paper would make for a nice pond.
Fun dinosaur facts:
Did you know the state dinosaur is the eurypterus remipes, which was a sea scorpion? Most of them were smaller but the biggest one ever found was four feet long. Velociraptors were a little shorter then what we’ve seen in movies. A full-grown adult was about six feet long and up to two feet tall!