Presented by: M&T Bank
By: Amelia Schrader
Senior Manager of Learning and Education
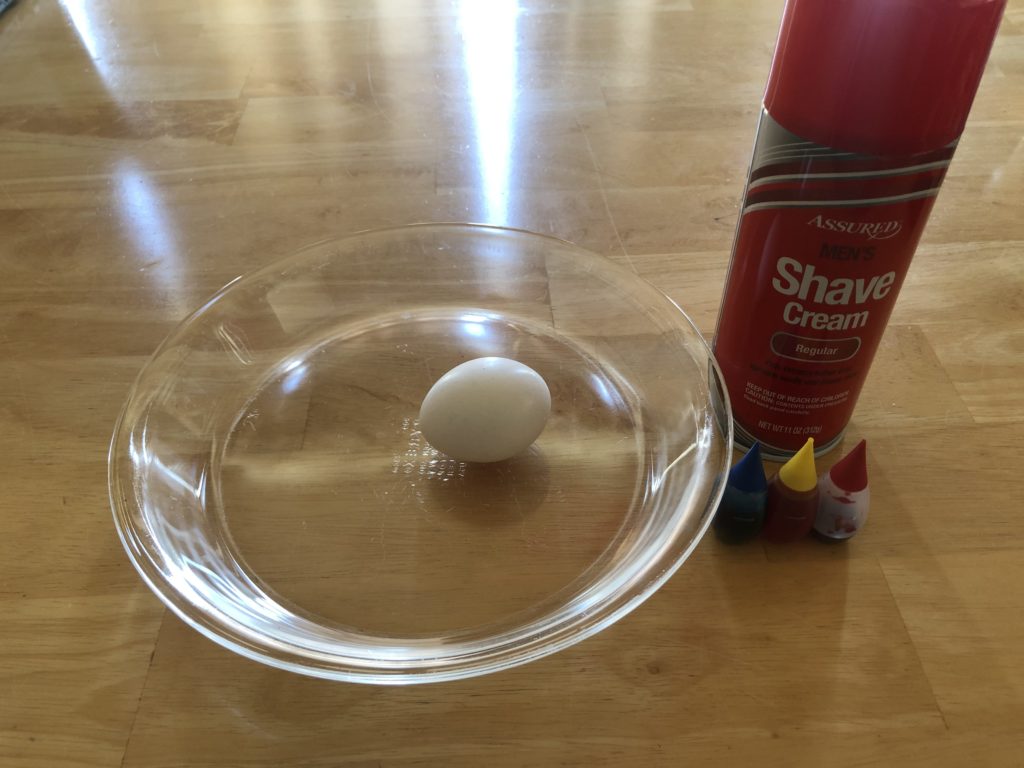
Materials:
Hard boiled Egg: Eggs (however many you want to make)
Large pot
Water
Timer
Shaving Cream
Food Coloring
Shallow Dish (a baking tray or pie plate work nicely)
Paper
Egg: Construction or printer paper (any color but white is most vibrant) Shaving CreamFood Coloring ScissorsShallow Dish (a baking tray or pie plate work nicely)
Length:
Set up: 5 Minutes
Inactive Time: 10-30 minutes
Activity: 5 minutes
Academic Subject(s):Science, Art
This lesson supports the following NYS Curriculum Standards:
ARTS.VA:Cr1
SCI: P-PS1-1
Dying Easter Eggs is a favorite tradition for many across Western New York and the globe. This lesson will teach you and your family a new technique to try out this year! The great thing about this technique is it can be used on real hardboiled or blown eggs AND on paper to have a keepsake that will last a lifetime.
Directions:
Hardboiled Egg
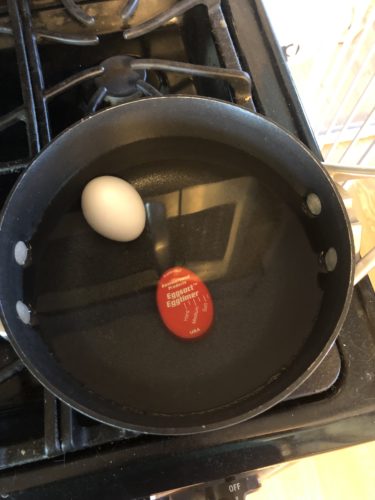
Step 1: Carefully place raw egg into a clean pot. Fill the pot with water until it is about 1 inch over the top of the egg. Bring the water to a boil then start a timer for 7 minutes. I have an egg timer that goes right into the water with the eggs. However, you can just use a normal kitchen time or your phone as well! Once the timer expires, turn off the stove and carefully remove the egg from the hot water with a spoon. Allow egg to cool. It is important that you egg is completely cool, this activity will not work correctly with a warm egg.
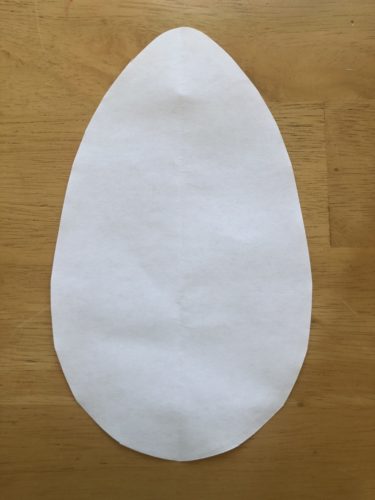
Paper Egg
Step 1: Cut out the shape of an egg from your paper. The thinker the paper you have the better! However, plain printer paper will also work fine.
The next steps are the same for both type of egg:
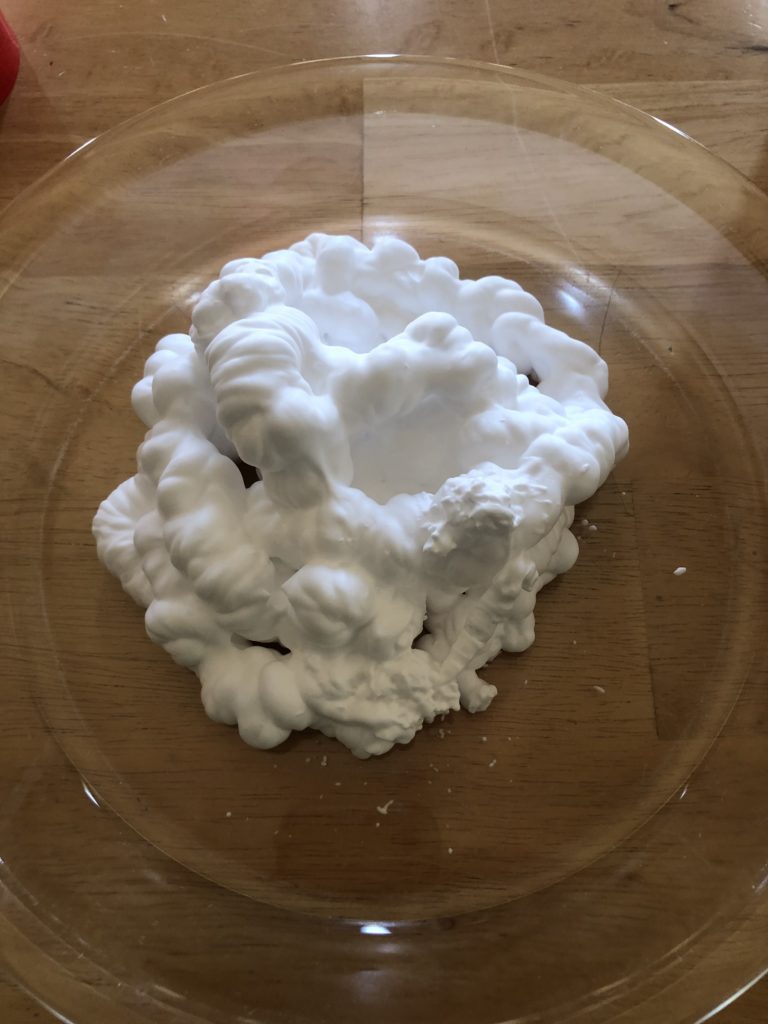
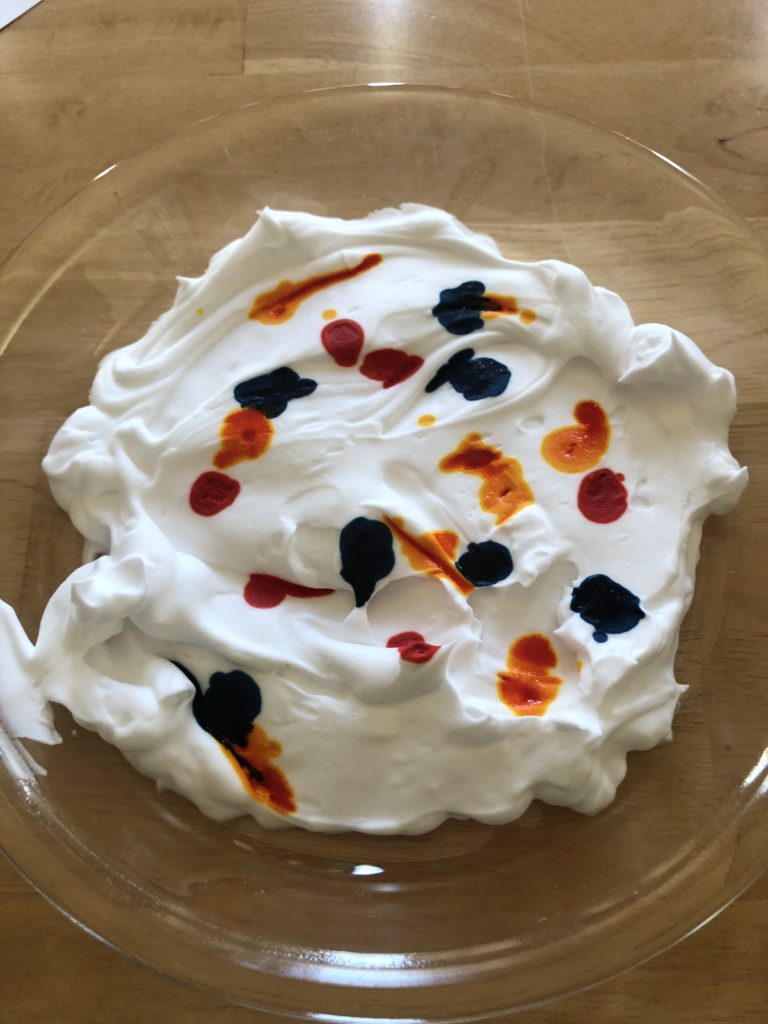
Step 2: Spray the shaving cream into the shallow dish. I used a pie plate but you can use whatever you have in your home! Flatten the shaving cream using your finger or a dull knife or craft stick. Wipe excess shaving cream on the side of the dish or wash your hands in the sink.
Step 3: Drop food coloring into the shaving cream. You will notice that I like to use primary colors as often as possible! I love providing different, real life examples about how these primary colors mix together to make secondary colors! However, you can use any colors you want!
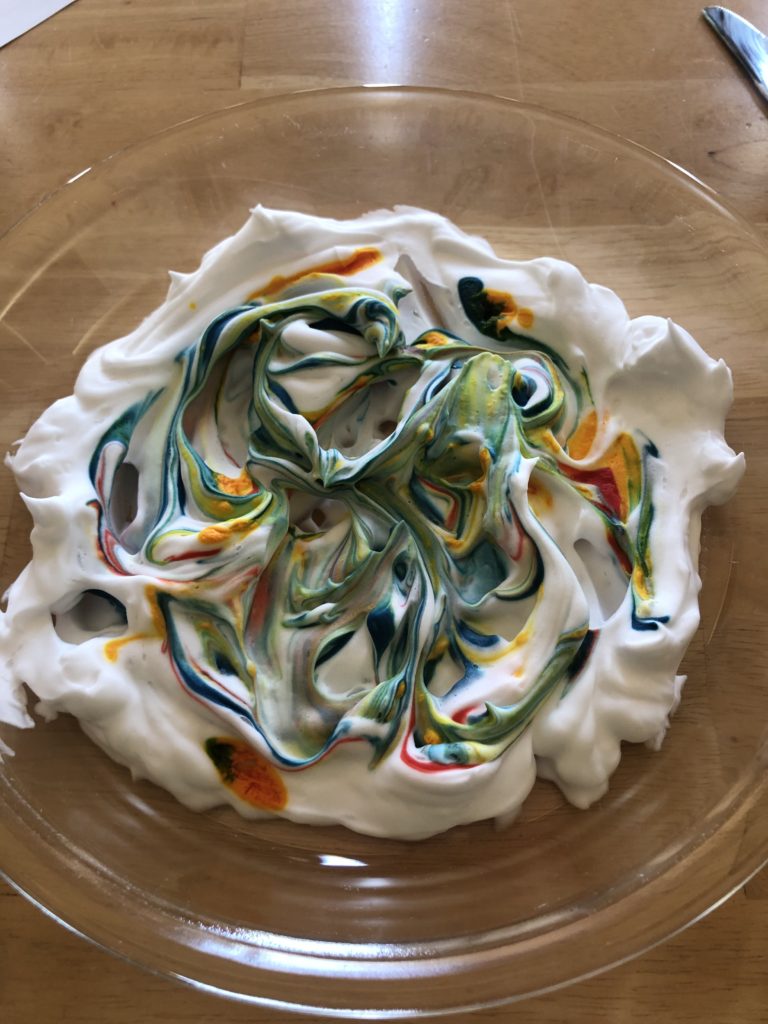
Step 4: Swirl the shaving cream to mix the colors and create a marbled effect. You can use your finger or the utensil that was used to flatten the shaving cream. Please note if you use your finger like I did, the food coloring may leave a temporary stain on your skin.
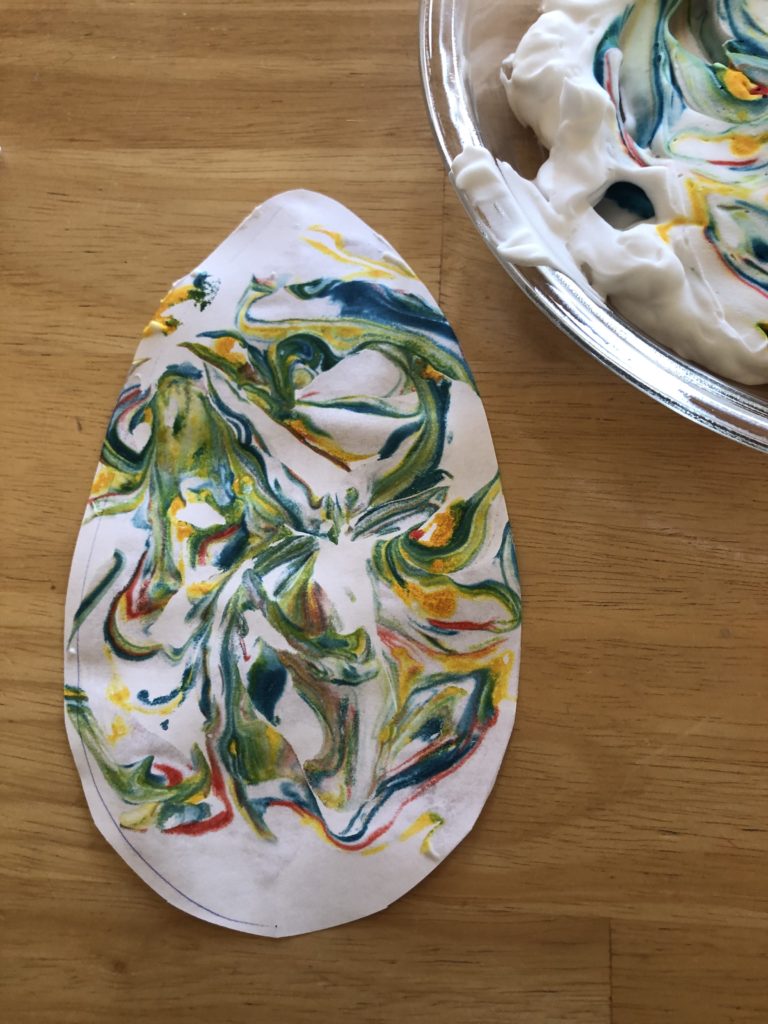
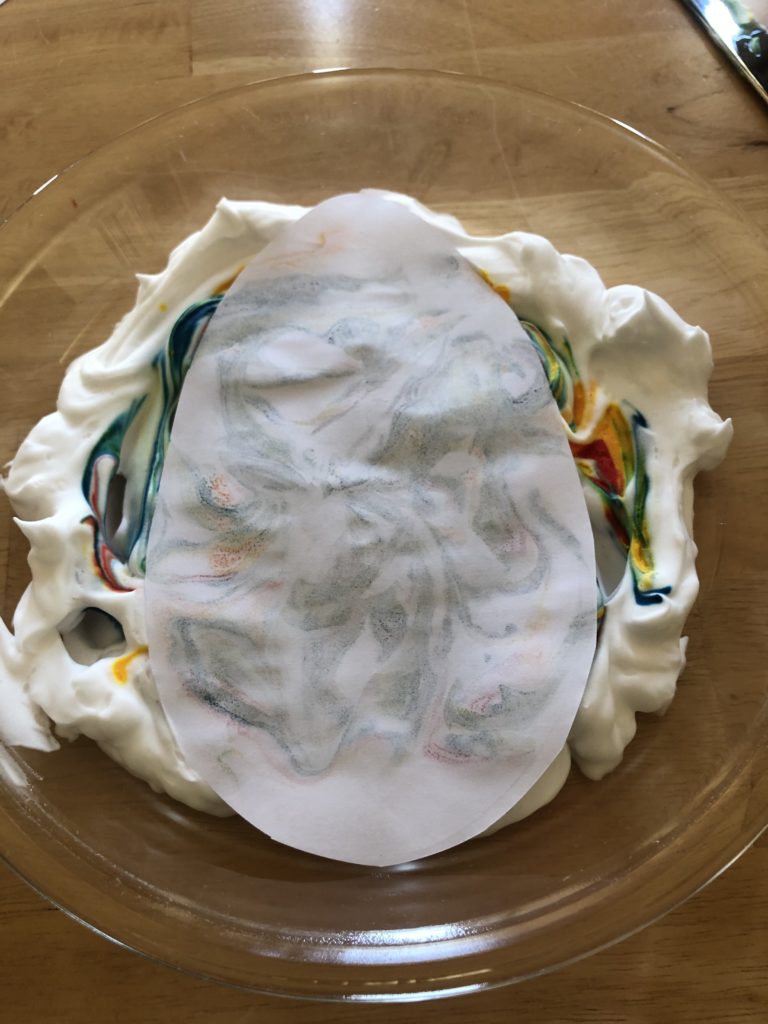
Step 5 (Paper Egg): Gently place your paper egg on top of the shaving cream. Then carefully pull the paper egg off of the shaving cream. If there is excess shaving cream on your egg wipe this off using your finger. The excess shaving cream can go back into the original shallow dish or be washed away in the sink.
Step 5 (Hardboiled Egg): Gently place your cooled, hardboiled egg in the shaving cream. Carefully roll the egg around picking up the marbled color. Once your egg is completely covered, wipe off any excess shaving cream back into the dish or into the sink. You can also use a paper towel for this step.
Step 6: Let both types of eggs dry. Drying time will depend on how much excess shaving cream was on the artwork.
It’s as easy as that! This fun activity doesn’t have to relate to Easter! You can use this technique to make a lot of different types of art. You can even use this process to make cards for loved ones. The possibilities are endless when your imagination runs wild!
Vocabulary Words
Boil: Raising the temperature of a liquid until it begins to bubble and turn into vapor
Marbled: Having a streaked or patterned appearance.
Primary Color: These colors cannot be created by mixing together other colors. The primary colors are red, yellow and blue.
Secondary Color: These colors are created by mixing together two primary colors. The secondary colors are orange, green and purple. Orange is created by mixing red and yellow. Green is created by mixing blue and yellow. Purple is created by mixing blue and red.