Sponsored by: M&T Bank
Written by Amelia Schrader
Senior Manager of Learning and Education
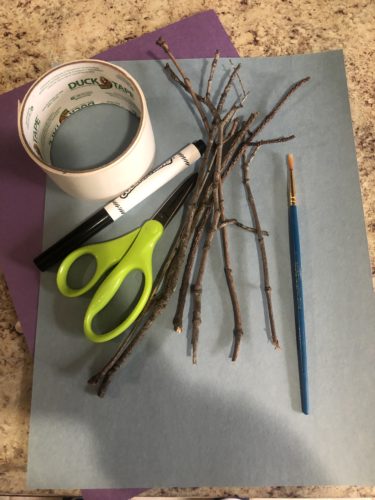
Materials:
2 pieces of construction paper (different colors)
Scissors
Tape or GlueSticks
Q-Tip or paint brush
White paint
Length:
Craft time: 10 minutes
Academic Subject(s):
Fine motor skills, social studies
Happy Dyngus Day! Dyngus Day is an immensely popular Polish-American tradition in Buffalo. This celebration occurs annually the day after Easter. In Buffalo, Dyngus Day is celebrated with a big party which includes sprinkling water and flirting with pussy willows. Both traditions date back hundreds of years. It is believed by many that pussy willows are used because they are the first to bloom in the springtime. Today we are sharing a Pussy Willow craft you can make together to celebrate Dyngus Day from the comfort of your home!
Directions:
Step 1: The first step to this activity is collecting thin sticks. This is a great opportunity to go outside on a nature walk! You don’t need to go far just around your own neighborhood or even your own backyard! While you’re outside hunting for sticks, you can also try our outdoor color scavenger hunt activity, found here.
Step 2: Now that you have collected your sticks, it is time to cut out your vase. To make a symmetrical vase, I recommend folding your paper in half the long way (or like a hot dog) then drawing one half of the vase along the fold. Keeping the paper folded, cut out the vase along the line you drew. Decorate the vase with markers if you would like! You can also use patterned paper for this step.

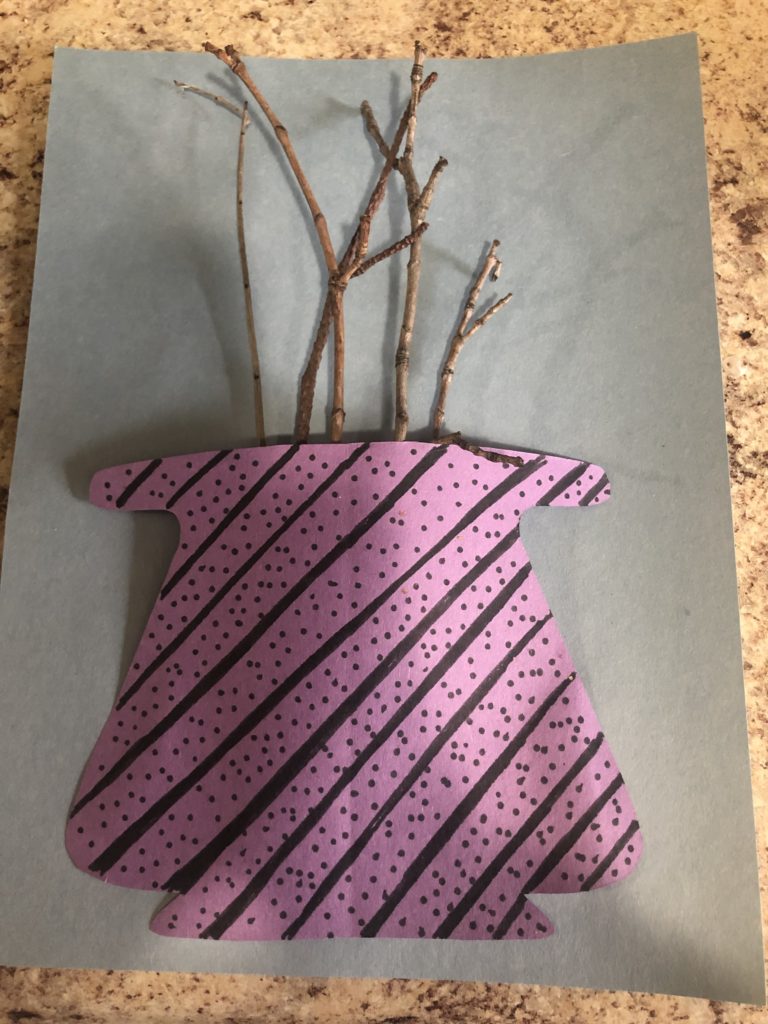

Step 3: Lay your sticks in a neat, single layer pile on full piece of construction paper. You will want to make sure your pile is not wider than the vase you drew in Step 2. Secure these sticks to the paper using glue or tape. For this project I prefer a strong tape (like duct tape) as liquid glue takes so long to dry. You could also use hot glue but ultimately choose whatever you have handy at home!
Step 4: Add the vase over the top of the sticks, gluing it down around the edges. Here any type of glue will work – even a glue stick!
Step 5: Dip your q-tip or small brush into the paint and begin to dab the paint onto the tips of the sticks creating the puss of pussy willows! We hope you enjoy this simple Dyngus Day craft! Comment on the Explore & More Facebook page with a picture of your finished project or a memory of how your family celebrates Dyngus Day!
Vocabulary Words
· Dyngus Day: Polish holiday celebrated annually the Monday after Easter.
· Symmetrical: When something is the exact same on both sides.