Presented by Independent Health
By: Jacalyn Slingerland, Play to Learn Facilitator
Download a PDF version of this lesson here!
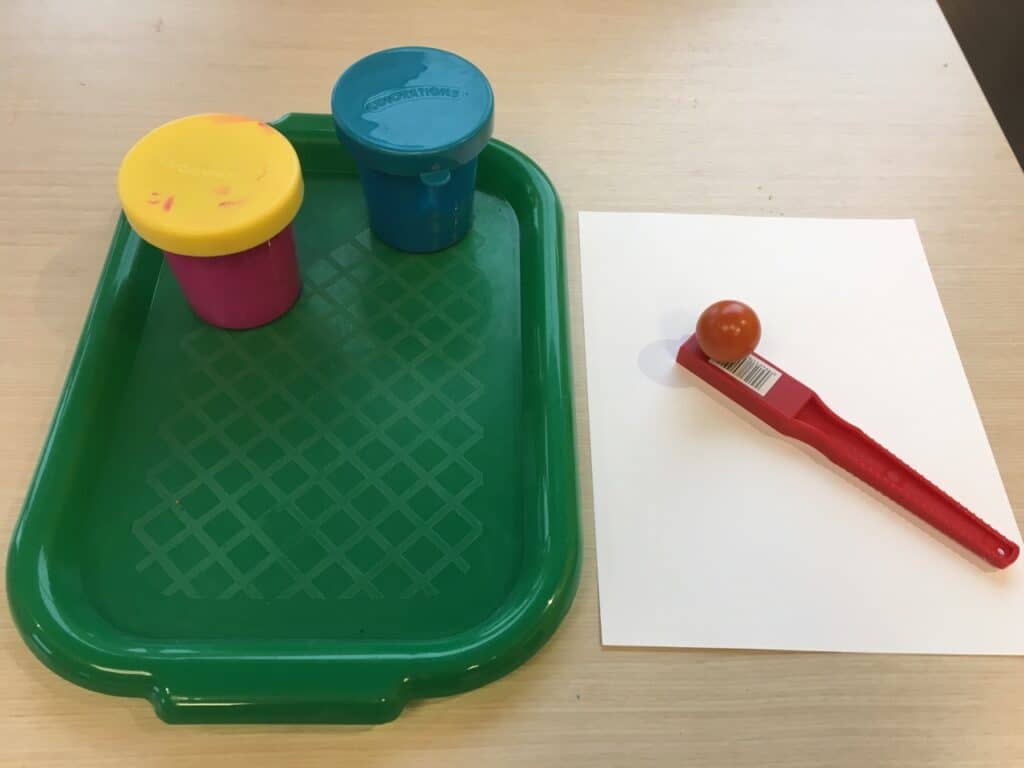
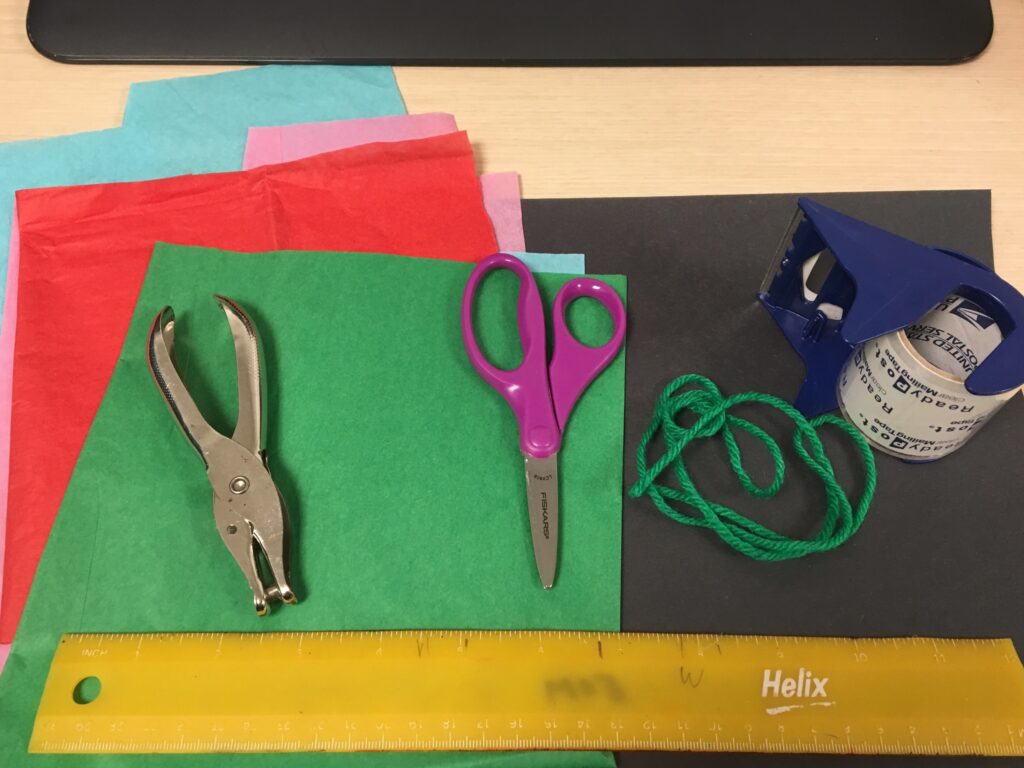
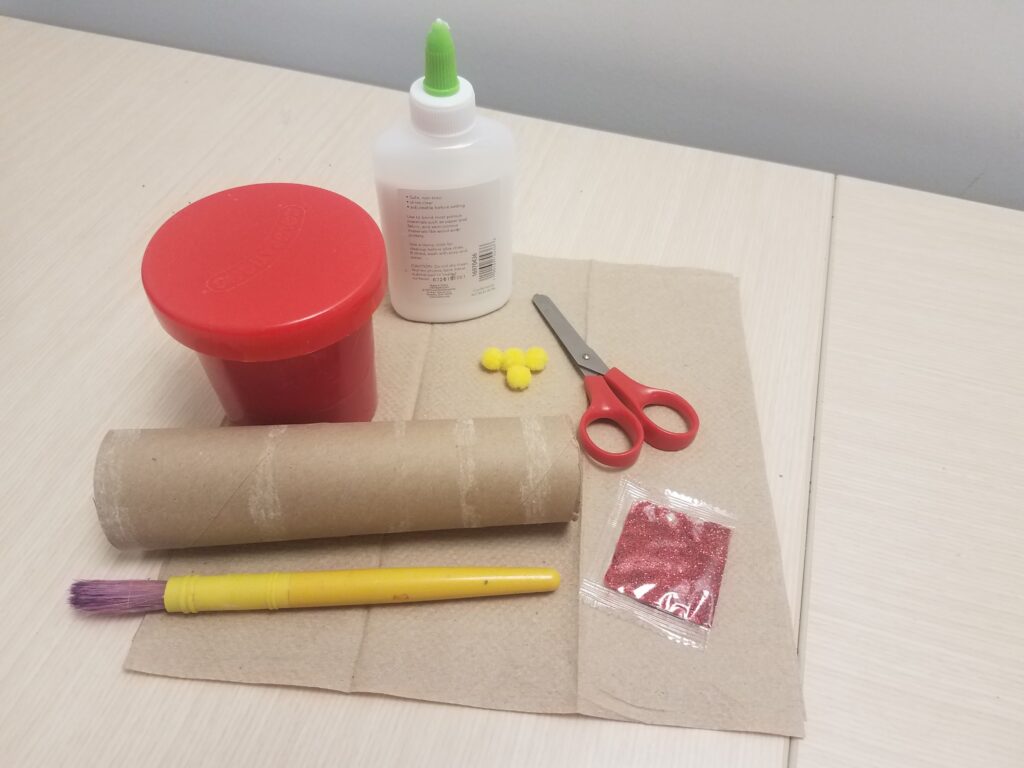
Materials:
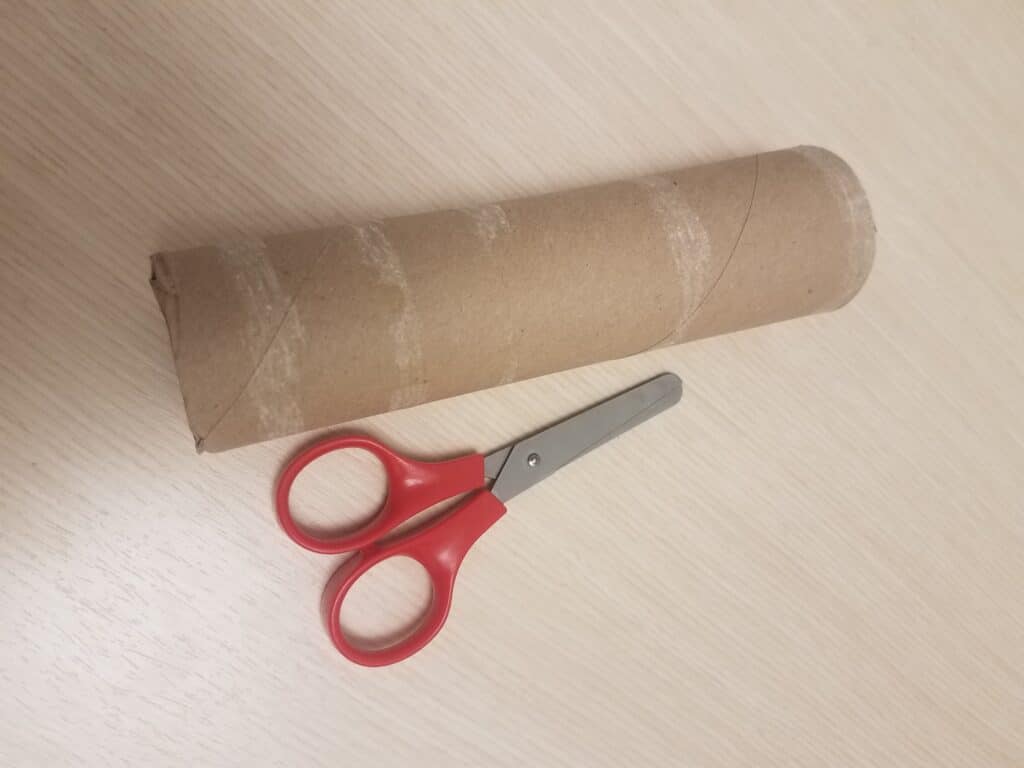
Paper towel roll
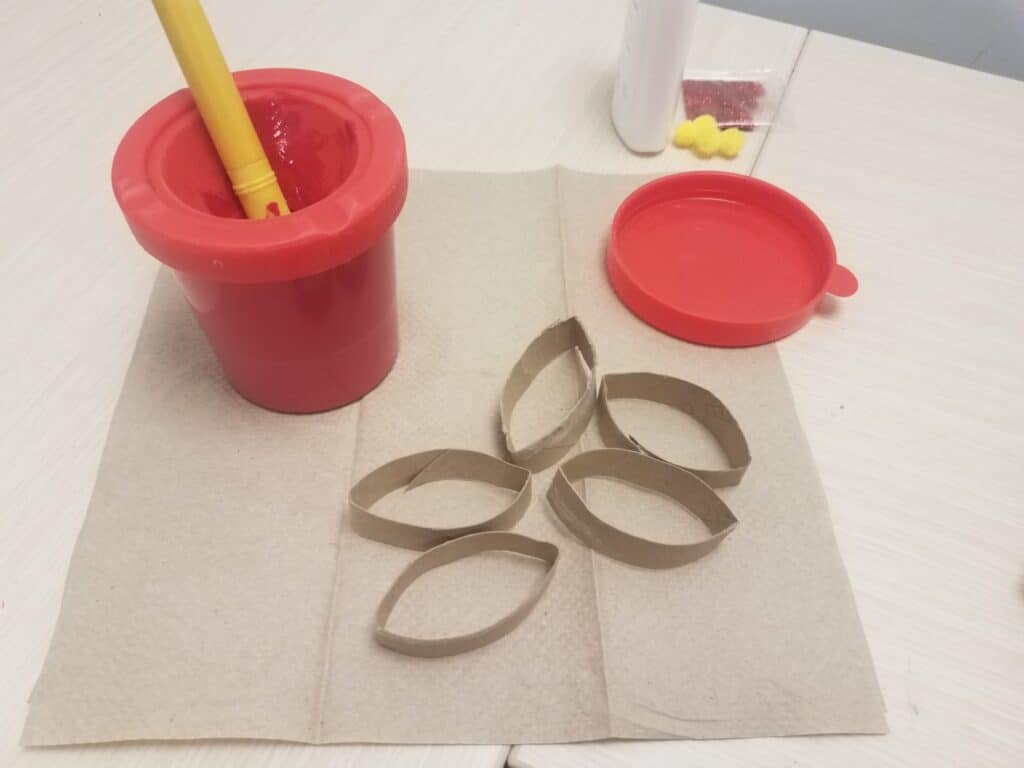
Red paint
Paint brush
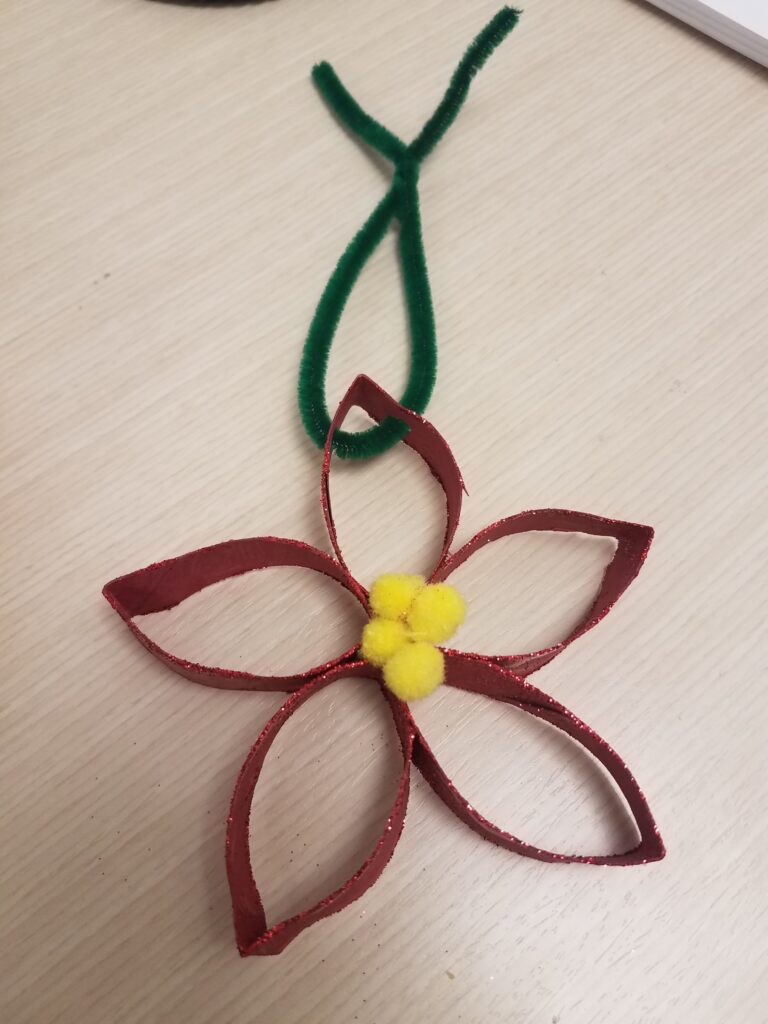
Yellow pompoms
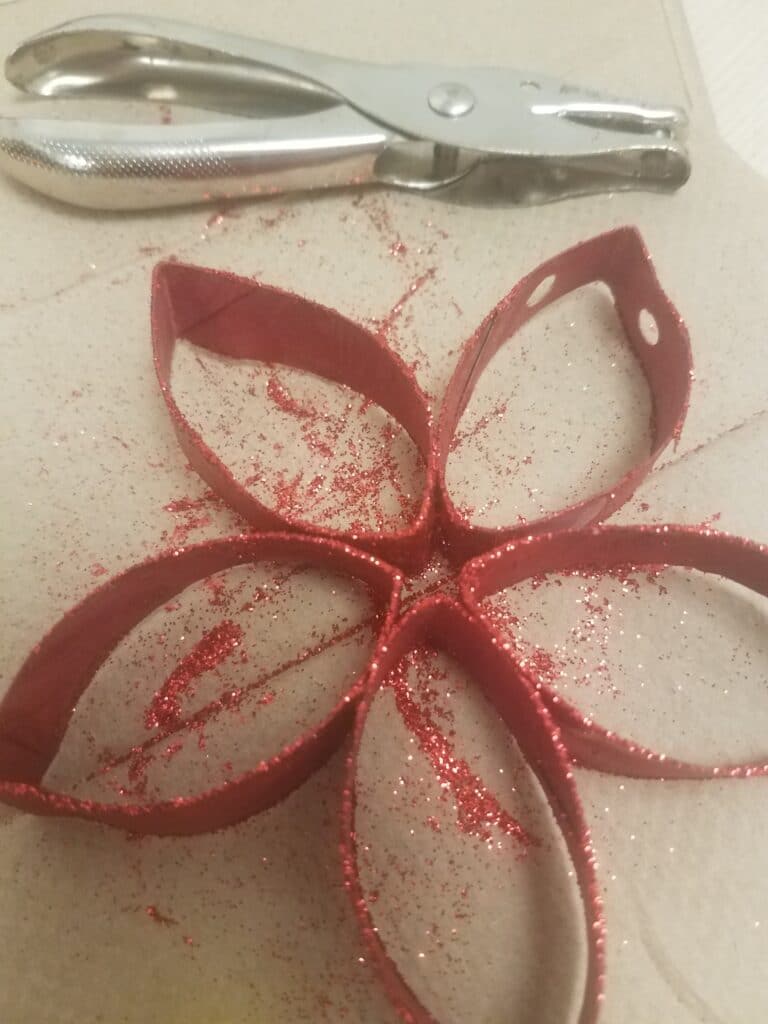
Hole puncher
Pipe cleaner
Scissors
Paper towels
Liquid glue (optional)
Red glitter (optional)
Length:
40 minutes
Inactive Time: 20 minutes
Activity: 20 minutes
Academic Subject(s):
This lesson supports the following NYS Curriculum Standards:
Flores de Noche Buena, also known as poinsettias, are beautiful star shaped flowers native to southern Mexico. The ancient Aztec called them ‘cuetlaxochitl’ and used them as dye and medicine. There is a legend surrounding the origin of these winter blooming flowers: A little girl loved visiting the manger scene in the chapel. But she was sad because she didn’t have a gift for the baby. One day she picked weeds for him, and while visiting the manger scene she laid the flowers around the baby. The weeds turned into beautiful, red, star shaped flowers. Thereafter the flowers were called “Flores de Noche Buena”. Let’s make our own flowers using some basic craft supplies.
Directions:
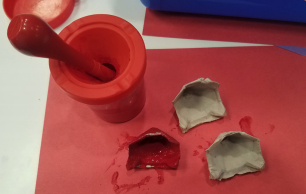
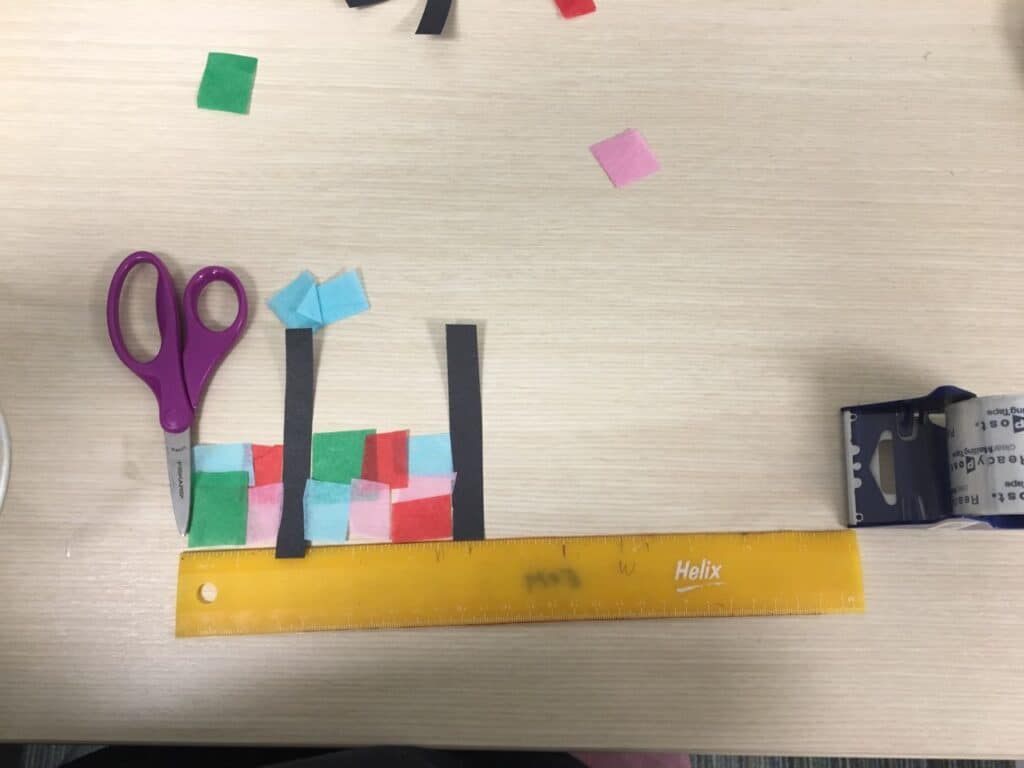
Step 1: Cut the paper towel tubes into 5 pieces; each roughly half an inch thick.
Step 2: Shape into petals by pinching the ends.
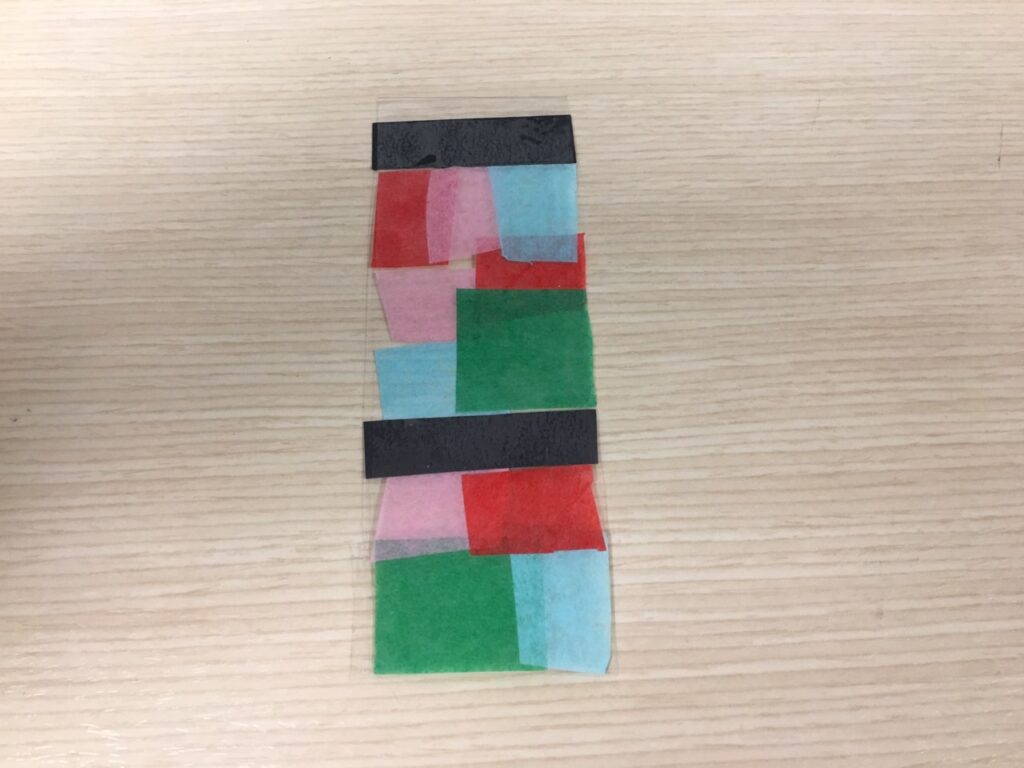
Step 3: Paint the petals red and allow the paint to dry.
Step 4: After drying, glue the petals together so they shape into a flower.
Step 5: (optional) Add glitter using liquid glue and craft glitter. Allow time to dry.
Step 6: Glue yellow pompoms to the center. Allow time to dry.
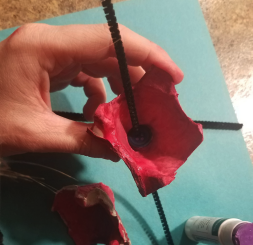
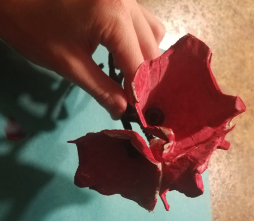
Step 7: Hole punch a petal and add pipe cleaner, hang your ornament where you like.
Decorate your house for the holidays with the flower you made! If you enjoyed the craft, make a few more so you may have poinsettia themed décor.