Presented by Independent Health
By: Dan Walsh, STEM Educator
Download a PDF version of this lesson here!
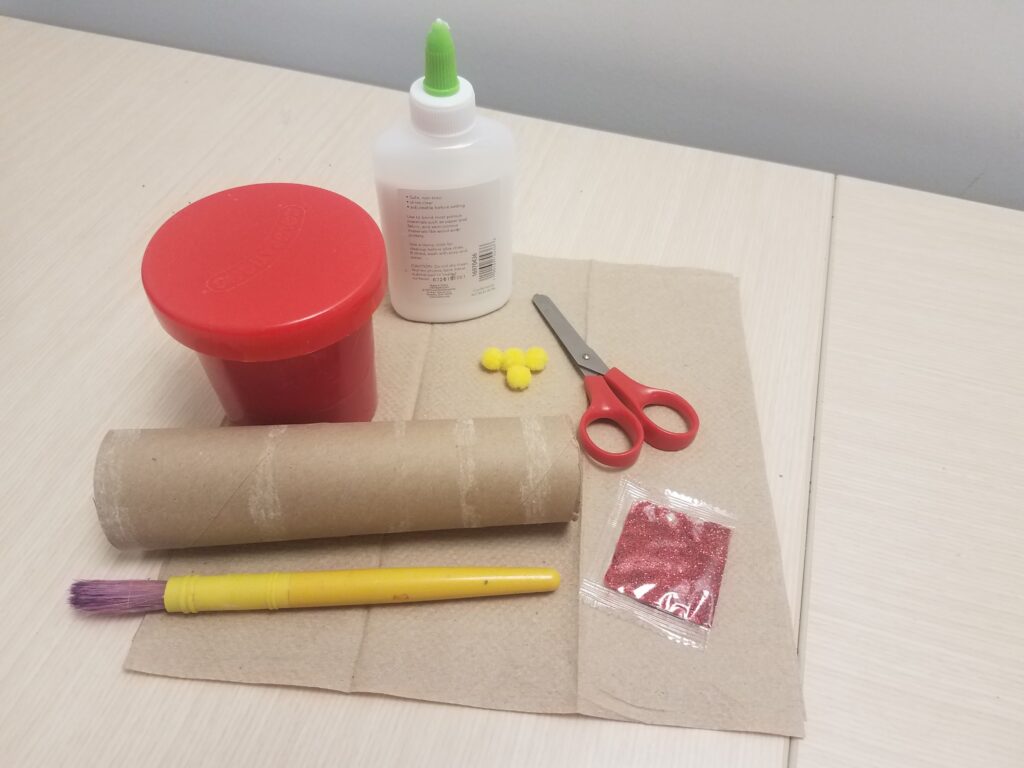
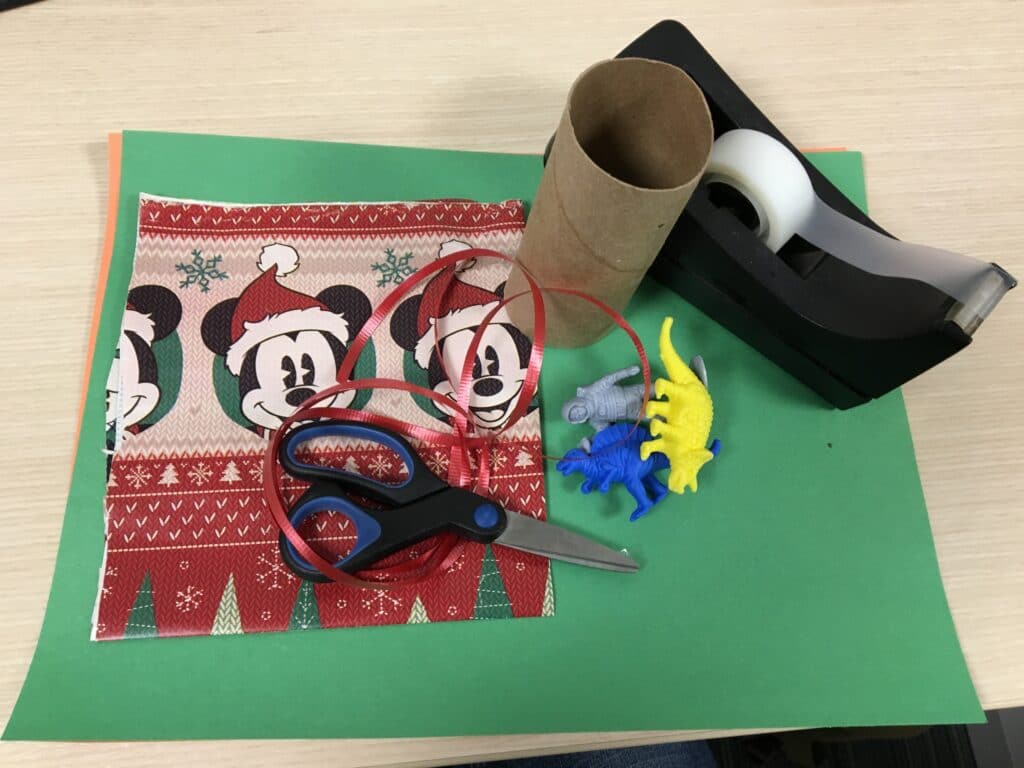
Supplies ideas:
Wrapping paper, ribbon, scissors, trinkets, construction paper, toilet paper tube, tape
Length:
10 minutes
Academic Subjects:
Science
This lesson supports the following standards:
3.4a People in world communities use legends, folktales, oral histories, biographies, and historical narratives to transmit cultural histories from one generation to the next.
Directions for Boxing Day Crackers:
Boxing Day is celebrated in the UK and around the world on December 26th. A boxing day cracker is a tradition that resembles are wish bone tradition. Except the cracker is full of trinkets, treats, and a crown. Traditionally crackers have a small strip on the inside, that when it rips, it makes a loud snap nice.
- Create a paper hat, using this lesson plan.
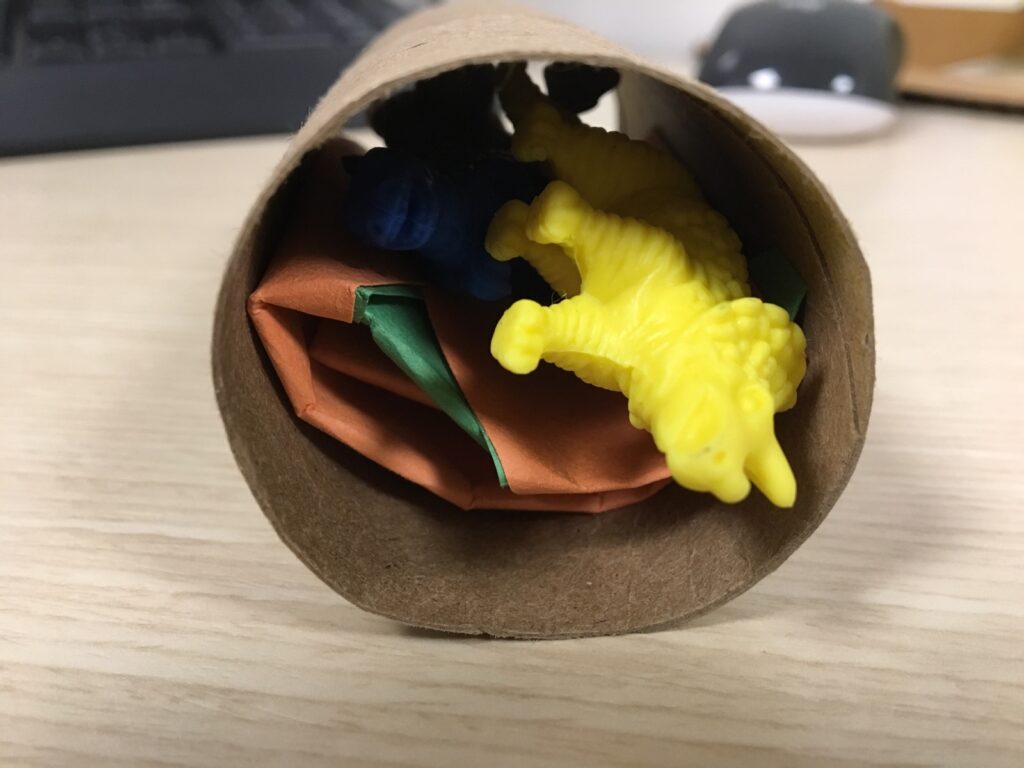
- Fold your crown down to fit inside a paper tube.
- Fill the paper tube with trinkets and treats.
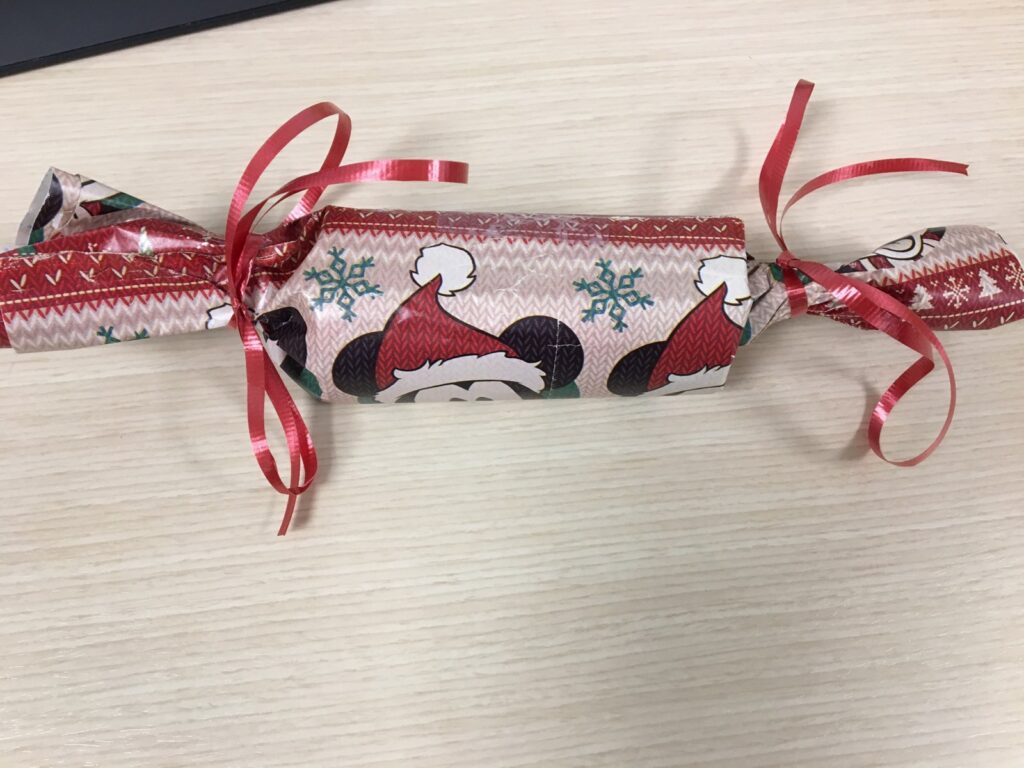
- Cut a small piece of wrapping paper and place the tube on top.
- Wrap the tube.
- Twist off the ends of the wrapping paper and tie with ribbon.

Have a friend or family member hold one end of the wrapping paper and you hold the other. On the count of three pull the cracker towards you. Whoever gets most of the cracker wins the prizes!
Boxing Day Crackers Vocabulary:
Blustery– Weather that has strong winds.
Blizzard– A storm with widespread snowfall accompanied by strong winds