Sanity Savers – Find a Truck Edition: Fire Truck Sanity Saver

Written by: Will Kawalec
Lead Play to Learn Facilitator   
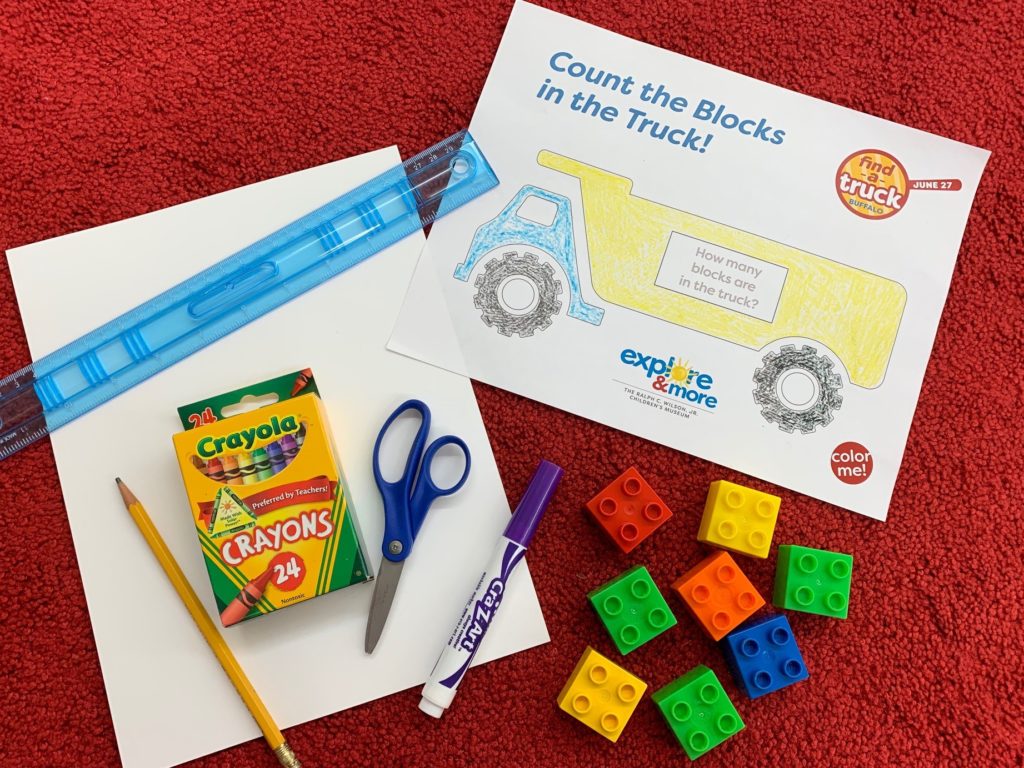
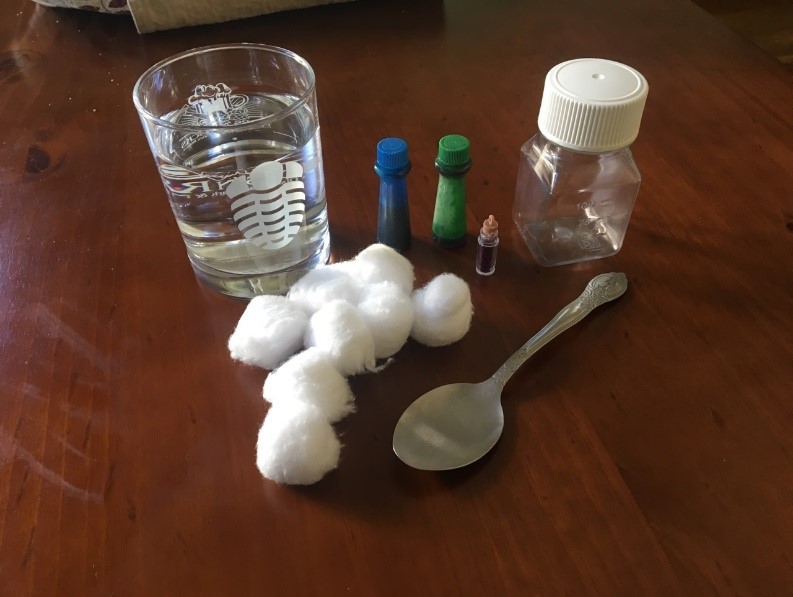
Sponsored by: Dunn Tire

Materials:

Juice/Milk Carton
4 bottle caps (for wheels)
4 Plastic straws
Red Paint
Construction paper
Glue
Tape
Markers 

Sanity Savers - Find A Truck Edition: Fire Truck Sanity Saver

Length:

Set up: 2 Minutes
Activity 10-25 Minutes
Inactive: 20-30 minutes drying time 

Academic Subject(s):

Art, Design  

Directions:

Step 1: Lay down some newspaper or old magazines for your workspace and gather all of your materials!
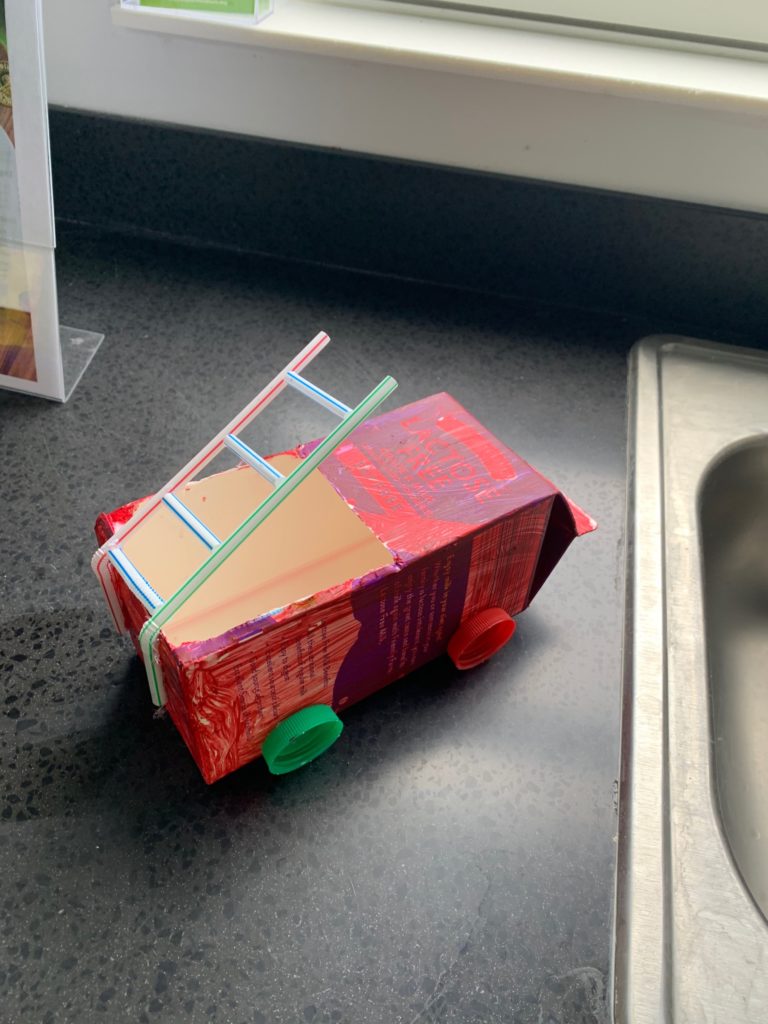
Step 2: Begin by removing the plastic cap of the carton. Cut out a rectangle half the length of the carton on only one side of the carton.  This will be the top of the fire truck. Paint the remaining carton RED. Grown-ups your little ones might need a little help with these steps.
Step 3: While the paint is drying, begin planning out the next steps of your fire truck – building the ladder!
Step 4: To assemble your ladder you will need your four straws. Keep two of the straws the same length, laying them out on your workspace parallel to one another.   Cut the second two straws into thirds, leaving you with 6 equal pieces. Glue the 6 pieces evenly apart between the two parallel full straws. This will create 6 steps to you ladder!
Step 5: Once your carton is completely dry, attach the ladder to the back of your fire truck.
Step 6: With glue connect the bottle caps to the side of the truck these will be the wheels.
Step 7: Now it is time to design your truck! You can add windows, icons or whatever else you can imagine! You can draw these directly on the truck or on a separate piece of paper and glue your decorations to the carton.   
Step 8: Play with the newly created truck!            

Check out our other Sanity Savers posts here! 

Sanity Savers – Find a Truck Edition: Counting Dump Truck

Sponsored by: Dunn Tire

By: Valerie Drapeau     
Education Coordinator

Download printable directions here!

Materials:

Dump Truck coloring page (print out)
White piece of copy paper
Crayons or colored pencils
Pencil or Marker
Ruler
Scissors
Blocks or Legos

Length:

Set up: 15 minutes
Activity: 20-30 minutes

Academic Subject(s):

Math and Art

In today’s Sanity Saver we will be featuring a dump truck and working on some early math skills!  In this activity your child will practice number writing and counting, all while having fun filling up their truck and dumping their blocks!  They can even color their dump truck to customize it.  We hope you will join us on Saturday, June 27th for the “Find-A-Truck” event in Buffalo as well!

Directions:

Step 1: Print out the Dump Truck coloring page.  Encourage your child to customize their truck in whatever colors they would like!
Step 2: Take your additional sheet of white paper and start folding about a 2-inch section.  Continue to flip over and fold four more times until you have one strip.  Using a ruler, pencil and child safe scissors, have your child measure and cut that strip into four equal parts.  Parents remember, it doesn’t have to be perfect!  This is a great learning opportunity for your child to work with a ruler, as well as work on basic math skills with how to make parts out of a whole.
Step 3: Open each strip part (it should look like an accordion) and have your child practice cutting apart each fold line to create small squares.  You should have 20 pieces of paper when finished cutting.  These pieces will be for your numbers!

Step 4: Starting with the number 1, have your child use a pencil or marker to write the numbers 1-20 on the slips of paper.  This is great opportunity to practice proper number writing…make sure those 6’s and 9’s are the correct direction for instance!  For younger children, you could write the numbers and have them practice tracing what you wrote.  This activity is also great for practicing number recognition!
Step 5: Mix up the numbers and select one number square at a time to place on the truck.  Your child will then “fill up” the truck with the correct number of blocks.  Let them “dump” the blocks when they’re ready to try the next number!


Check out our other Sanity Savers with awesome truck activities for your child to try this week!

Vocabulary Words:

Number Recognition: the ability to visually recognize and name numbers.  How to practice it: point out and name numbers on street signs, houses and buildings while you are out and about. 
Part-Part-Whole Math Concept: is a ratio or a fraction that represents a relationship between a part and its whole.

Check out our other Sanity Savers posts here! 

Sanity Savers: Celebrate Pride: Make your own Rainbow Flag

By: Amelia Schrader
Senior Manger of Learning and Education 

Materials:

Crayons or markers (red, orange, yellow, green, blue and purple)
White paper
Chop stick or craft stick
Ruler
Clear tape

June is Pride Month across the country! Joyful festivals are held across the United States to commemorate the victories of and bring attention to the civil rights and equal treatment for lesbian, gay, bisexual, transgender and queer (LGBTQ) community members. In addition, these festivals celebrate the successes of LGBTQ individuals.

Sanity Savers: Celebrate Pride: Make your own Rainbow Flag

The Pride Flag was originally designed by Gilbert Baker in 1978. The design used today uses the six colors of the rainbow each with its own meaning:

Red: Life
Orange: Healing
Yellow: Sunlight
Green: Nature
Blue: Magic/Air
Purple: Serenity/Spirit

Pride Flags are still flown today by members of the LGBTQ community and allies. Today you are going to learn to make your own Pride Flag!

Directions:

Step 1: Measure and cut your paper into a 4inch X 10 inch strip.

Step 2: Orientate your paper so it 4 inches high and 10 inches long. Take your ruler and measure out 6 different stripes on one side of your flag. Each strip should be 2/3 inch high X 10 inches long.

Step 3: Color in each stripe in the following order across the entire flag.

Top: Red

2nd: Orange

3rd: Yellow

4th: Green

5th: Blue

Bottom: Purple

Step 4: Flip your Pride flag over and place your chop stick or craft stick in the center of the flag. Secure the stick with tape.

Step 5: Fold the flag in half with the stick hidden in between the two sides. Secure the ends together with tape.

Step 6: Wave your Pride flag for everyone to see!

Vocabulary:

Pride Flag: This flag is a symbol of LGBTQ social movements and is often associated as a symbol of peace and love.

LGBTQ : An acronym for Lesbian, Gay, Bisexual, Transgender and Queer that people use to identify with and celebrate people of all gender identities and all they ways people love each other.

Ally: A person who is a supporter.

Check out our other Sanity Savers posts here! 

Sanity Savers: Nebula in a Jar

Sponsored by: National Grid

Written by: Dan Walsh
STEM Educator

While studying space one of my favorite things to study are Nebulae. Nebulae are almost like clouds in space that are made up of different gases and space dust. Nebulae take up trillions and trillions of miles in space, but the gases are spread out and slowly gather together over time. Here are just a few nebulae to look at before we start our project. What colors do you see? Do you see any shapes in the clouds? Today we are going to be making our own nebulae!

Materials

Glass of water
Cotton balls
Food coloring
Jar with a lid

Directions:

1.) Stretch out a few cotton balls. They will be split up into a few layers in our jar.
2.) Grab your clear container, fill it up with just a little water. Then add your food color of choice. Think back to the pictures of nebulae we just saw. What colors did you see? Stir in the food coloring.
3.) Place some of the cotton balls in the water. Keep putting them in the container until they cover the bottom, and a little white still shows.     
4.) Pour in glitter or beads on top of the cotton balls.

3.) Pour a little more water into the container and add another drop or two of food coloring. You can change colors in between layers! Place more cotton balls on top until the white still shows. Then sprinkle glitter or beads on top of that layer. 
4.) Repeat this process until your jar is almost full, then add a little more water. Place one or two drops of food coloring on top, but don’t stir it! The food coloring will work its way down and create a cool effect! Place the cap on the container and marvel at the nebula you just created!  

Fast facts about Nebulae:

How big are nebulae?
Nebulae take up millions of miles or trillions of light years in space, but the gases are spread out and slowly gather together over time.
The closest nebula to earth is the Helix Nebula, which is 700 light years away. If you flew at the speed of light, it would take you at least 700 years to travel to it.   

Vocabulary:

Gas– One of the three forms of matter; liquid, solid, and gas. Gas is an air like substance that can float around freely.
Stars– Huge balls of different gases. The closest star to earth is the Sun!
Constellation– A group of visible stars that create a pattern we see on Earth.
Astronomer– A person who studies space, stars, planets, and even nebulae!

Check out our other Sanity Savers posts here!  

Field trips are back! Please be aware that it will be busier than usual.