By: Amelia Schrader
Senior Manger of Learning and Education
Materials:
Crayons or markers (red, orange, yellow, green, blue and purple)
White paper
Chop stick or craft stick
Ruler
Clear tape
June is Pride Month across the country! Joyful festivals are held across the United States to commemorate the victories of and bring attention to the civil rights and equal treatment for lesbian, gay, bisexual, transgender and queer (LGBTQ) community members. In addition, these festivals celebrate the successes of LGBTQ individuals.
The Pride Flag was originally designed by Gilbert Baker in 1978. The design used today uses the six colors of the rainbow each with its own meaning:
Red: Life
Orange: Healing
Yellow: Sunlight
Green: Nature
Blue: Magic/Air
Purple: Serenity/Spirit
Pride Flags are still flown today by members of the LGBTQ community and allies. Today you are going to learn to make your own Pride Flag!
Directions:
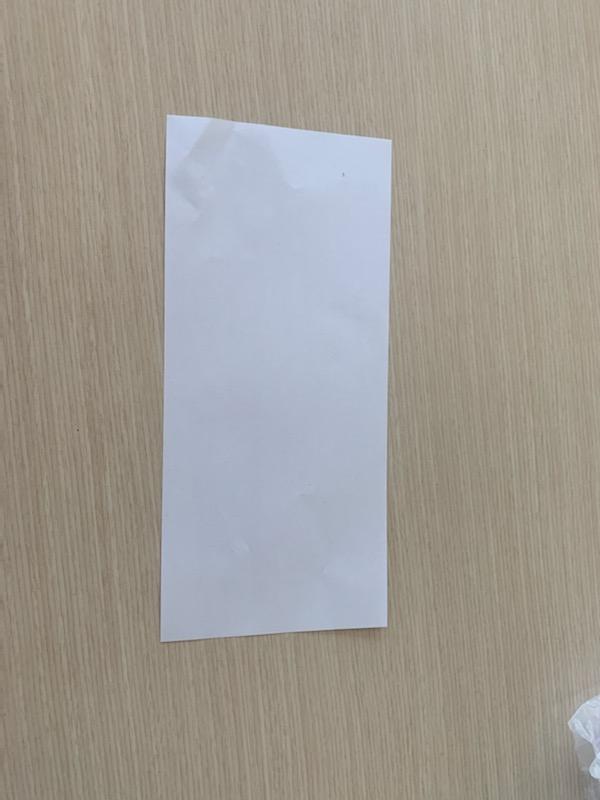
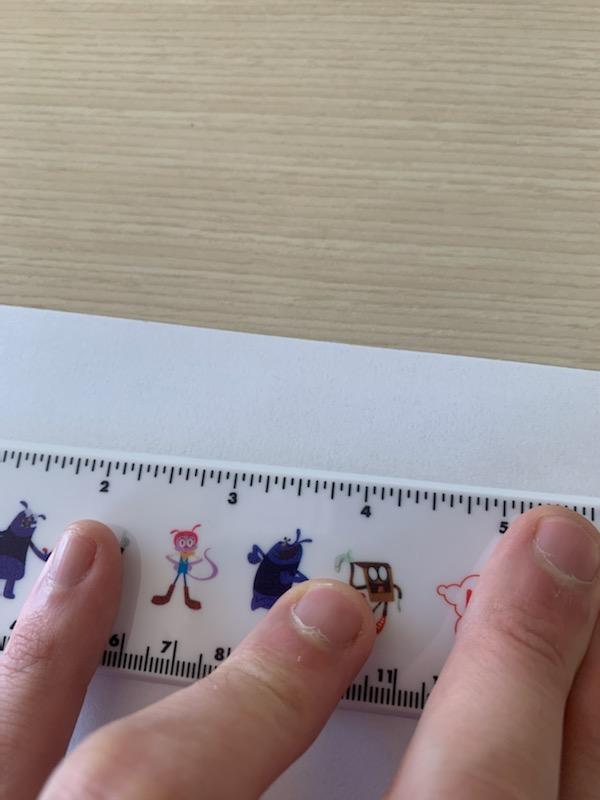
Step 1: Measure and cut your paper into a 4inch X 10 inch strip.
Step 2: Orientate your paper so it 4 inches high and 10 inches long. Take your ruler and measure out 6 different stripes on one side of your flag. Each strip should be 2/3 inch high X 10 inches long.
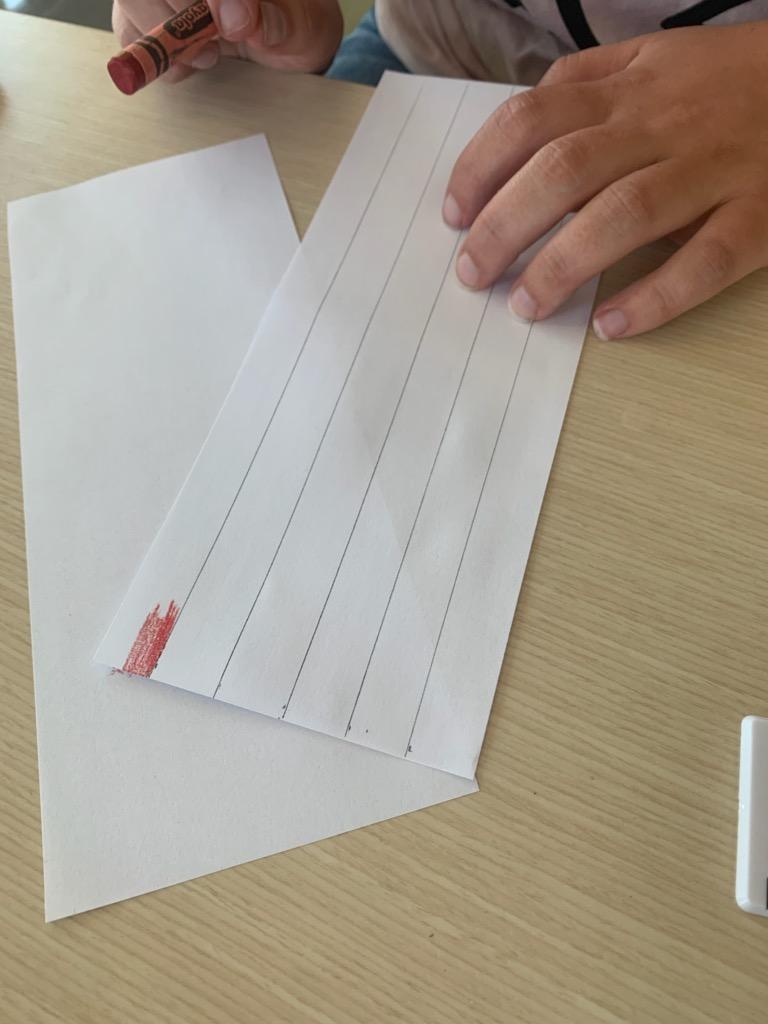
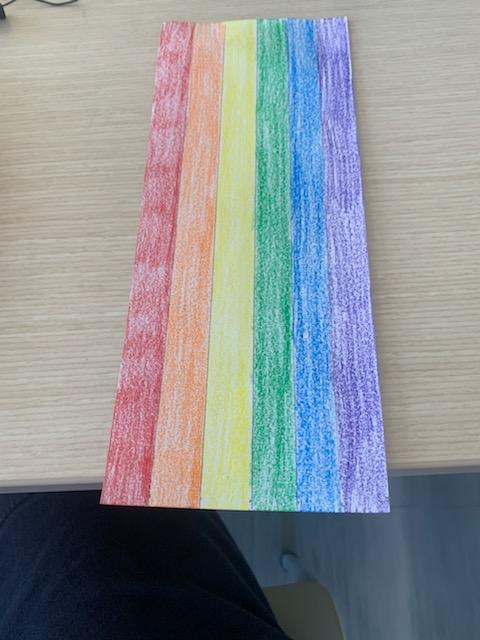
Step 3: Color in each stripe in the following order across the entire flag.
Top: Red
2nd: Orange
3rd: Yellow
4th: Green
5th: Blue
Bottom: Purple
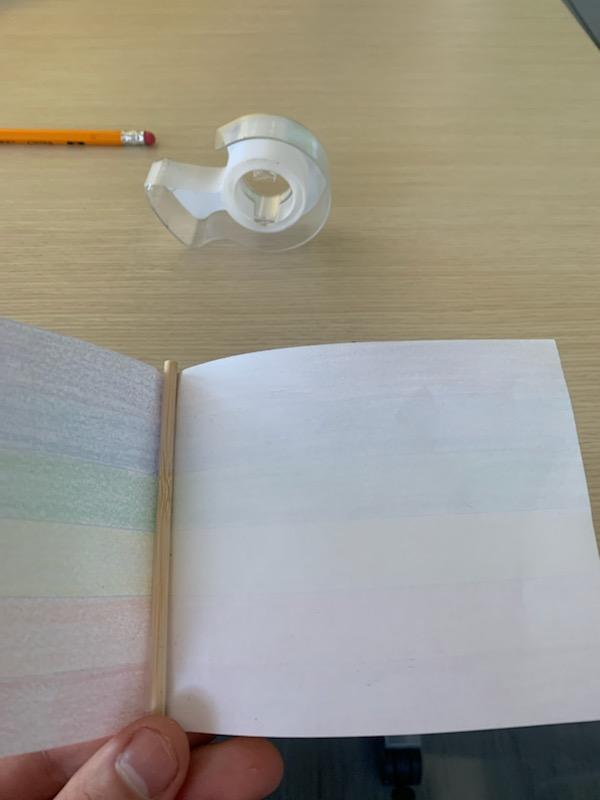
Step 4: Flip your Pride flag over and place your chop stick or craft stick in the center of the flag. Secure the stick with tape.
Step 5: Fold the flag in half with the stick hidden in between the two sides. Secure the ends together with tape.
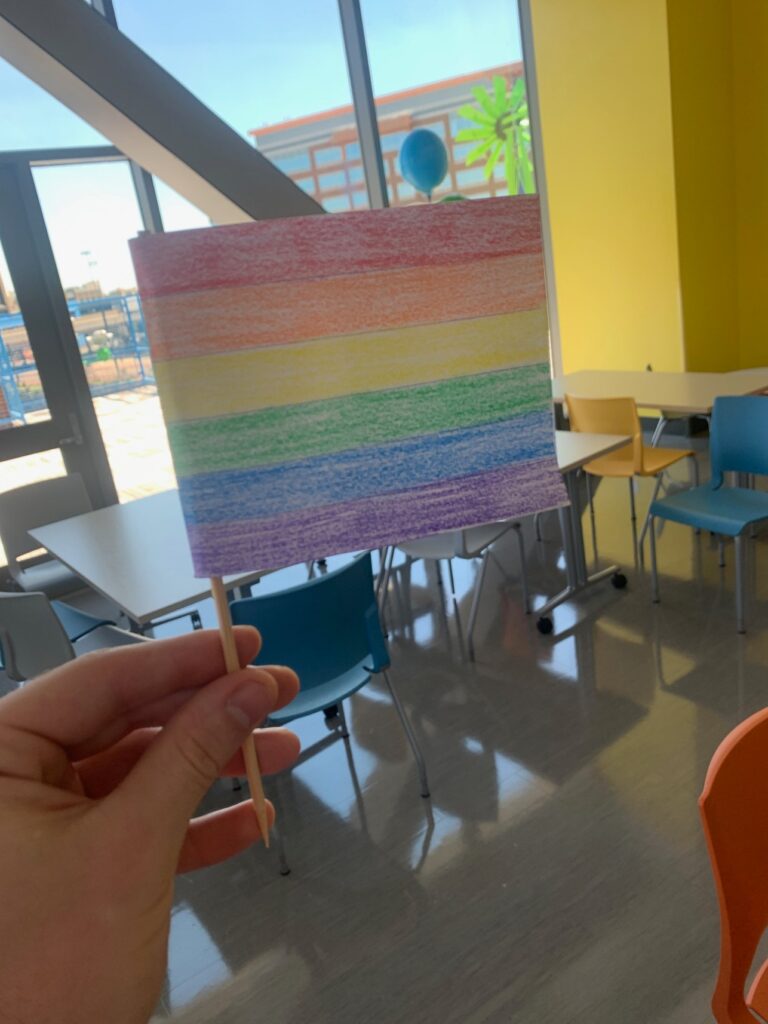
Step 6: Wave your Pride flag for everyone to see!
Vocabulary:
Pride Flag: This flag is a symbol of LGBTQ social movements and is often associated as a symbol of peace and love.
LGBTQ : An acronym for Lesbian, Gay, Bisexual, Transgender and Queer that people use to identify with and celebrate people of all gender identities and all they ways people love each other.
Ally: A person who is a supporter.