Sponsored by: National Grid
Written by: Dan Walsh
STEM Educator
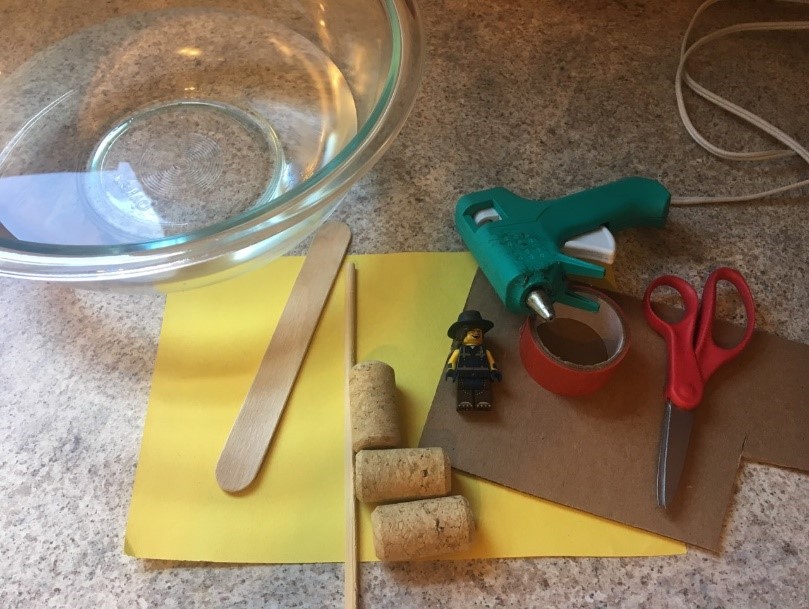
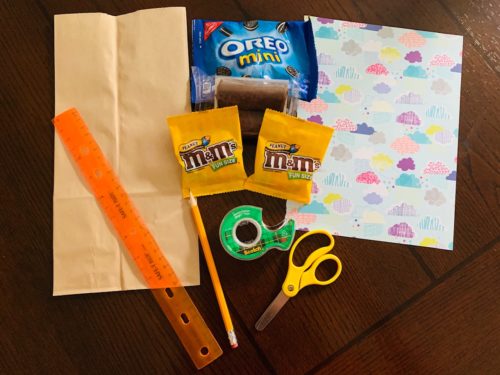
Supplies needed:
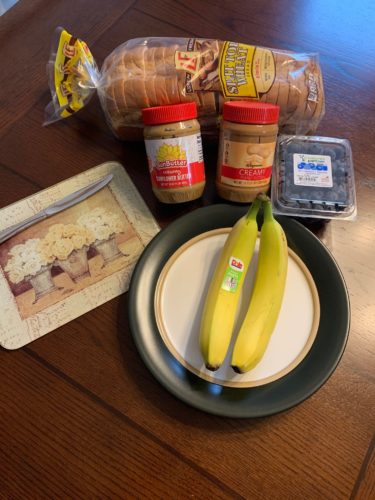
5 cups of ice, 1.5 cups of milk, ¼-1/2 cup of salt, 1.5 tbsp. sugar, .5 tsp vanilla extract, one gallon sized zip lock bag, one sandwich bag, towel / oven mitts

Length:
10-15 minutes
Academic Subjects:
Cooking/Science
This lesson supports the following standards:
P-PS1-1. Ask questions and use observations to test the claim that different kinds of matter exist as either solid or liquid.
Directions for Home Made Ice Cream:
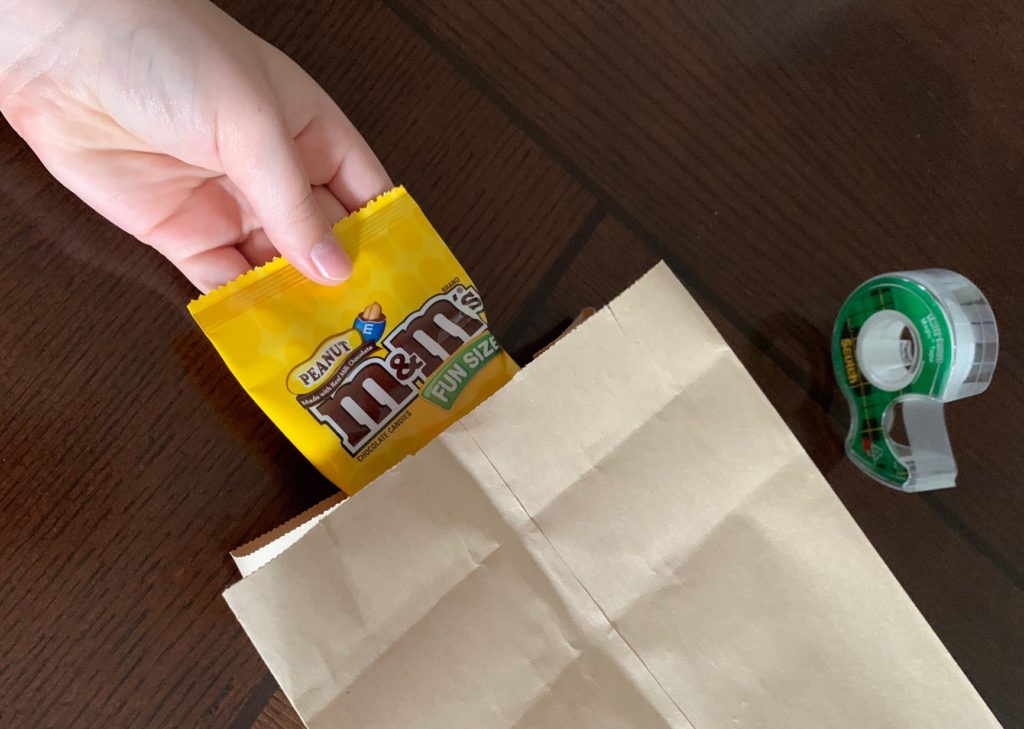
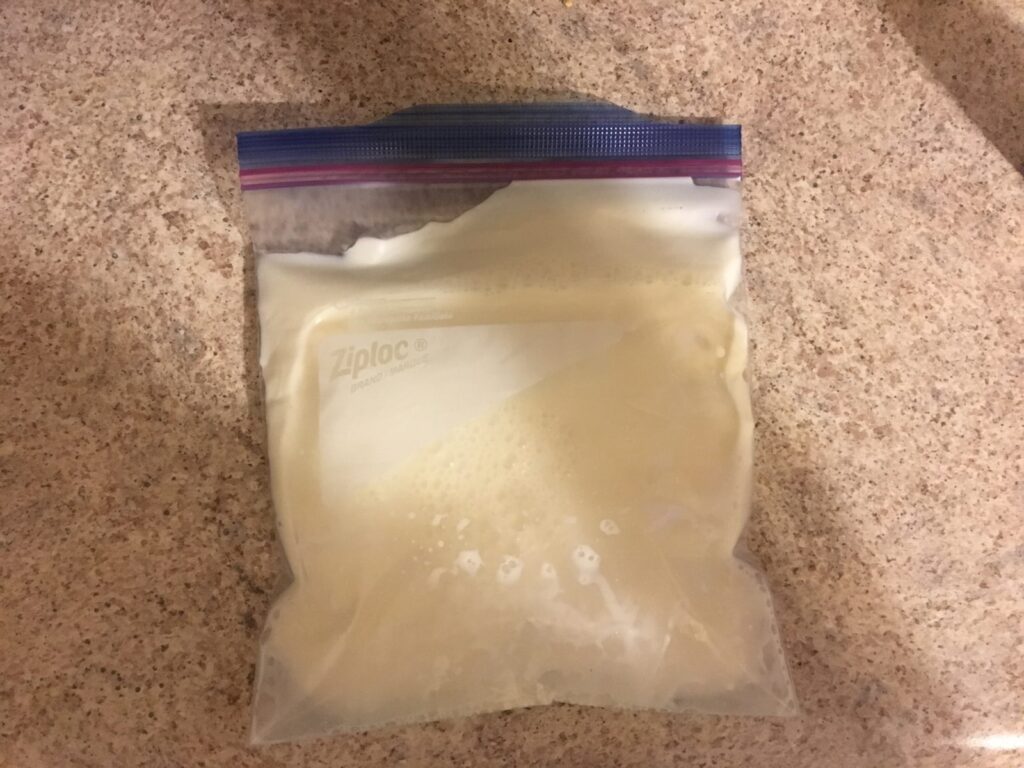
1.) In the small sandwich bag combine milk, sugar, and vanilla. For this step you can swap out vanilla with different extracts such as almond or strawberry. Push out all the excess air and seal the bag shut.
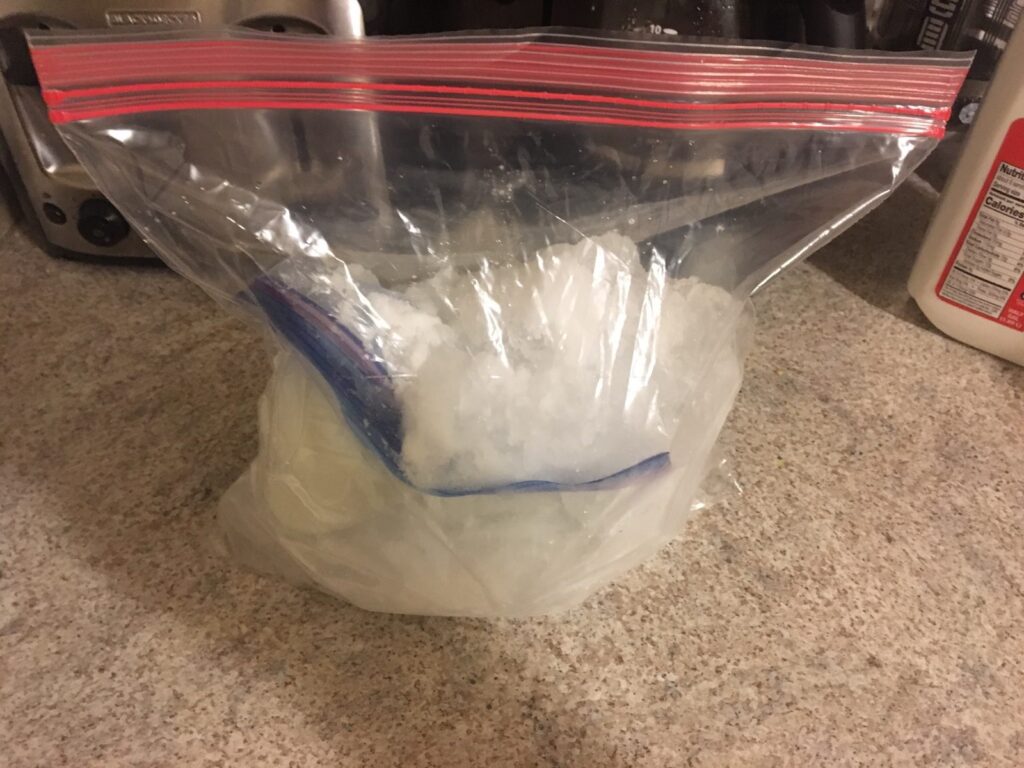
2.) Fill the large bag with ice and salt. It doesn’t have to be quite five cups of ice, as long as the bag is partially full. Then place the sandwich bag on the inside of the ice bag. Seal the ice bag shut.
3.) Grab a set of oven mitts or a towel to wrap the zip lock bag with. The bag is going to get really cold!
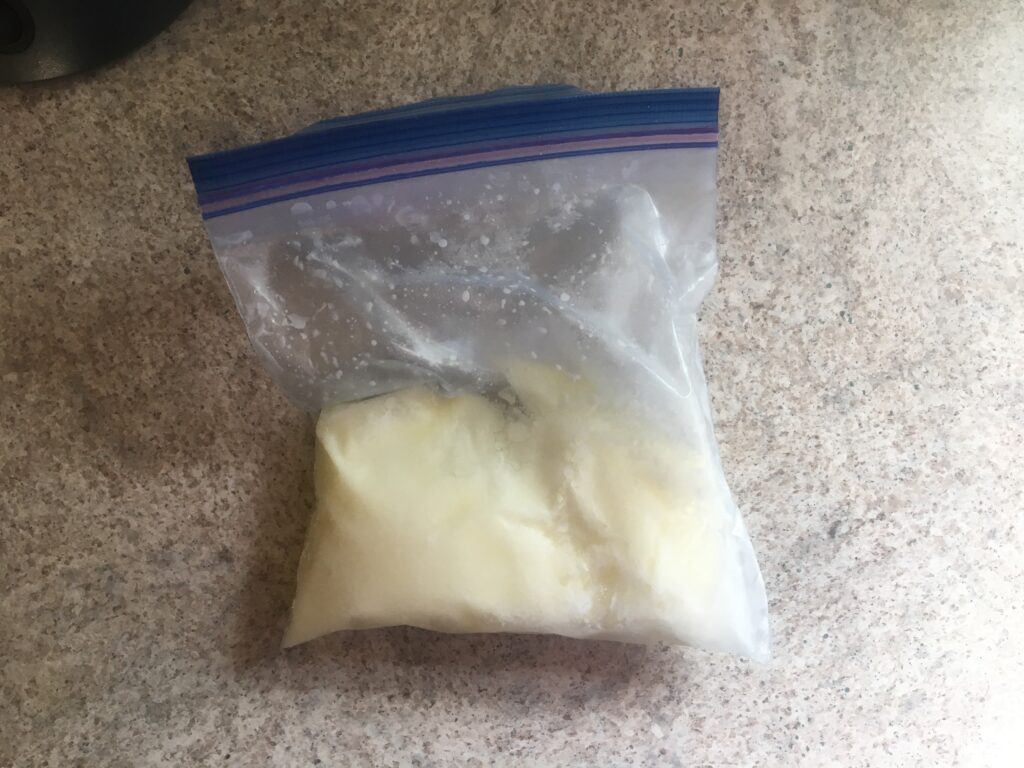
4.) This step will take some patience but is a lot of fun. The zip lock bags need to be shook for seven to ten minutes straight. Set a timer for seven minutes and take turns shaking the bag for as long as you can. At seven minutes, check the bag to see if the milk feels like ice cream. If it’s still a little soft, keep shaking for a few more minutes! (Just be careful that both zip lock bag stay shut.)
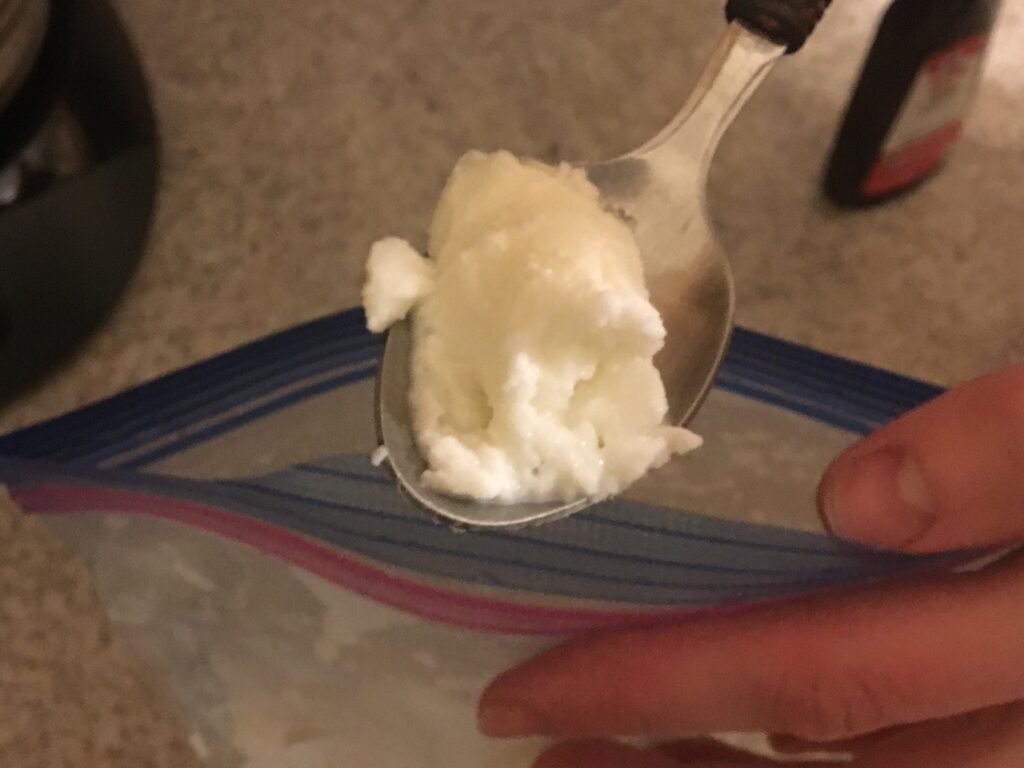
5.) Once the milk feels like ice cream, take the sandwich bag out. Carefully scoop the ice cream out into a bowl and enjoy with your favorite toppings!
Now let’s go over the science behind this. Every winter when plows come, they drop salt on the streets. They do this to help melt the ice, so the streets aren’t slippery. An amazing reaction just like that happens in our ice cream bags. As the salt is trying to melt the ice, it draws energy from the milk. As this happens, the temperature of the milk begins to drop and eventually freezes while the salt is still trying to melt the ice in the large bag.
Cool facts about ice cream:
Before freezers and fridges ice cream could not be stored, so ice cream had to be made right on site. When George Washington was president ice cream and sorbets were taking the world by storm! To the point Washington spent over $200 on ice cream over the summer. This would equal about $5,000 today!
Vocabulary:
Matter– Anything that has mass and can take up space. Matter comes in three forms, solid, liquid, and gas. In this experiment our milk goes from a liquid into ice cream which is a solid.
Freezing point depression- is the technical term for what happens in this experiment. This phenomena occurs when we add salt to the ice. Salt has a lower freezing point so it causes the ice temperature to drop by a few degrees. This keeps the small amount of water in the ice from refreezing, so the salt slowly eats away at the ice, melting it.