Sanity Savers: Birthday Edition – Make Your Own Ice Cream

Written by: Dan Walsh
STEM Educator

Download a printable version here.

Supplies needed:   

5 cups of ice, 1.5 cups of milk, ¼-1/2 cup of salt, 1.5 tbsp. sugar, .5 tsp vanilla extract, one gallon sized zip lock bag, one sandwich bag, towel / oven mitts
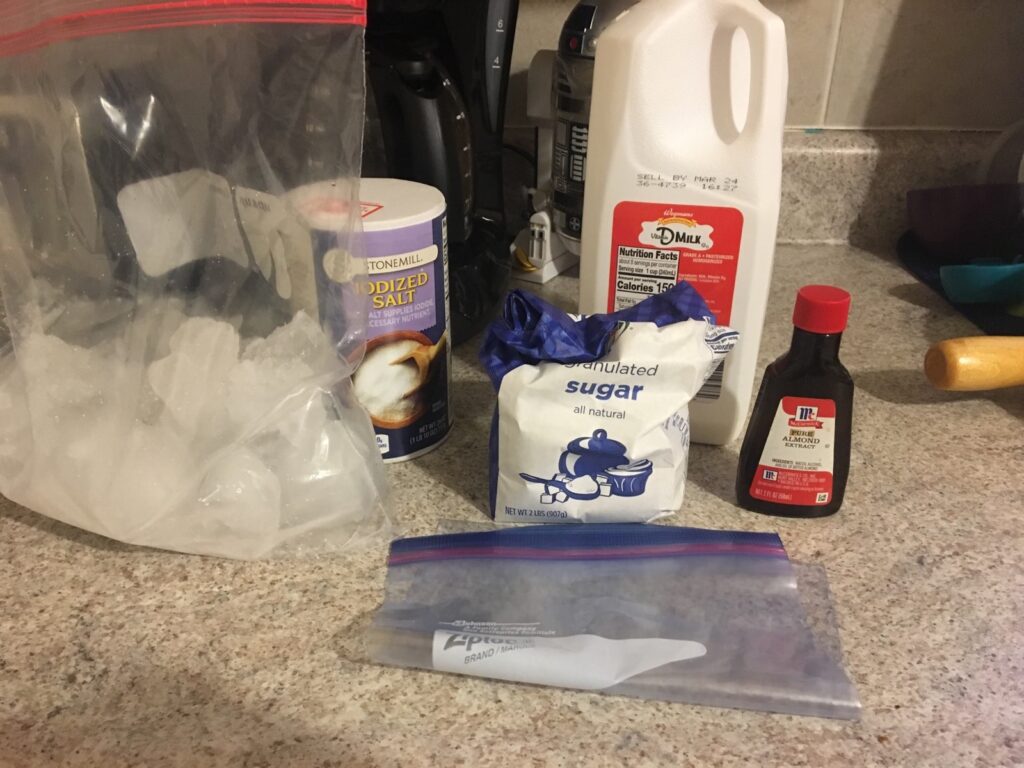
Sanity Savers: Home Made Ice Cream

Length:  

10-15 minutes

Academic Subjects:

Cooking/Science
This lesson supports the following standards:  P-PS1-1. Ask questions and use observations to test the claim that different kinds of matter exist as either solid or liquid.

We are continuing our Birthday Celebration today by teaching you how to make your very own Rock Salt Ice Cream! This recipe tastes just as delicious as store bought ice cream and you can still add all your favorite toppings!

Directions for Home Made Ice Cream:

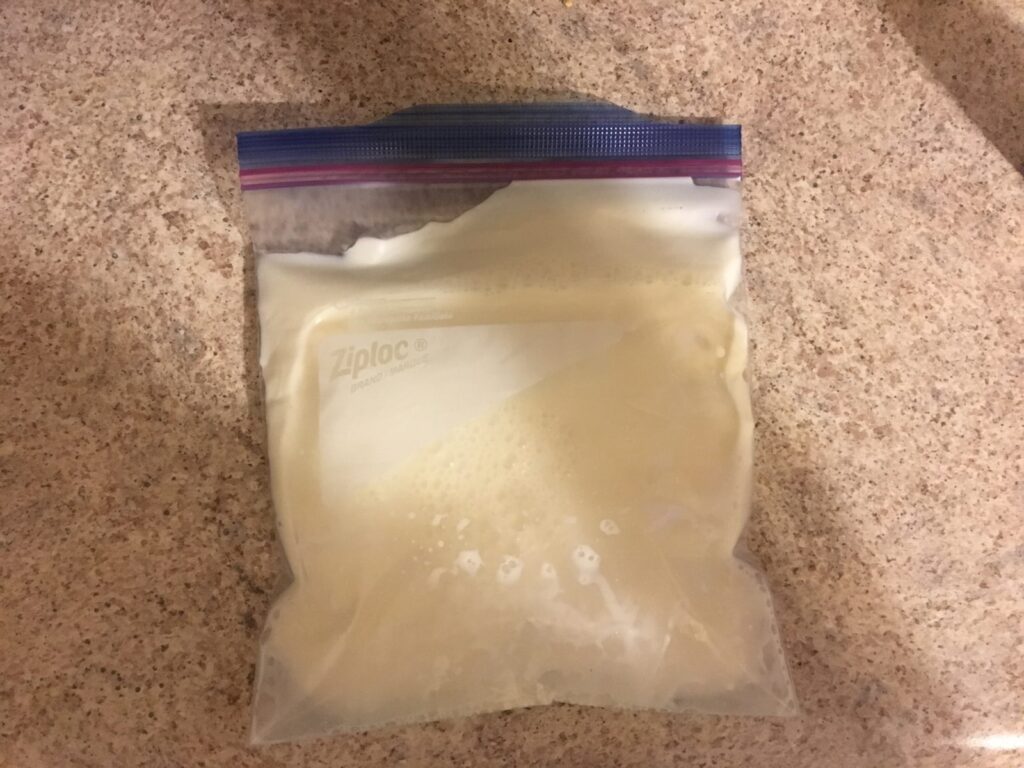
1.)   In the sandwich bag combine milk, sugar, and vanilla. For this step you can swap out vanilla with different extracts such as almond or strawberry. Push out all the excess air and seal the bag shut.  

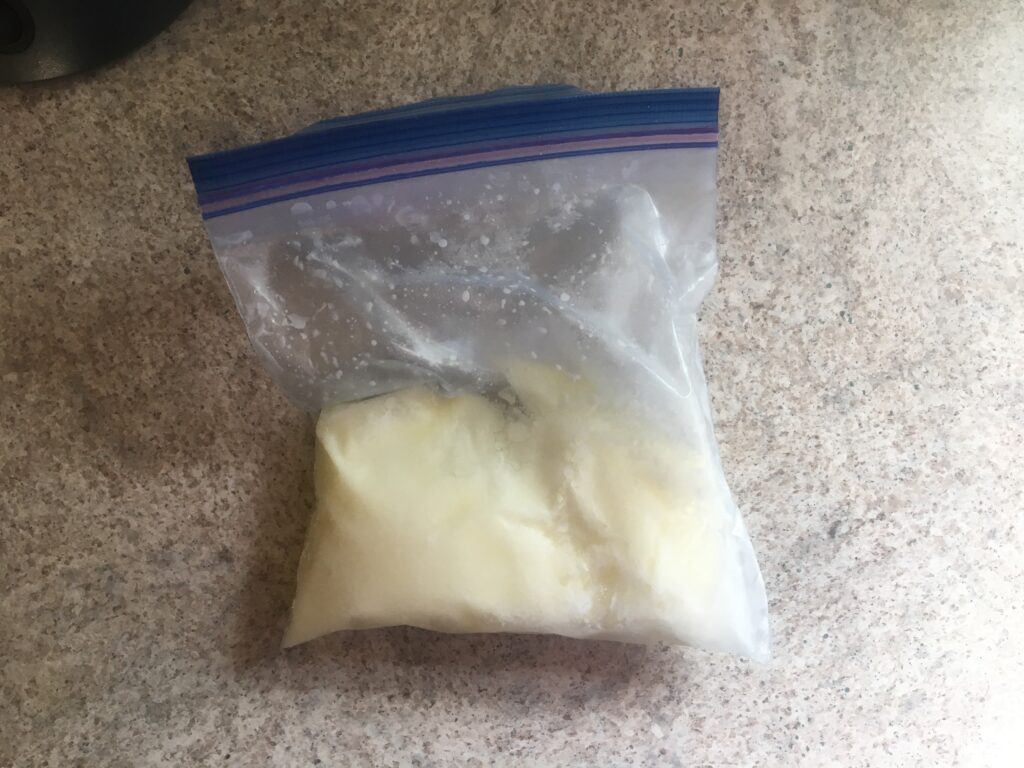
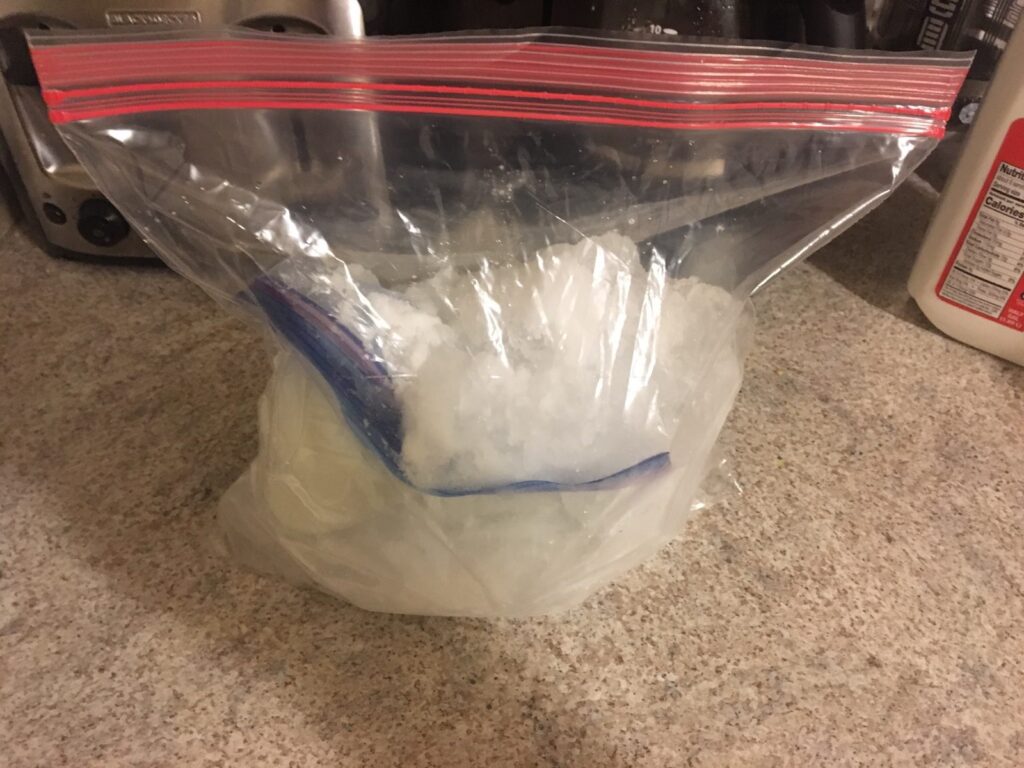
2.)   Fill the large bag with ice and salt. It doesn’t have to be quite five cups of ice, as long as the bag is partially full. Then place the sandwich bag on the inside of the ice bag. Seal the ice bag shut.     

3.)   Grab a set of oven mitts or a towel to wrap the zip lock bag with. The bag is going to get really cold! 

4.)   This step will take some patience but is a lot of fun. The zip lock bags need to be shaked for seven to ten minutes straight. Set a timer for seven minutes and take turns shaking the bag for as long as you can. At seven minutes, check the bag to see if the milk feels like ice cream. If it’s still a little soft, keep shaking for a few more minutes! (Just be careful that both zip lock bag stay shut.)

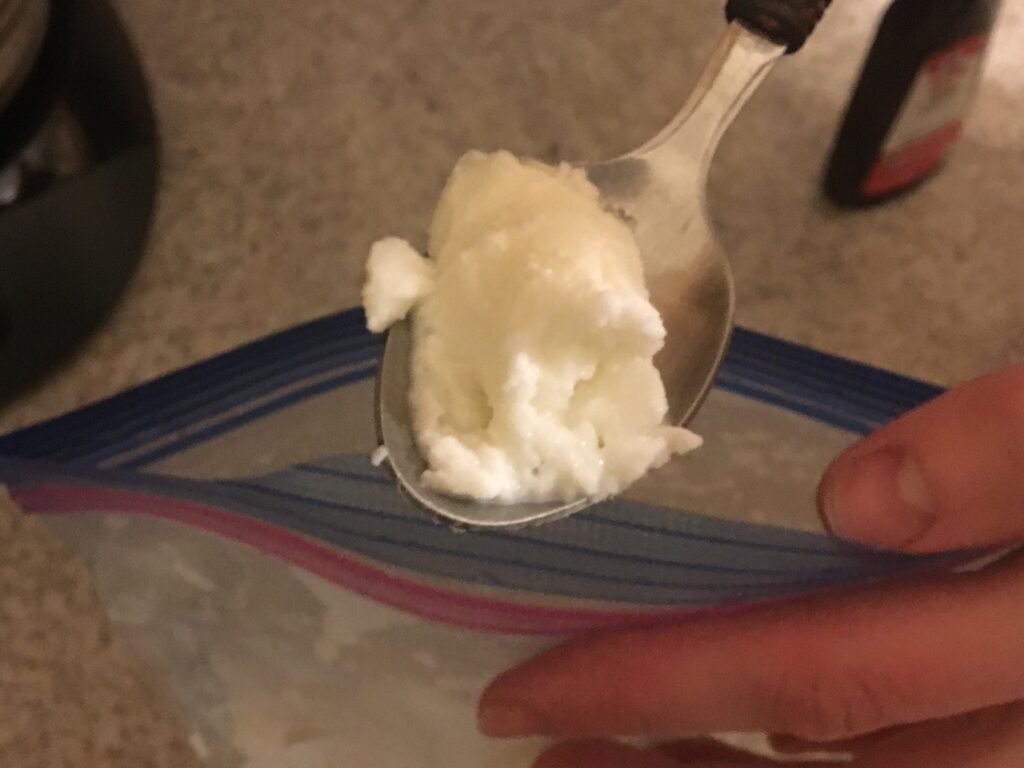
5.)   Once the milk feels like ice cream, take the sandwich bag out. Carefully scoop the ice cream out into a bowl and enjoy with your favorite toppings!  

Now let’s go over the science behind this. Every winter when plows come, they drop salt on the streets. They do this to help melt the ice, so the streets aren’t slippery. An amazing reaction just like that happens in our ice cream bags. As the salt is trying to melt the ice, it draws energy from the milk. As this happens, the temperature of the milk begins to drop and eventually freezes while the salt is still trying to melt the ice.  

Cool facts about ice cream: Before freezers and fridges ice cream could not be stored, so ice cream had to be made right on site. When George Washington was president ice cream and sorbets were taking the world by storm! To the point Washington spent over $200 on ice cream over the summer. This would equal about $5,000 today!

Vocabulary:

Matter– Anything that has mass and can take up space. Matter comes in three forms, solid, liquid, and gas. In this experiment our milk goes from a liquid into ice cream which is a solid. 
Freezing point depression– is the technical term for what happens in this experiment. This phenomena occurs when we add salt to the ice. Salt has a lower freezing point so it causes the ice temperature to drop by a few degrees. This keeps the small amount of water in the ice from refreezing, so the salt slowly eats away at the ice, melting it.

Check out our other Sanity Savers posts here!  

Sanity Savers: Building the 3 Pigs a New Home

Sponsored by: National Grid

Written by: Dan Walsh
STEM Educator

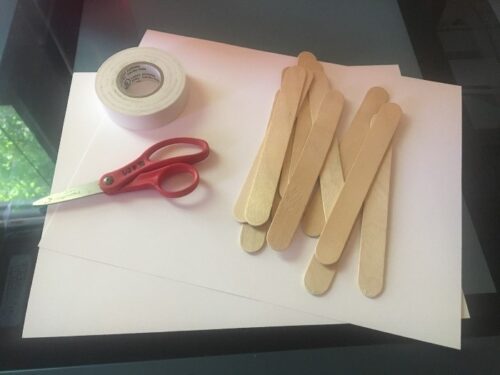
Supplies needed for this activity:

Craft sticks, tape, scissors, crayons

Length:

20 minutes

Academic Subjects:

Art, Science
This lesson supports the following standards:
ETS1.A: Defining Engineering Problems- Possible solutions to a problem are limited by available materials and resources (constraints).

Directions for Building The Three Pigs A New Home  

The Big Bad Wolf is at it again! You have been asked by the three pigs to construct a house that can withstand the big bad wolf’s breath. Can you help the three pigs!? This is an open-ended challenge. There are different ways to build a house.  Below you can find directions to help you build a house or create your own.   

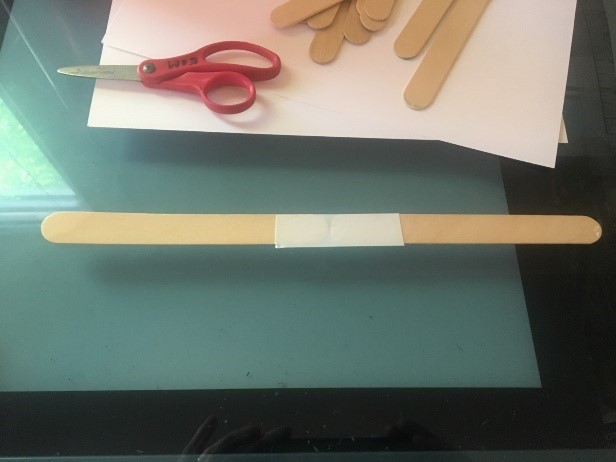
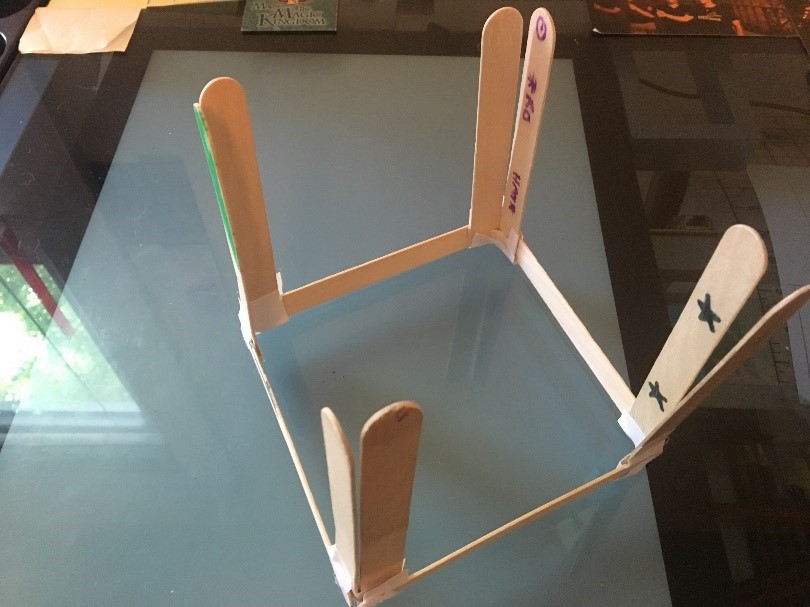
1.) Tape two craft sticks together lengthwise. Flip them so they are standing width wise.
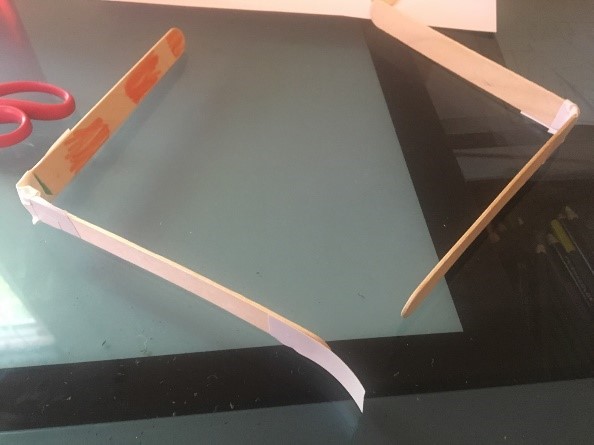
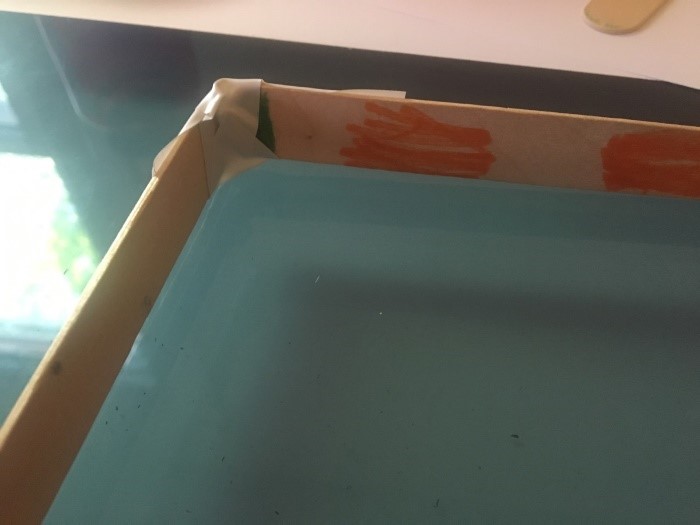
2.) Bend the tape to form a corner. Add more tape if needed. 
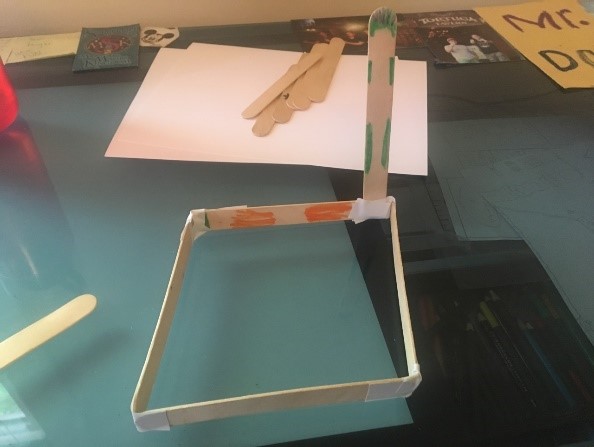
3.) Repeat steps one and two and create another corner. Tape the two sets together to form a square.
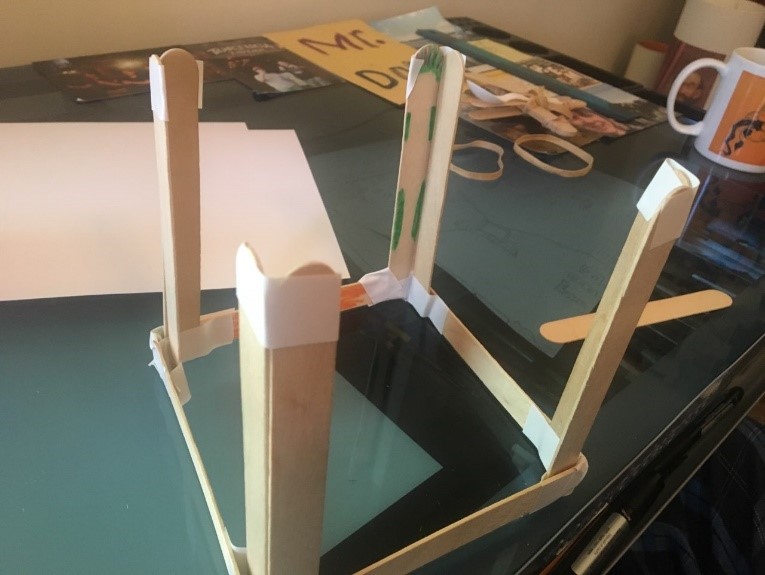
4.) Place a small piece of tape at the end of a craft stick and place it lengthwise pointing toward the ceiling in a corner. 
5.) Repeat this process seven more times. Each corner will have two craft sticks acting as the corner of a house.
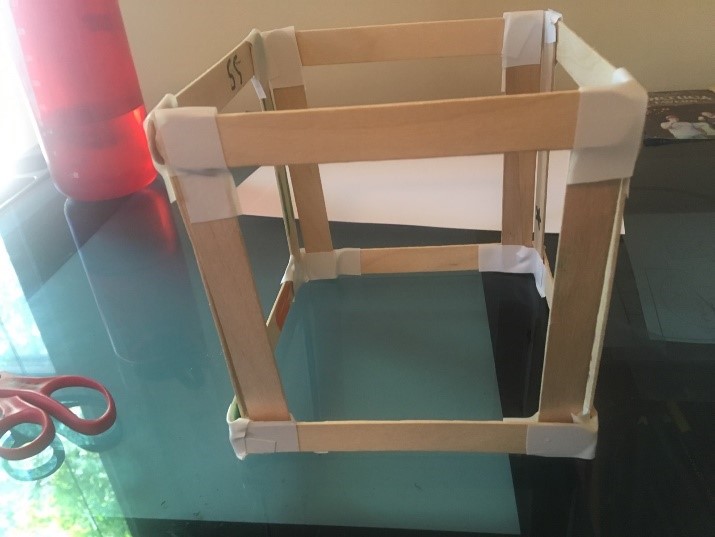
6.) Tape the top of the craft stick corners together.
7.) Tape a craft stick between each corner lengthwise.
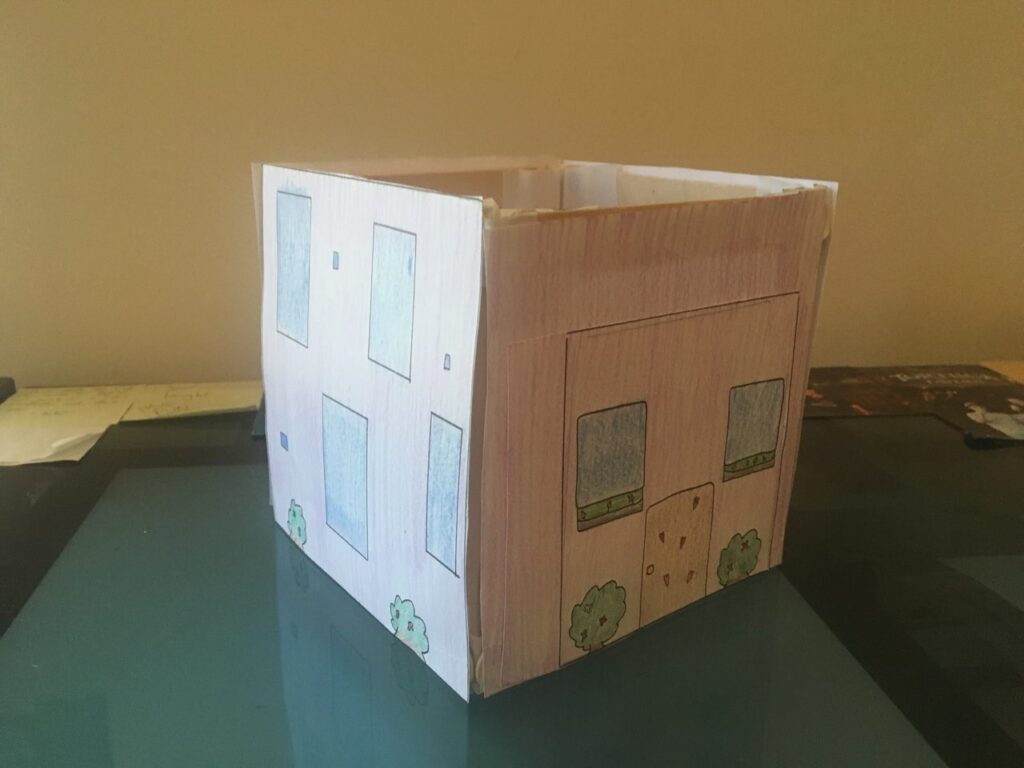
8.) Now comes the fun part, decoration time!! Decorate your four pieces of paper however you wish. Using a glue stick secure all paper walls to the craft sticks.
9.) The big bad wolf was spotted headed your way! Take a deep breath and see if your house moves! Will it survive against the big bad wolf!?   

Vocabulary for Building The Three Pigs A New Home:

Structurally sound- When a building is free from decay, defects or flaws.  
Architecture– The process and the product of planning, designing, and constructing buildings or other structures.

Check out our other Sanity Savers posts here!  

Sanity Savers: Mars Helicopter

Sponsored by National Grid

Written by Dan Walsh
STEM Educator

Supplies ideas:

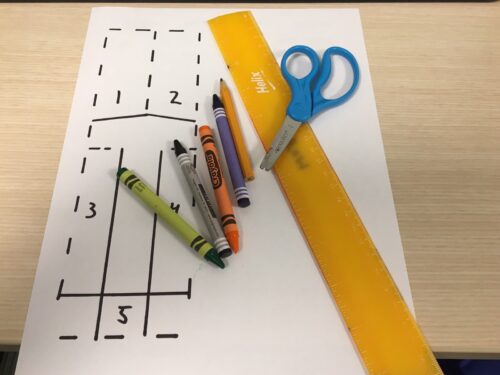
Print out the attached template or draw your own, scissors, ruler, crayons

Sanity Savers: Mars Helicopter

Length:

5 minutes

Academic Subjects:

Science
This lesson supports the following standards:  
ETS1.A: Defining Engineering Problems – A situation that people want to change or create can be approached as a problem to be solved through engineering. Such problems may have many acceptable solutions. (secondary to KPS2-2)

Directions to construct a Mars Helicopter

Recently NASA launched a new Mars Rover. The rover’s name is Perseverance and it is currently expected to land on February 18th, 2021. One of the most exciting things of the Perseverance project is along with the rover a helicopter is hitching a ride to mars! Today we will be acting as scientists creating a helicopter to work on Mars!

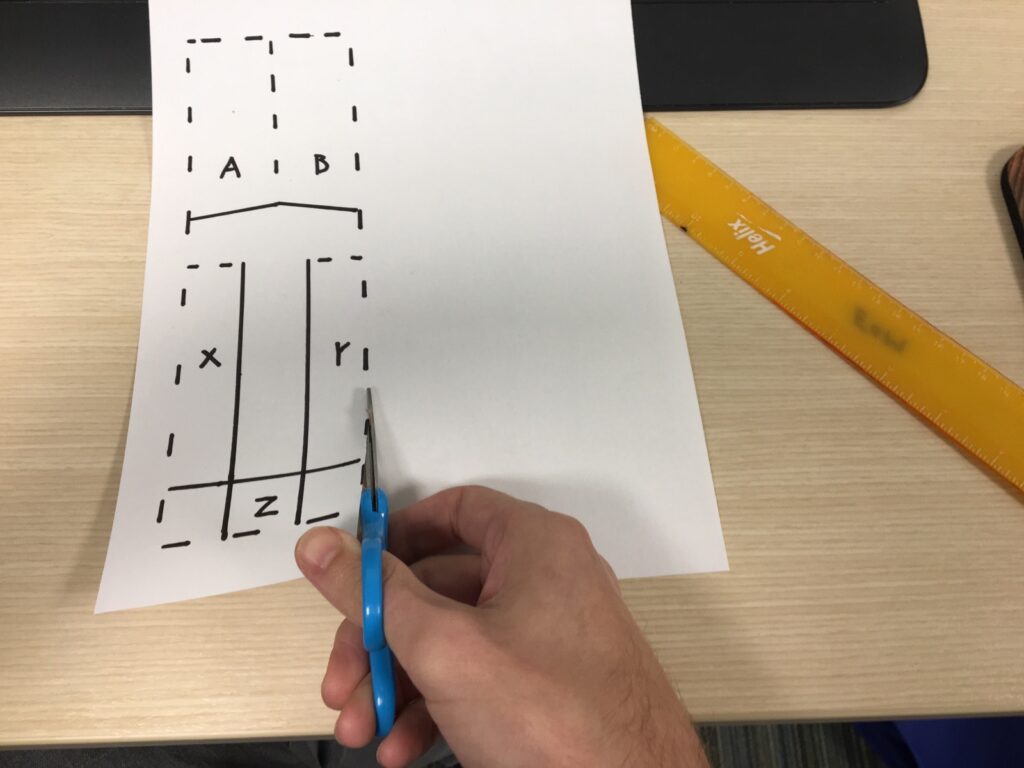
1.)  First you can either print out the attached template or draw your own!  
2.)  Color in your helicopter! If you want the helicopter blades to be different colors, color both sides of the sheet a different color.   
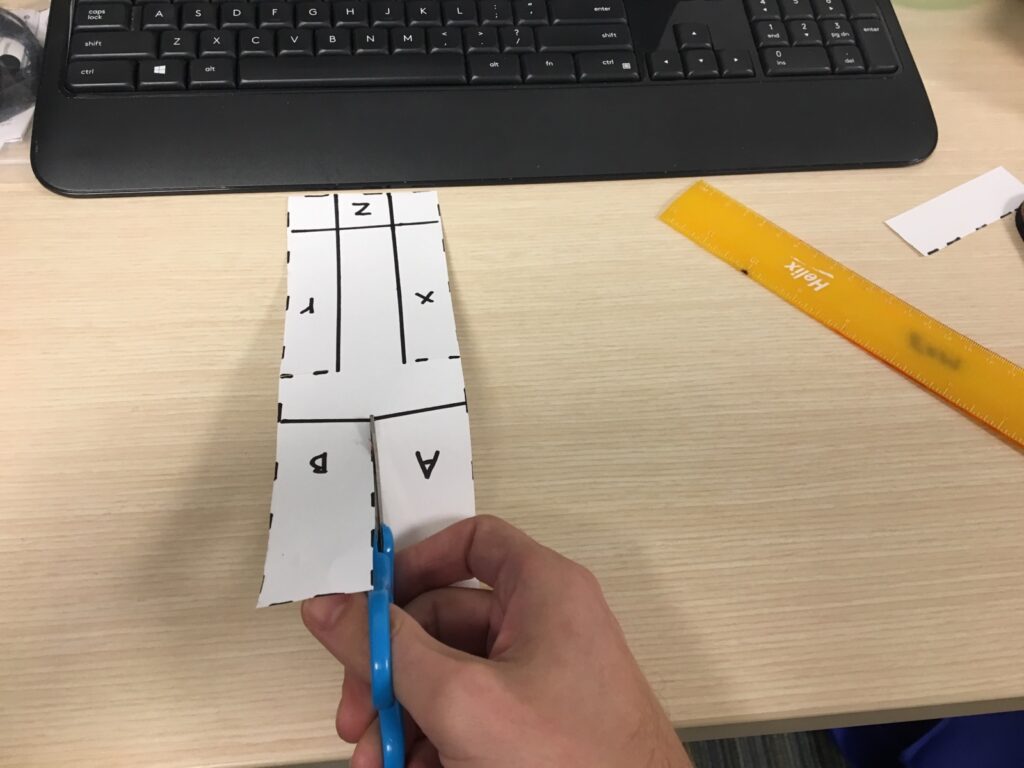
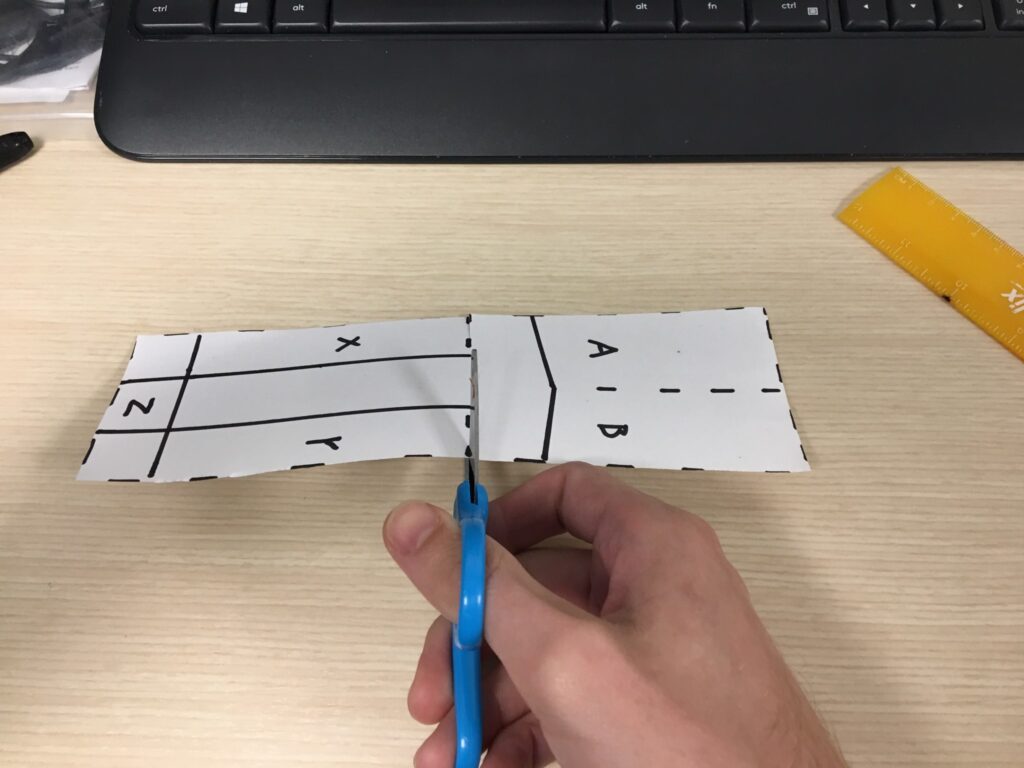
3.)  Cut along the dotted lines.  
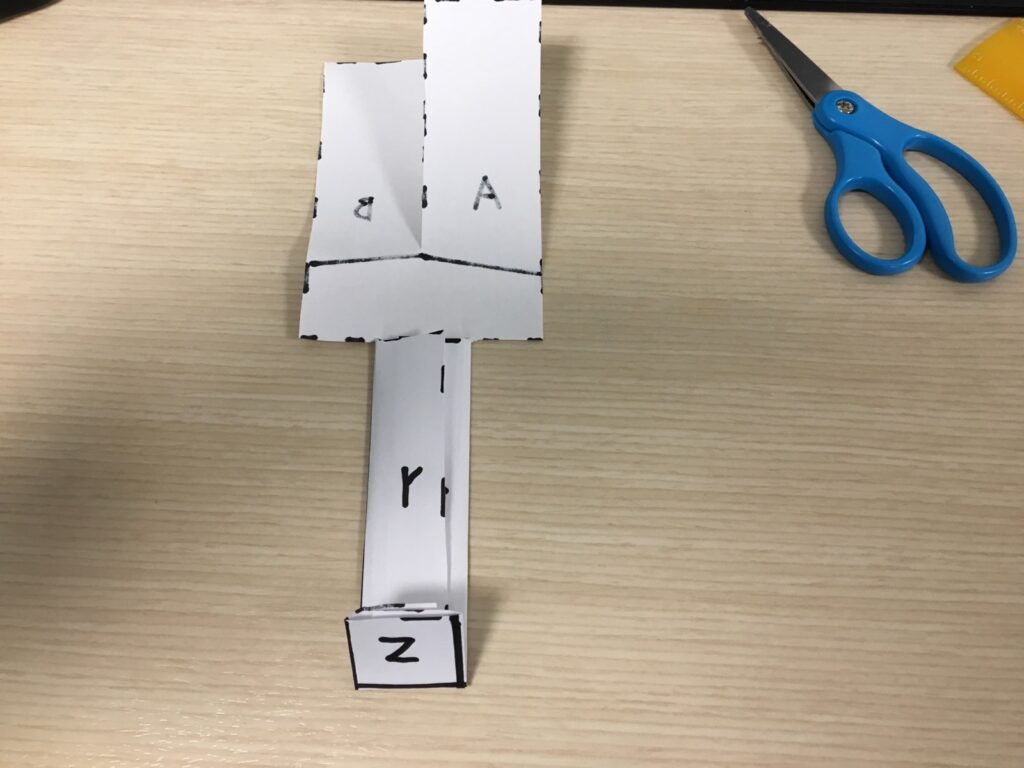
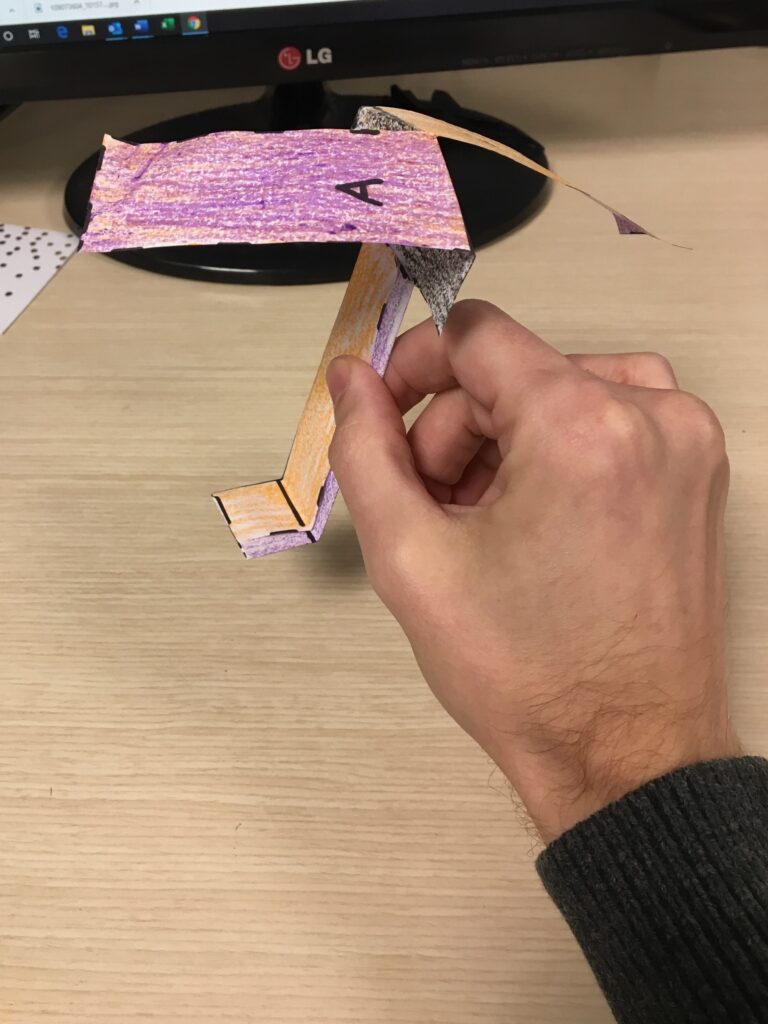
4.)  Fold the solid lines. The X and Y parts fold onto each other, then Z folds over that. The A and B parts should be folded in opposite directions.   
5.)  Name your helicopter and bring it to the testing zone! Hold it as high above your head and let go! What observations did you see?
6.)  Experiment with adding a weight such as a penny or paper clip onto your helicopter to see if it flies faster or slower.  

Mars Helicopter Vocabulary

Perseverance– continued effort to do or achieve something despite difficulties, failure, or opposition.
Rover– A person or thing that spends its time wandering.Aerodynamics- the study of the properties of moving air and the interaction between the air and solid bodies moving through it. We studied aerodynamics in this lesson!

Check out our other Sanity Savers posts here! 

Sanity Savers: Paper Cup Popper

Written By:Valerie Drapeau     
Education Coordinator

Materials:

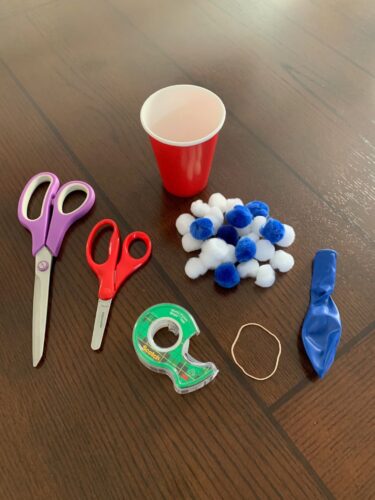
1 9 oz. paper cup (red, white or blue)
Adult scissors
Child safe scissors
1 balloon (red, white or blue)
Pom poms (red, white or blue)
Tape or rubber band to secure the balloon 

Length:

Set up: 5 minutes to create
Activity:Endless fun for kids!

Academic Subject(s):

Art

I’m a mom of four kids, so I like crafts that are quick to make, with not a lot of clean up. Can anyone relate?  Well then this is the perfect craft for you to work on with the kids!  The Patriotic Paper Cup Popper only takes a few minutes to make but is loads of fun to play with! 

Directions:

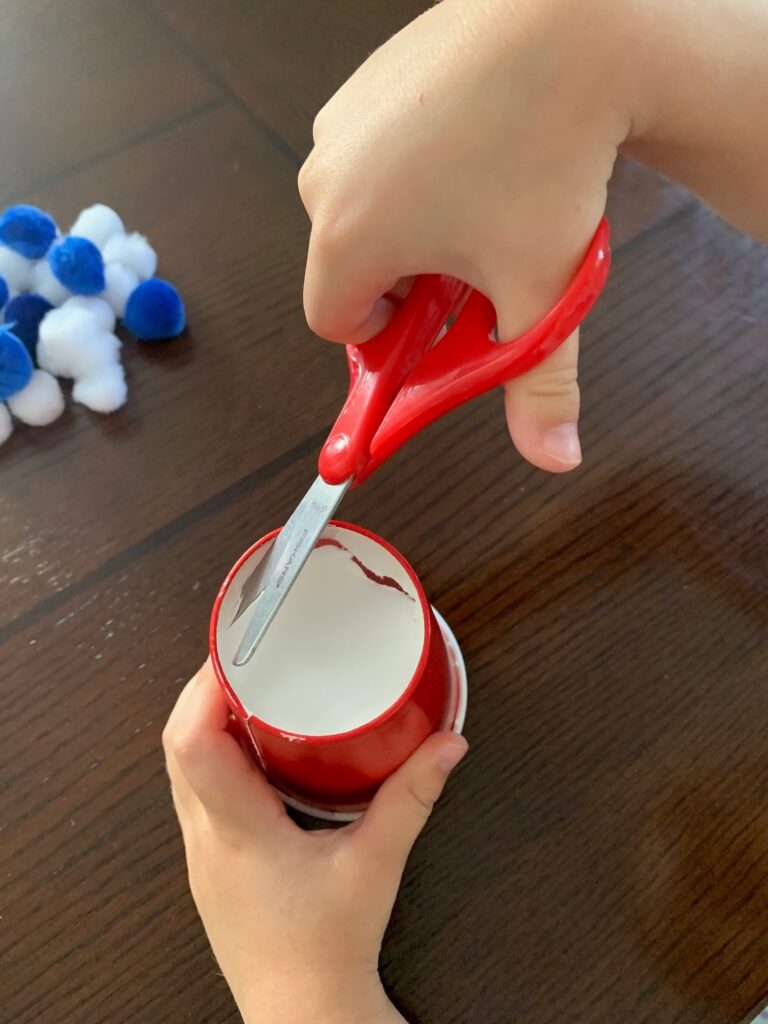
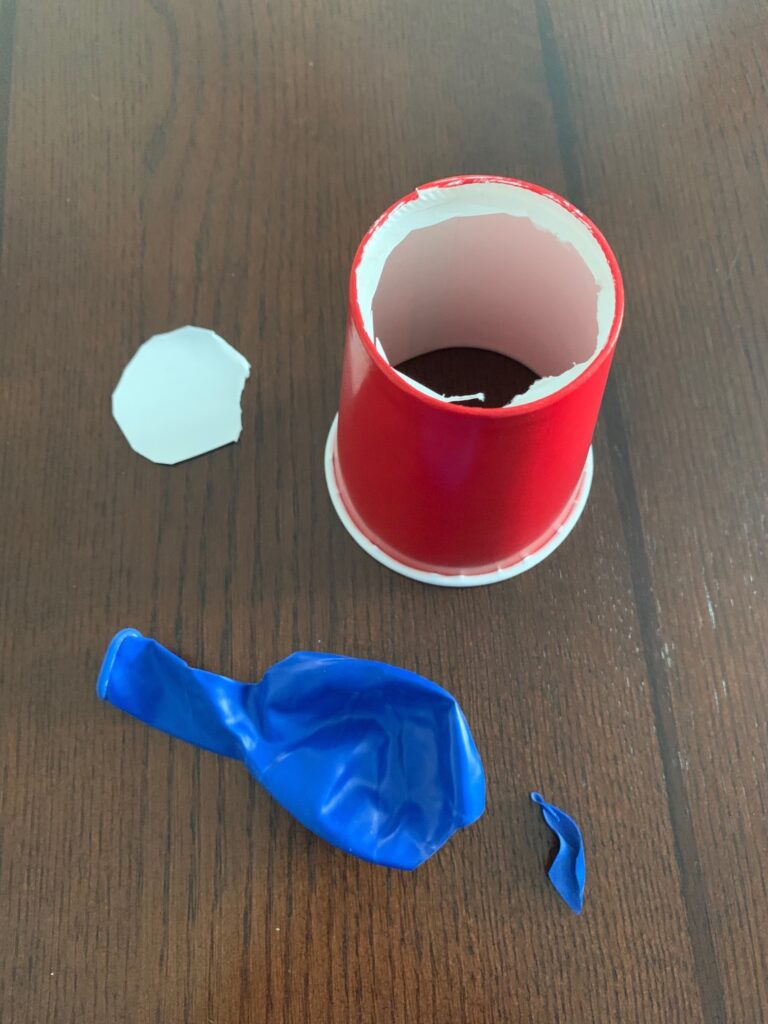
Step 1: Choose a 9oz paper cup that is red, white or blue.  Cut out the bottom of your cup completely with child safe scissors.  Parents, you may need to help start the cut with adult scissors.
Step 2: Cut off just the tip of a balloon.  Helpful tip: Cut across the fold of the balloon, instead of along it. The fold is a weaker point in the balloon, and if you cut along it, it might tear when stretching.
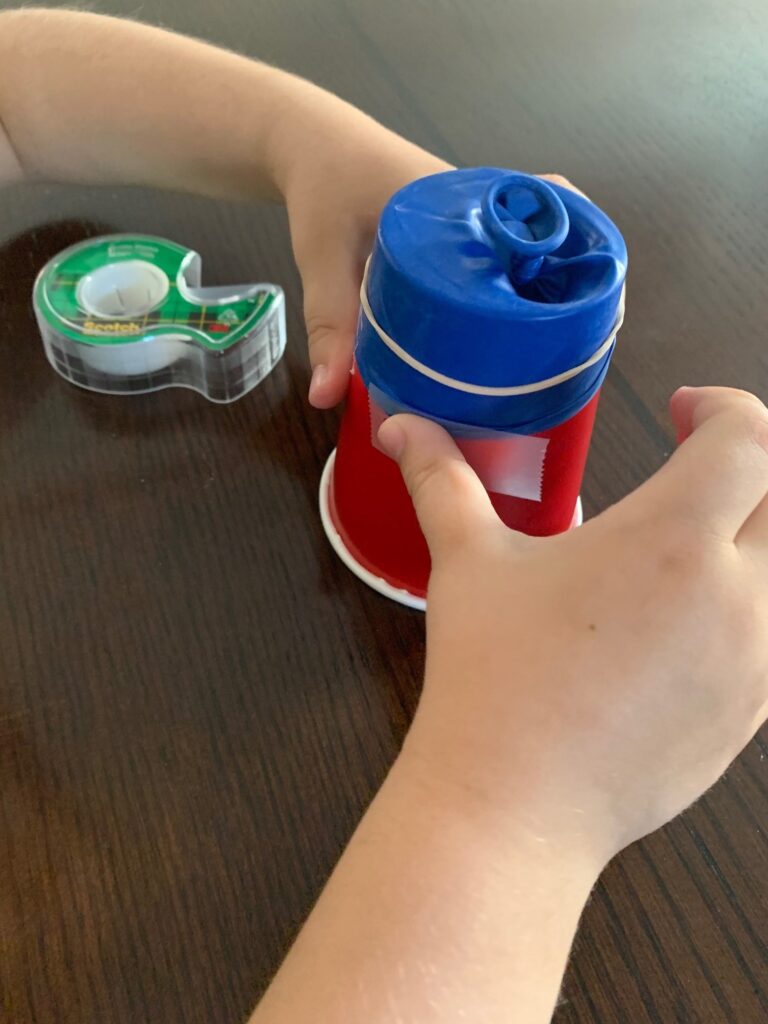
Step 3: Knot the end of the balloon and stretch the open part of the balloon over the bottom of the cup.  Secure with tape or a rubber band.
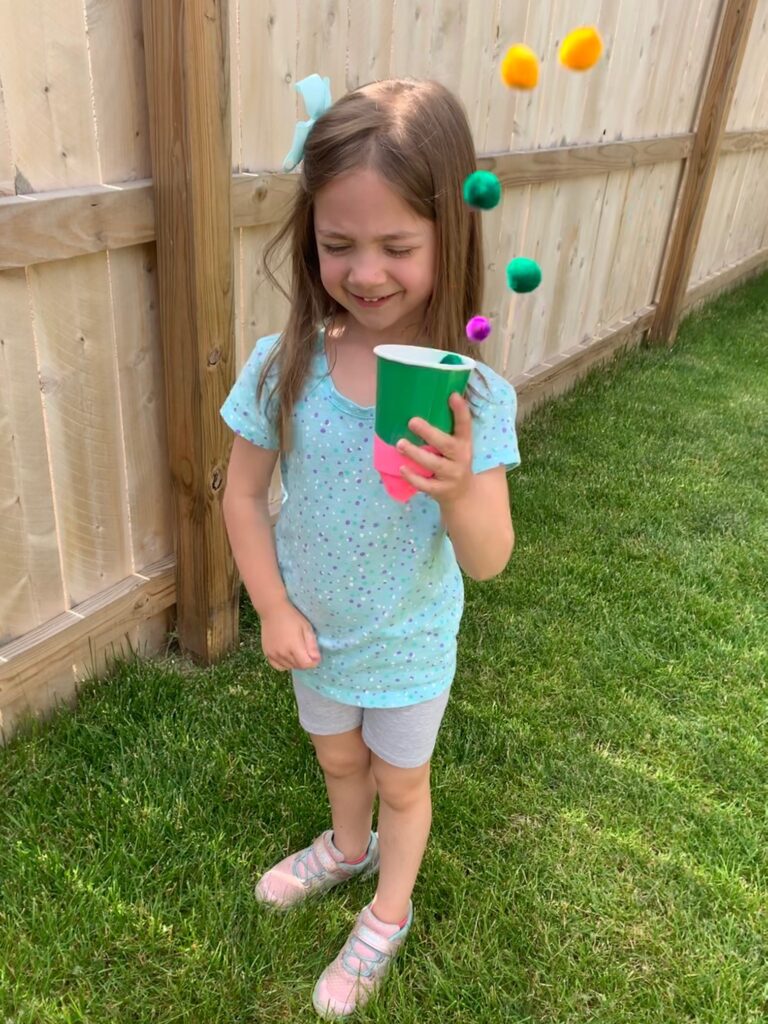
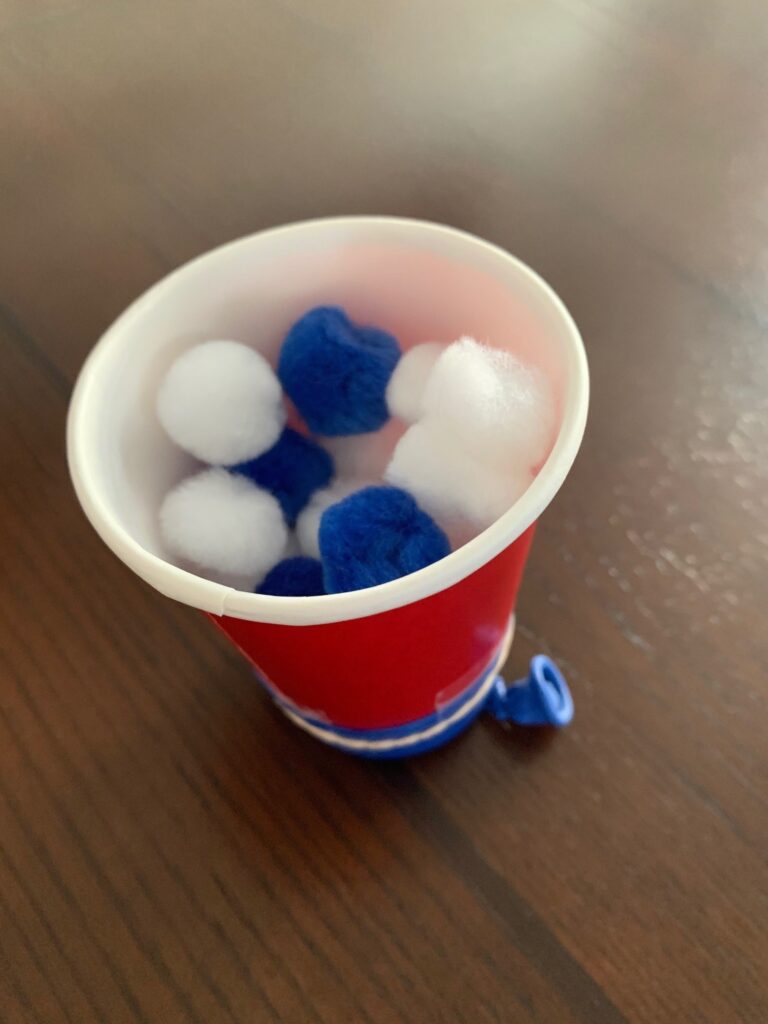
Step 4: Fill the cup up with something to pop!  Pom poms are a great choice.  Confetti is fun too but will be a bit messier!
See who can pop the poms the highest and farthest!  In addition to making this in a cute patriotic style, it can also be customized with rainbow colored items like green cups, pink balloons and yellow pom poms!  The options are endless!

Vocabulary Words:

Weak point: An attribute of something that is inadequate or deficient. 

Check out our other Sanity Savers posts here! 

Field trips are back! Please be aware that it will be busier than usual.