Storytime: Amelia Schrader Reads Pride: The Story of Harvey Milk and the Rainbow Flag Visit the link below for more Storytime Stories!
Sanity Savers: Whacky DIY Robot
Sponsored by: National Grid
Written by: Dan Walsh
STEM Educator
Supplies ideas:
Tape, straws, any other recycled materials

Length:
Build time: 10 minutes
Academic Subjects:
Science
This lesson supports the following standards:
ETS1.A: Defining Engineering Problems – A situation that people want to change or create can be approached as a problem to be solved through engineering. Such problems may have many acceptable solutions. (secondary to KPS2-2)
Directions for Whacky Robot DIY
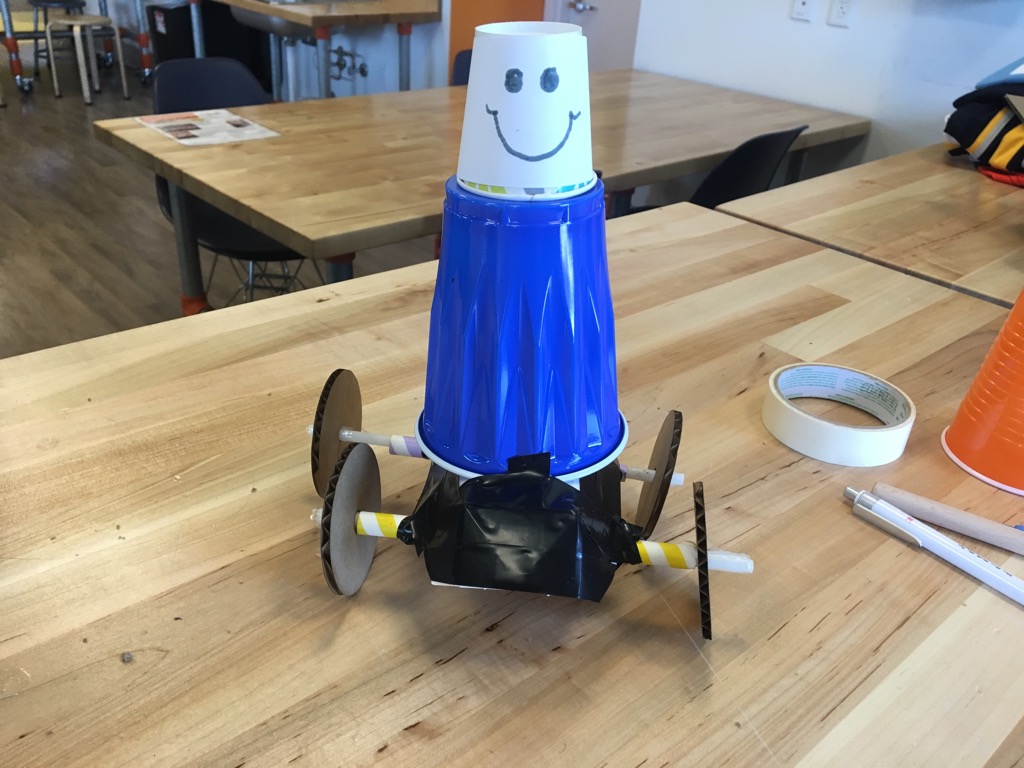
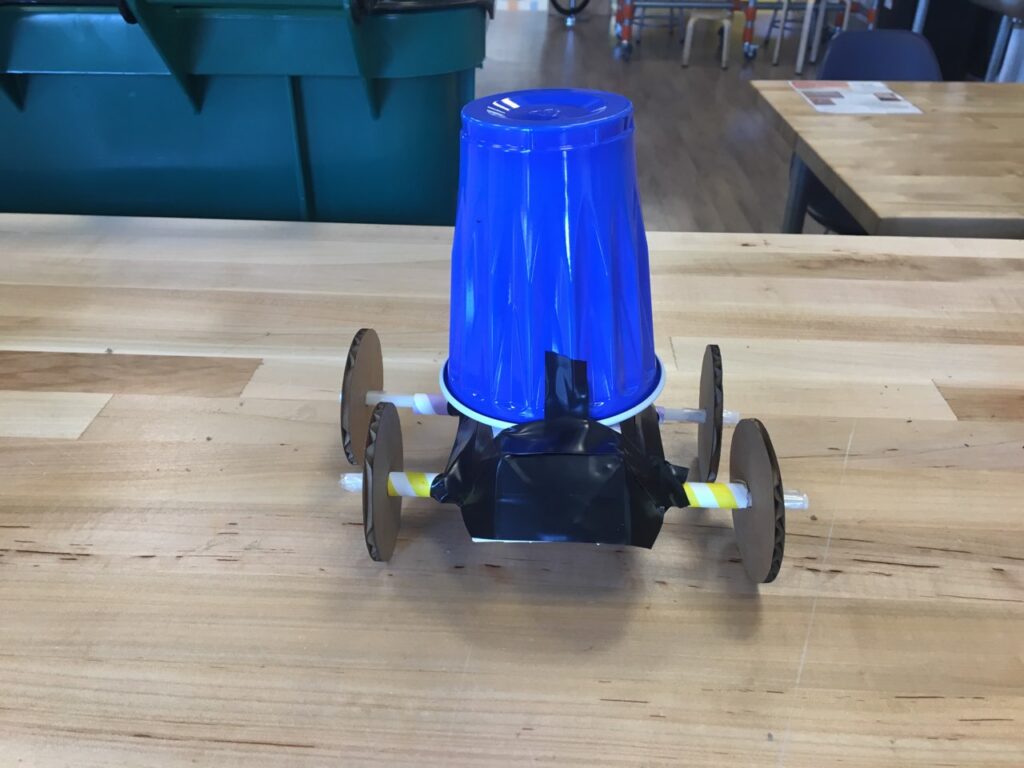
Explore & More needs your help! We are trying to build the wackiest robots imaginable. Can you help us? As you are building imagine what jobs your robot could do. Does your robot put out fires, help on construction sites, or help doctors with surgery? The instructions are open ended, so you can build however you want! Here are some basic instructions to get you started.
1.) Collect all your supplies and brainstorm what kind of robot you will build.
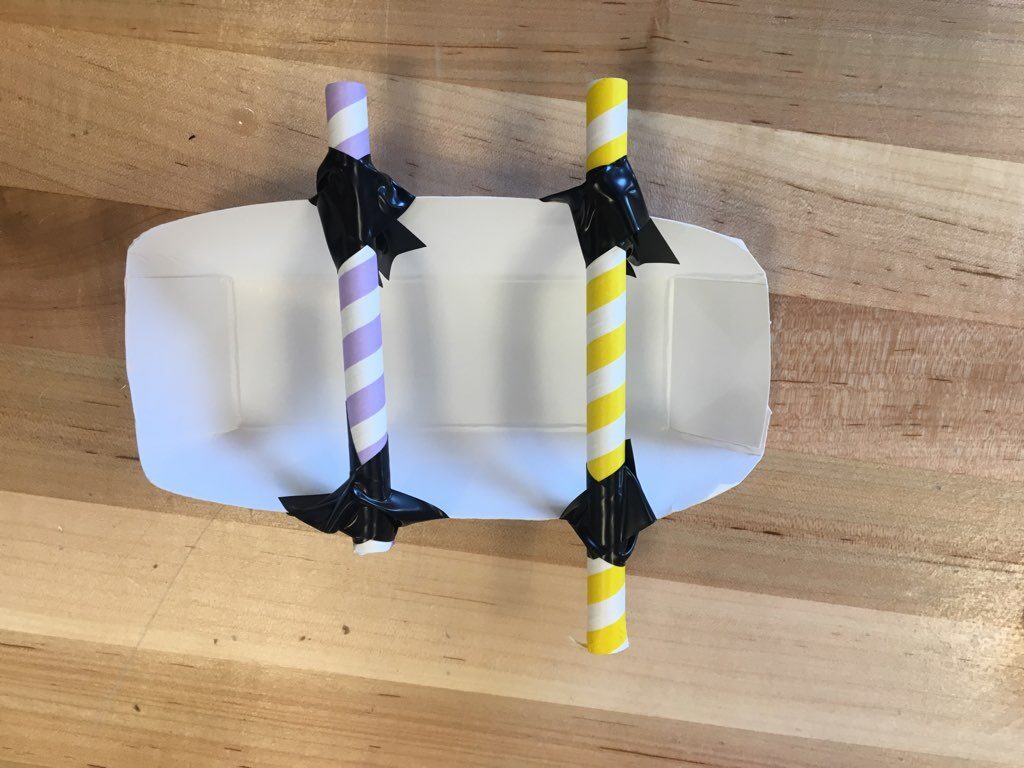
2.) First start by building a body.
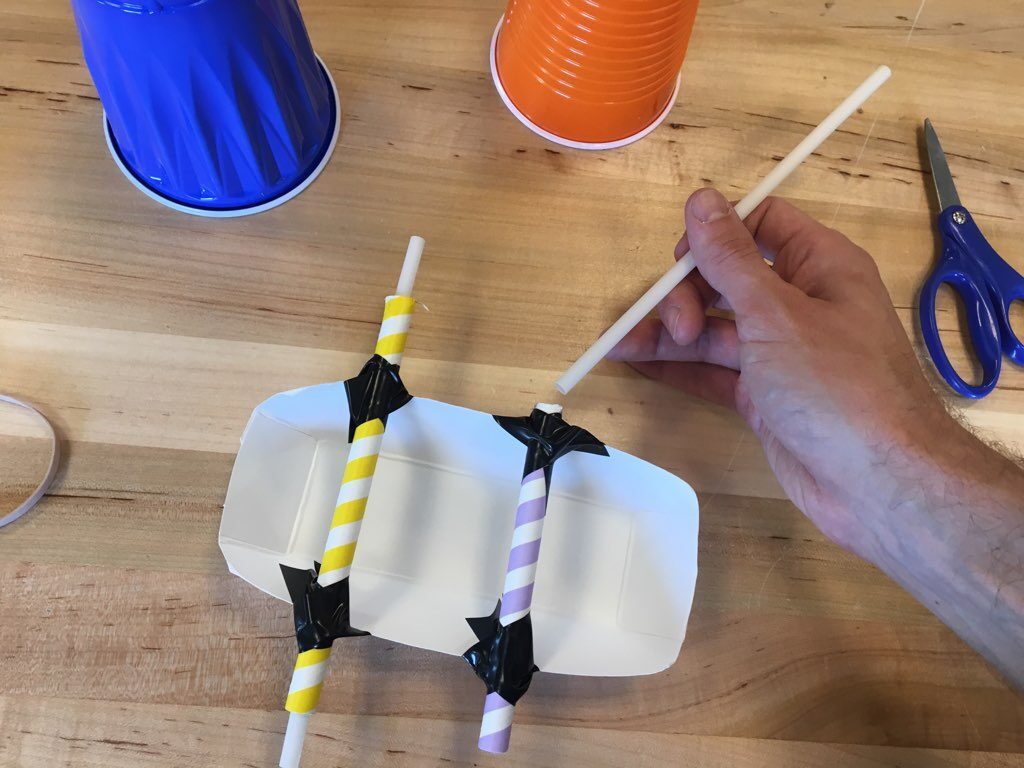
3.) Add wheels onto the bottom of the body. Using a bubble tea straw, and a regular size straw slide the two together. Tape the bubble tea straw to the bottom of the body.
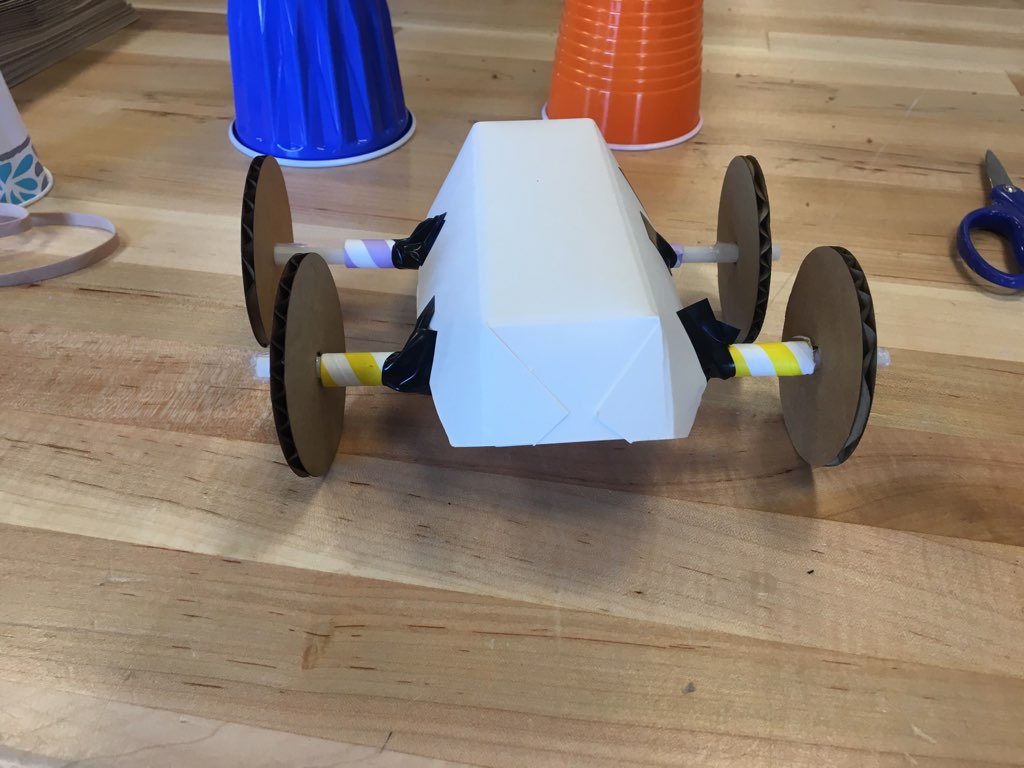
4.) Create wheels out of cardboard. Slide the wheels onto the axels. Place a piece of tape on the outside and inside of the wheels to make sure they don’t wobble.
5.) Stack a little cup on top of a big cup.
6.) Then let your imagination run wild! You can add pipe cleaners for arms, googly eyes, and you can use a marker to draw designs.
Sanity Savers: Moon Buggy Challenge
Sponsored by: National Grid
Written by: Dan Walsh
STEM Educator
Supplies ideas:
Cardboard, two rubber bands, then you will need either two wooden dowels, straws, or pencils
Length:
Build time: 20 minutes
Academic Subjects:
Science
This lesson supports the following standards:
ETS1.A: Defining Engineering Problems – A situation that people want to change or create can be approached as a problem to be solved through engineering. Such problems may have many acceptable solutions. (secondary to KPS2-2)
Directions for Moon Buggy
NASA is planning on going back to the moon by 2024. This means new technology must be made for the astronauts, in particular a new moon buggy. Can you help the astronauts by creating a model Moon Buggy?
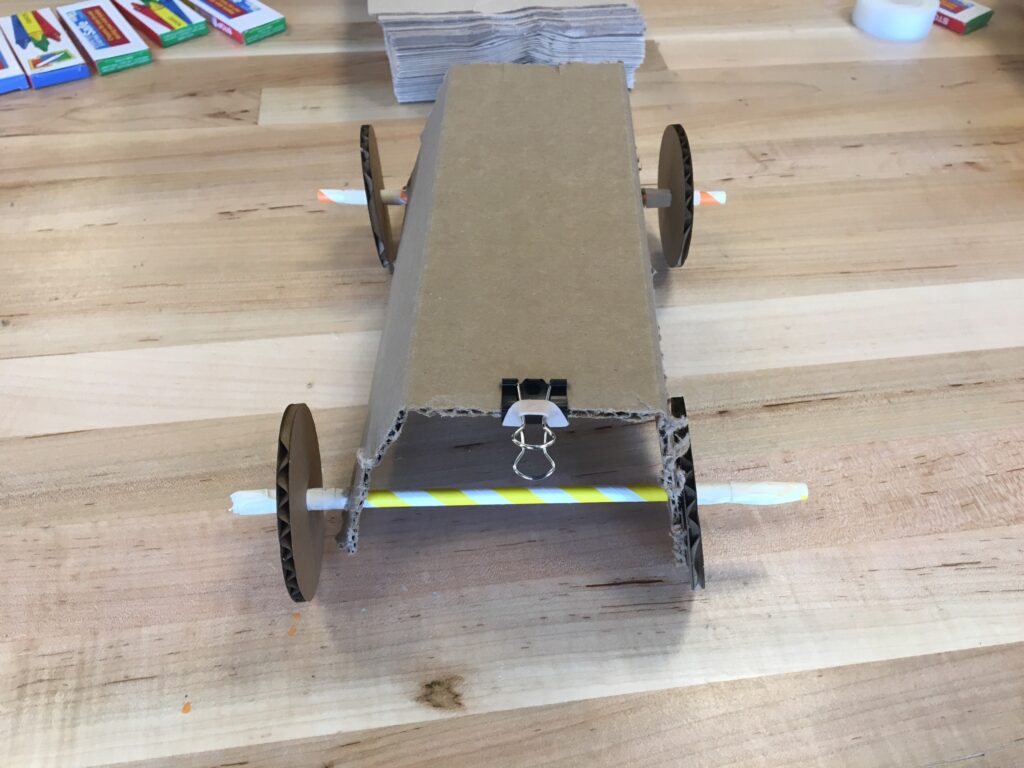
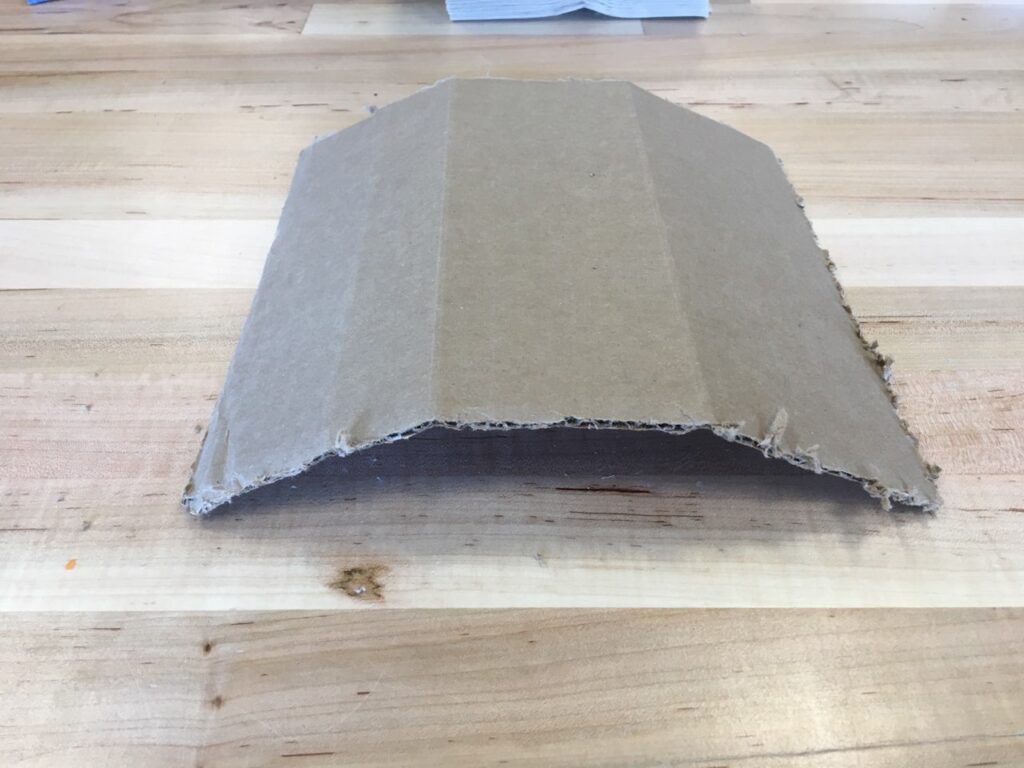
1.) The first thing we need to do is build the body of the buggy. Find a square piece of cardboard that is approximately 7 inches by 7 inches.
2.) Bend the piece of cardboard into thirds. The two sides will point down.
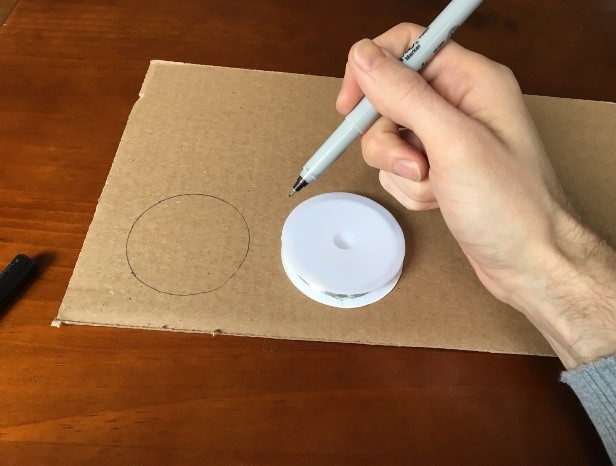
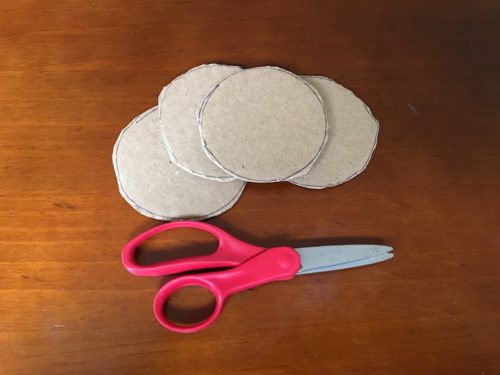
3.) Next we will build our wheels. Find a perfect circle such as a cap and place it on the piece of cardboard. Draw a circle around the cap. Cut four circles out of the cardboard.
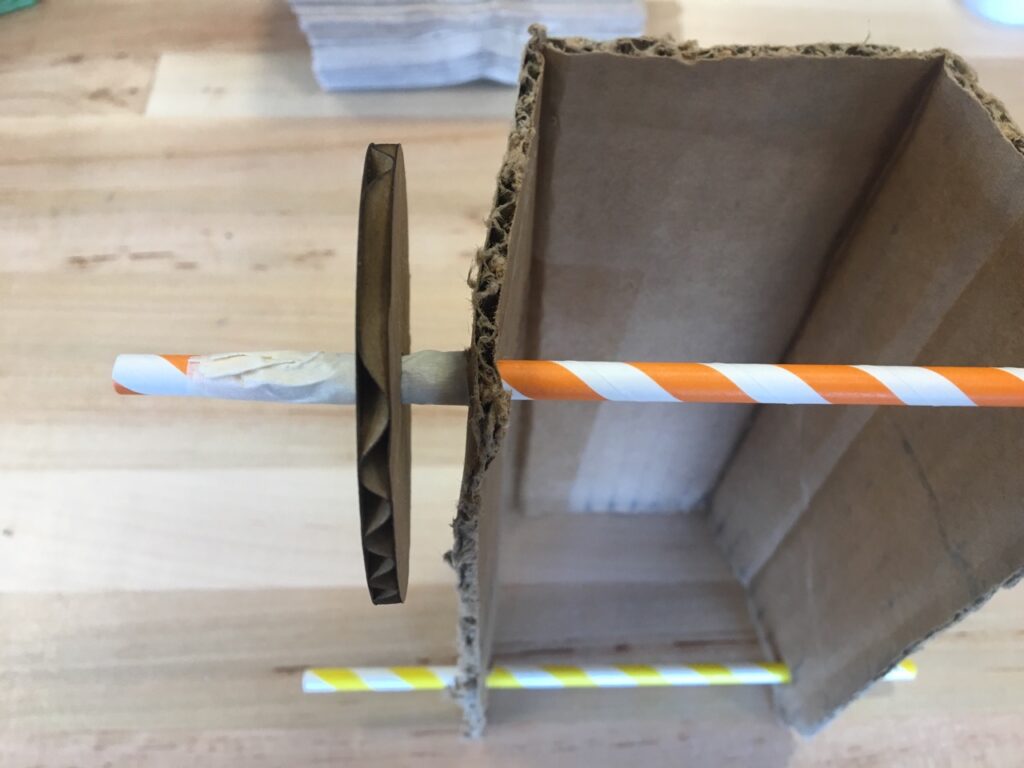
4.) Cut a small hole in the wheels for the axel. Depending on what supplies you have wooden dowels, straws, or pencils will work.

5.) Slide the wheels onto the axels. Place a piece of tape on the outside and inside of the wheels to make sure they don’t wobble.
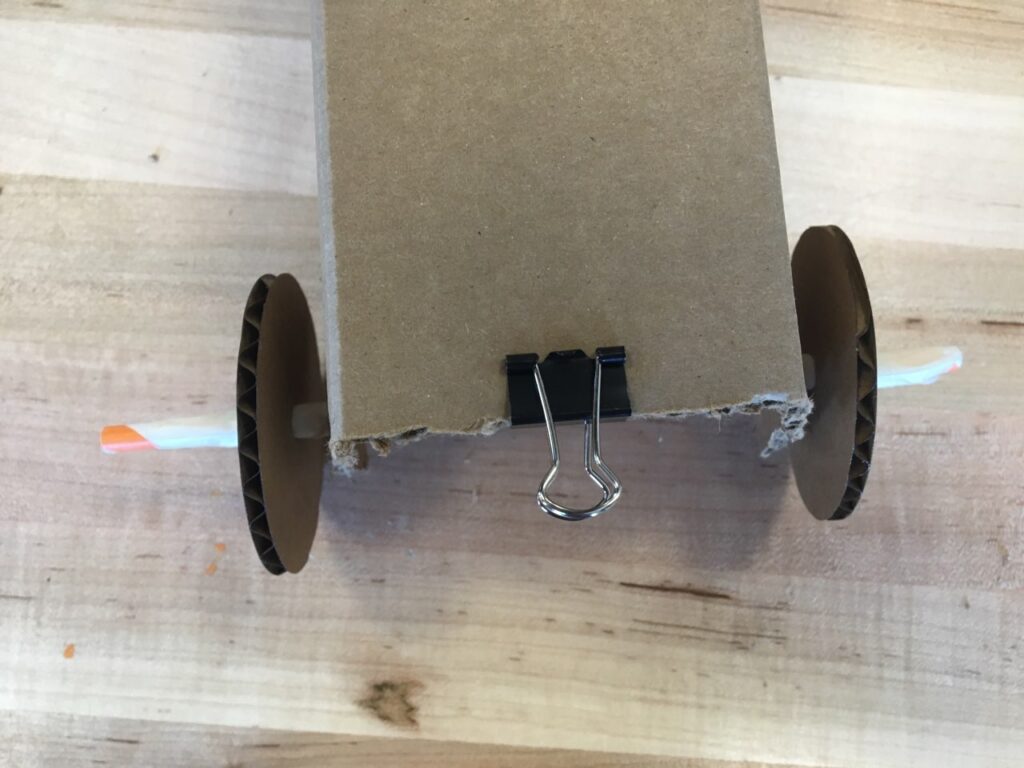
6.) Next we will build our engines! If you have a binder clip, it will help this step. Clip your binder clip onto the front of your car. If you do not have a binder clip, cut two small slits about an inch apart.
7.) Grab two rubber bands and chain them together.
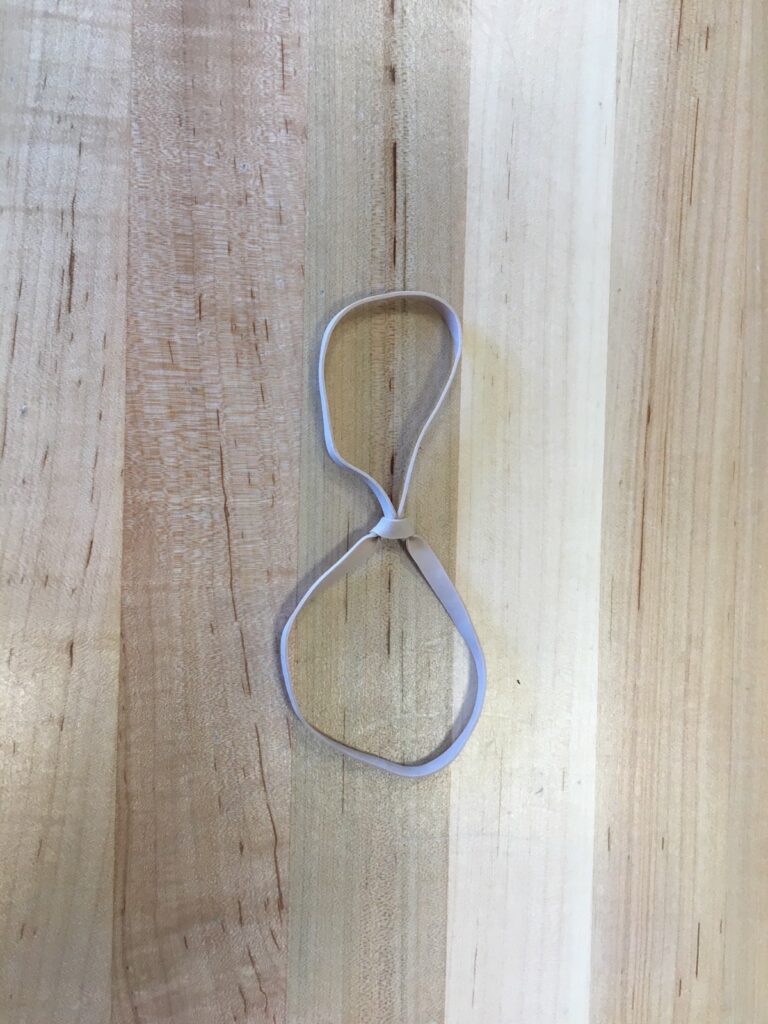
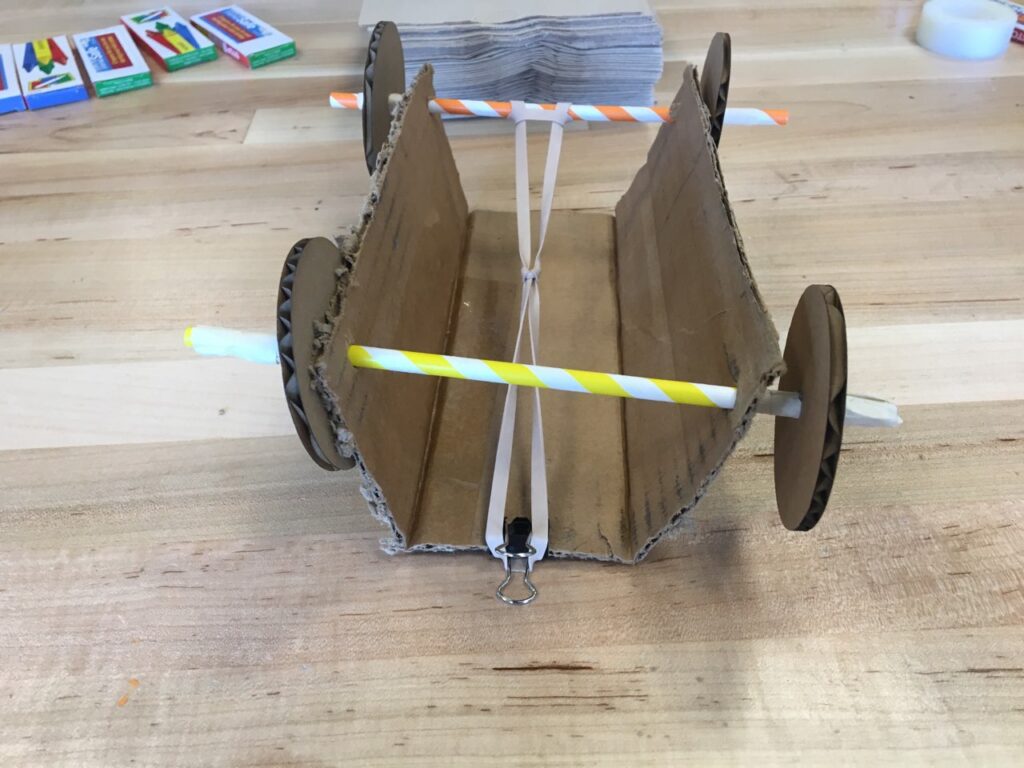
8.) Loop one end of the rubber band around the back axel, then pull the rubber band all the way over the binder clip or attach it to the slit portion.
9.) Finally wind the car back and watch how far your Moon Buggy travels!
10.) Tinker with your Moon Buggy! What can make it different? What if you use square wheels? Can you add a satellite to better collect data?
Sanity Savers: Gray’s Parachute Experiment
Sponsored by: National Grid
Written by: Dan Walsh
STEM Educator
Supplies ideas:
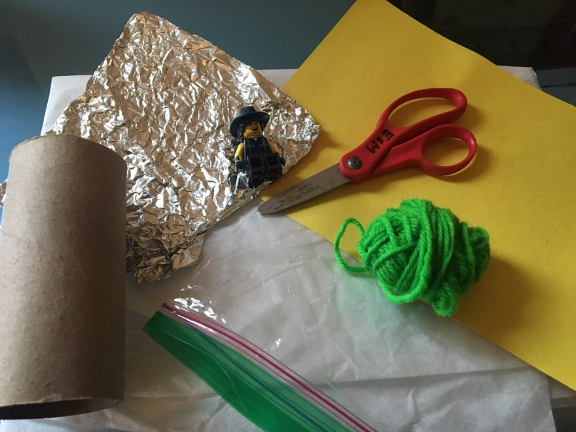
Tissue paper, tin foil, string, toilet paper tube, construction paper, string, scissors, tape, and a toy figure
Length:
Build time: 5-20 minutes
Academic Subjects:
Science
Directions for Gray’s Parachute Experiment:
This week we are celebrating Adeline Gray! Gray was a parachute rigger that tested out the first nylon parachute. Before this time parachutes had been made from cotton. Cotton parachutes couldn’t be used in bad weather such as rain or wind. Therefore, another material had to be tested. Today we are going to test out different materials to build a parachute out of it and see which works best!
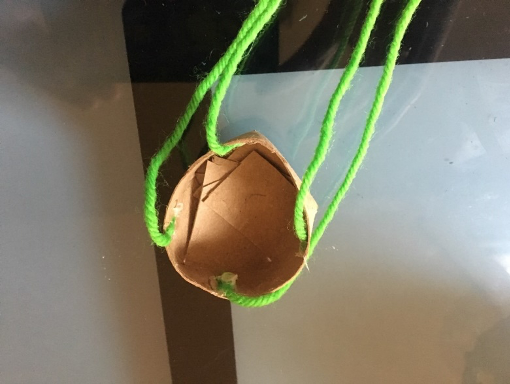
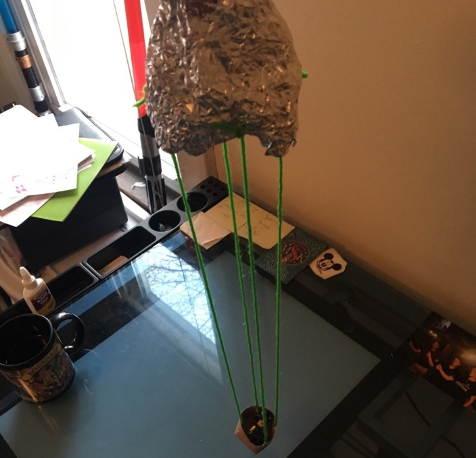
1.) Collect random objects from around the house. I tried tin foil, a plastic bag, and tissue paper.
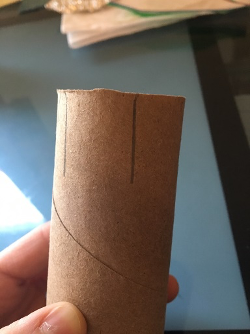
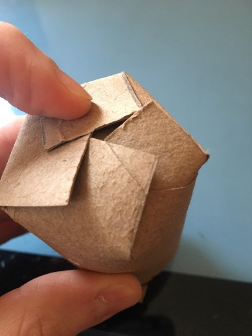
2.) First build a seat for your figure to fit in. To do this, cut one-inch slits into a toilet paper tube. Then fold the tabs on top of each other and glue or tape them down.
3.) Next cut out 4 equal sized pieces of string about six inches long each. Glue or tape the pieces of string onto the seat. Keep them equally distant in the shape of a square.
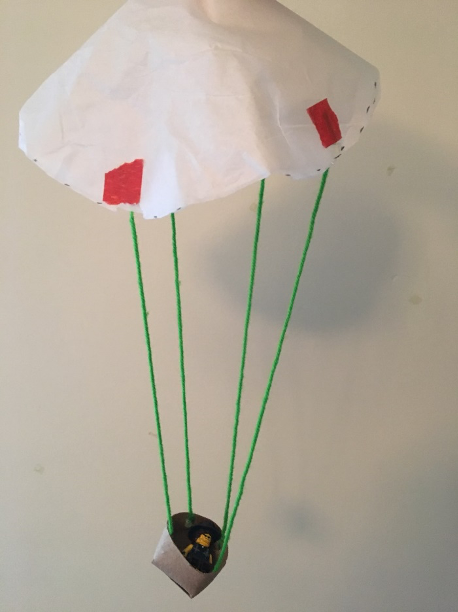
4.) Each material that you use for the parachute will follow the same directions. Lay the material on the table, place your parachute seat in the middle of the material. Stretch your strings out to the corners and poke 4 small holes in the material.

5.) Slide your string through the holes. Tape or knot the other end.
6.) Take your parachute to the testing zone! Place a piece of construction paper on the floor and see if you can land your parachute on the square. Predict how your parachute will fly. Will it go fast or slow? We want the parachute to fall slowly to ensure the toy figure lands okay. Hold your parachute by the material and drop it!
Vocabulary:
Aerodynamics– the science or practice of going through the air. We study aerodynamics as we tested the parachutes!
Aviation– the practice of using an aircraft.
Storytime: Cherie Messore Reads Supertruck
Supertruck written by Steven Savage
When the city is hit by a colossal snowstorm, only one superhero can save the day. But who is this mysterious hero, and why does he disappear once his job is done?