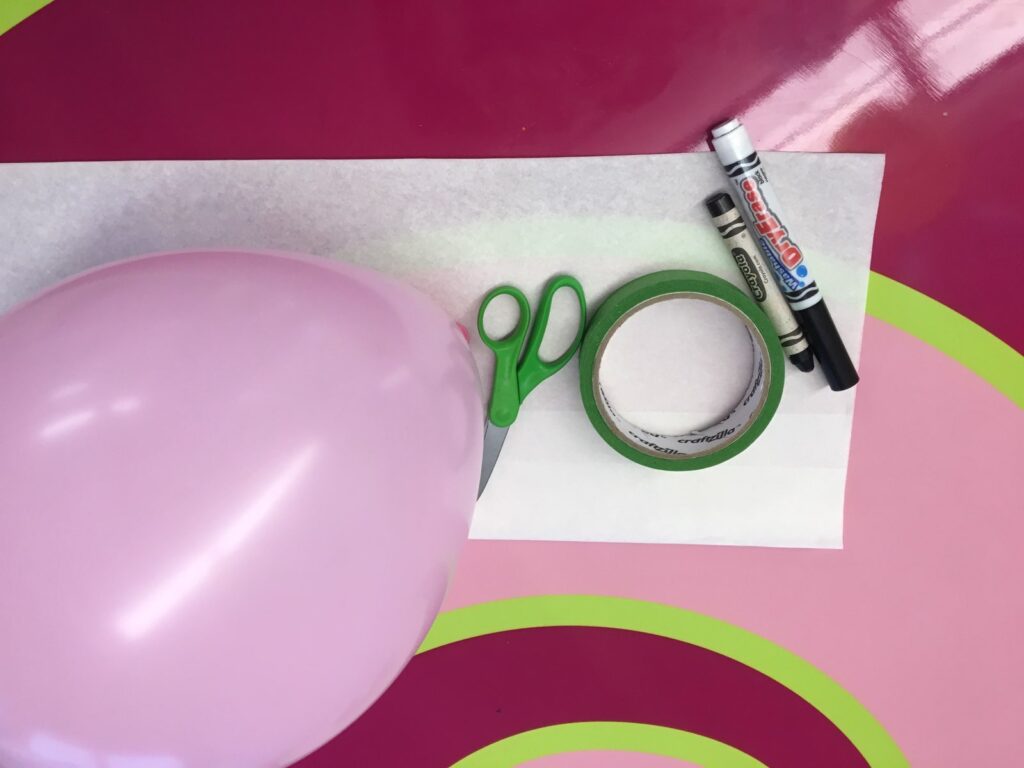
Did you know static electricity is the buildup of electrical charge on an object. The reason why it is called static is because the electricity stays in one stop, otherwise known as static. Today we will be showcasing this with an extra haunted activity.
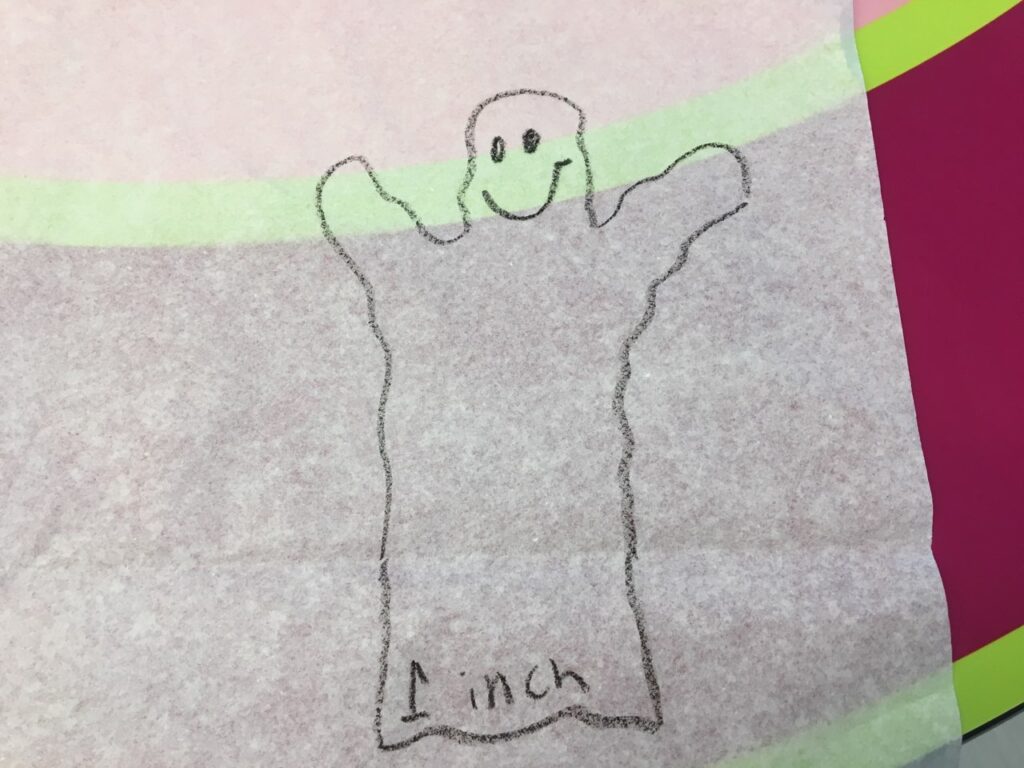
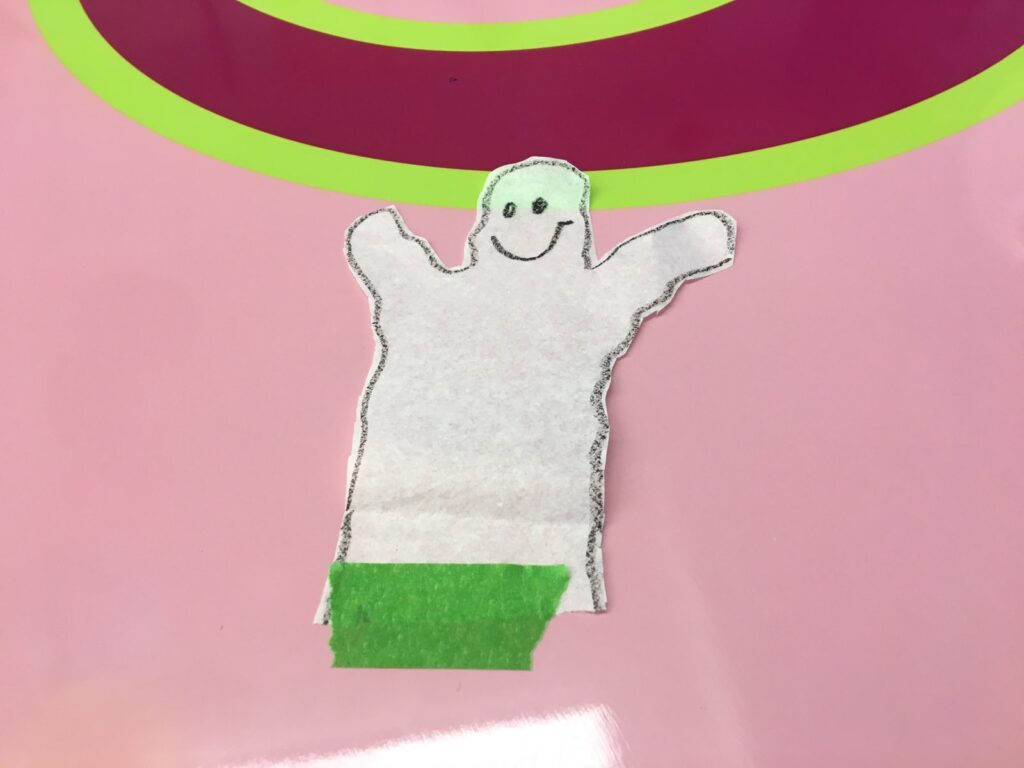
1.) Decide on a shape such as a bat, ghost, or spider. Lightly draw the shape onto a piece of tissue paper. Add a small one-inch tab to the bottom of the shape. 2.) Cut the entire shape out including the tab. Tape the tab to a table. 3.) Fill the balloon up, rub the balloon in your hair. 4.) Place the balloon above the shape and watch as static electricity causes the shape to come alive and dance! 5.) Try out different shapes!
Vocabulary:
Electricity– is the flow of tiny particles called electrons and protons. Electricity powers objects like lamps. Lightning– The natural discharge of electricity for a short amount of time. Dan loved watching electricity from his window. Volts– Much like how rulers measure in centimeters and inches, electricity is measured in volts. An electrical engineer measures volts.
Written by: Amelia Schrader Senior Manager of Learning and Education
Materials:
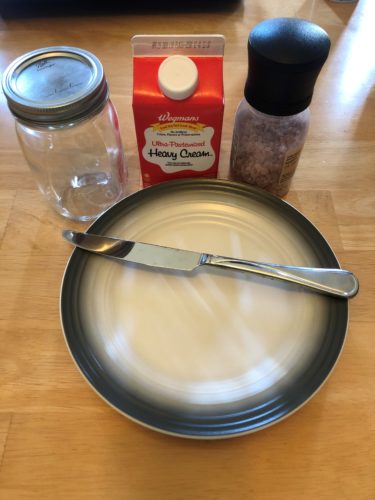
Glass Jar with lid (can also use freezer safe zip lock bag but the process will take longer) Heaving Whipping Cream Sea Salt Plate
Length:
Set up: 5 Minutes Activity 15-45 Minutes
academic subject(s):
Science, Physical Health and Well-being This lesson supports the following NYS Curriculum Standards: SCI: P-PS1-1, K-PS1-1, 2-PS1-1 Physical Education Standard 1: Personal Health and Fitness
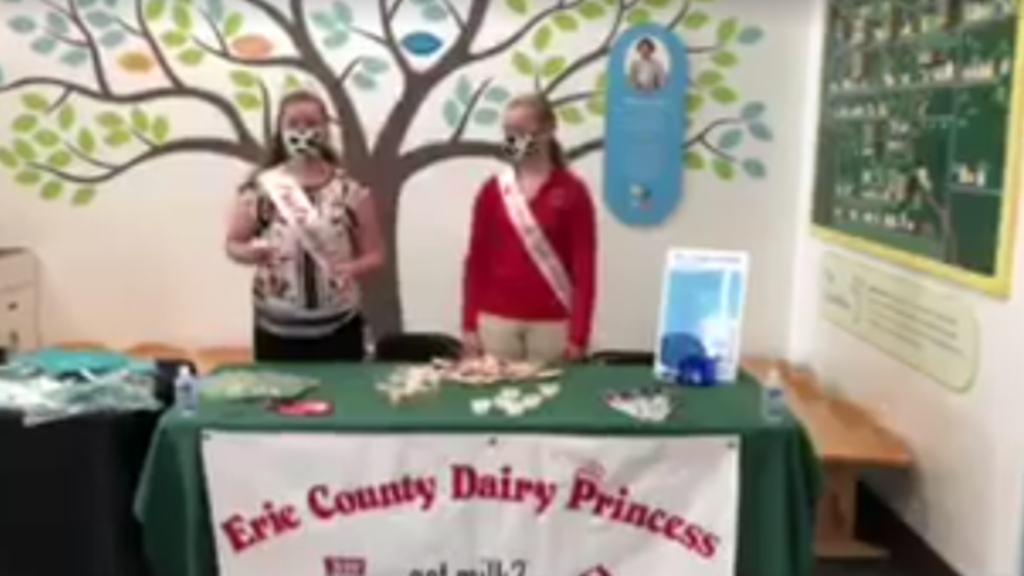
Happy National Farmer’s Day! National Farmer’s Day is celebrated every year on October 12 th . This is an important day to recognize and celebrate the contributions that farmers make to our community!
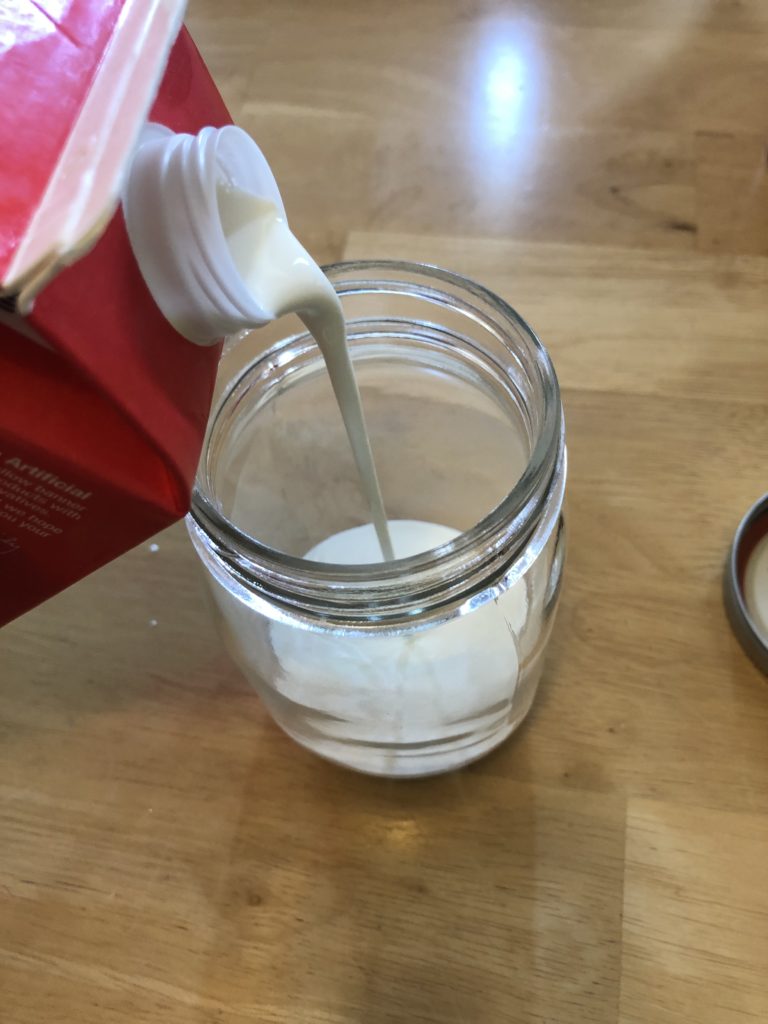
To help celebrate National Farmers Day we have partnered with Milk for Health and Upstate Farms to teach all of you at home how to use heavy cream to shake your own butter!
Did you know that all the milk from Upstate Farms is sourced from local cows? Sourcing the product locally makes for a fresher, longer lasting drink in your fridge!
Directions:
Step 1: Make sure you glass jar and lid are clean and dry. Step 2: Pour the heavy cream into the jar. The total amount you pour in will depend on the size of your jar. We recommend starting with a smaller amount. The more cream you add the longer step 3 will take. Step 3: Seal the lid on the jar and SHAKE, SHAKE, SHAKE! This step can take 10 minutes or moreor your butter to form. This is a great way to shake out some of your sillies and expel some pent upenergy! After about 8 minutes you will notice the cream will begin to change color and small butterchunks will start to form. Keep shaking! This process of shaking the cream is called agitating. You can turn this step into a game! Who can shake the jar the longest? Can you roll it back and forthon across a clean table to keep the cream agitated? Can you shake the jar to the beat of your favorite song? The possibilities are endless as long as you use your imagination!
2
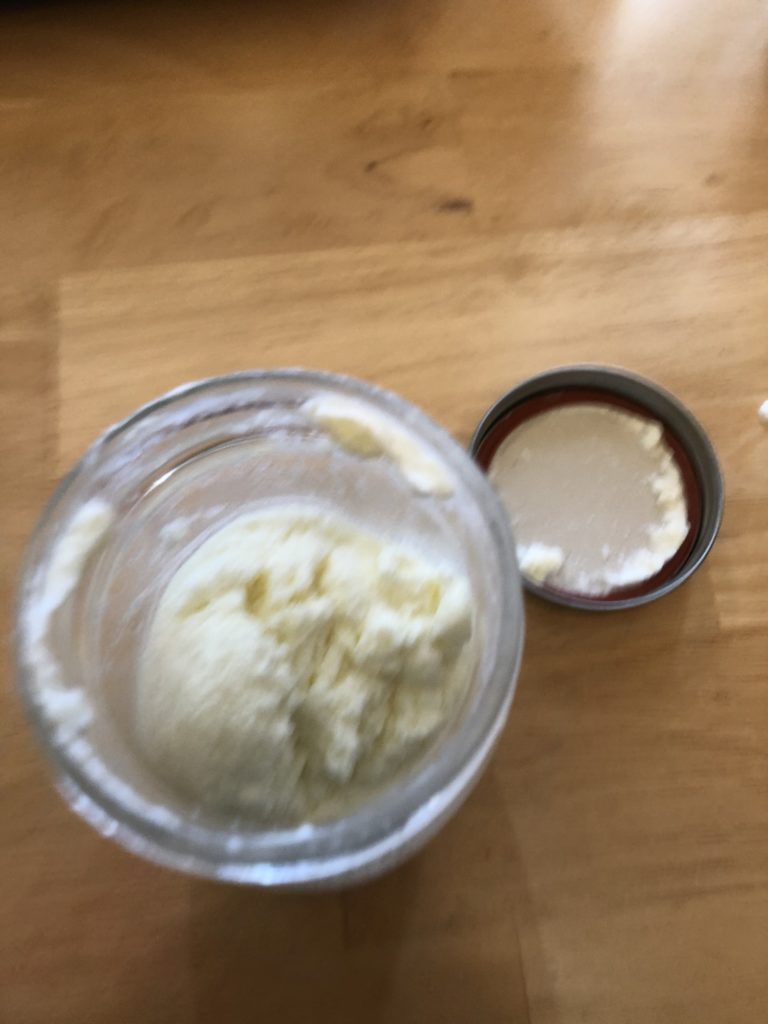
Now your butter is ready! You will have a pretty big chunk of butter in your container and a little bit oflet over liquid. This left over liquid is called the whey. You can discard this if you would like.
Vocabulary Words
Heavy Cream: A dairy product that contains at least 36% milk fat. It is the thick part of the milk that tends to rise to the top. Whole milk only contains a minimum of 3.25% milk fat. That’s a HUGE difference! Agitate: To stir up. In the case of making butter, you agitate the cream so that the fat molecules clump together. Enough agitation makes butter form. Solid: A substance that is firm and stable in shape. It does not flow freely like water. Examples include: the table, toys, chairs etc. Liquid: A substance that flows freely but remains consistent in volume. Examples include: water, oil or milk.
Set up: 5-10 minutes (depending on how many seeds and pots you have)
Inactive: Typically a week or more before the seeds germinate, but don’t forget to water!
Observations: 3-5 minutes each day afterward
Academic Subject(s):
Science; Social Studies
This lesson supports your student’s K – 3rd grade curriculum:
SCI: P-LS1-1 1 -LS3-1. SOC: 3.4a, 3.4b, 3.5b, 3.6
The people of the Seneca nation, native Americans who used to occupy this area, call them the Three Sisters, or Deohako (pronounced, Jo-hay-ko), which means “the life supporters”. Corn, beans, and squash were the main crops that they grew and ate. There is even a legend told about these inseparable three sisters that grow and thrive together.
The corn grows tall. What is growing up the corn? The corn supports the bean plants. The beans take nitrogen (an important nutrient that plants need to grow) from the air and change it into a form that can be taken up by other plants’ roots. Finally, the squash grows at the bottom. What do you think the ground is like under the big squash leaves? Wet or dry (wet)? Shady or sunny (shady)? The shade that the squash provides keeps weeds from growing and conserves water for all three plants to soak up.
Directions:
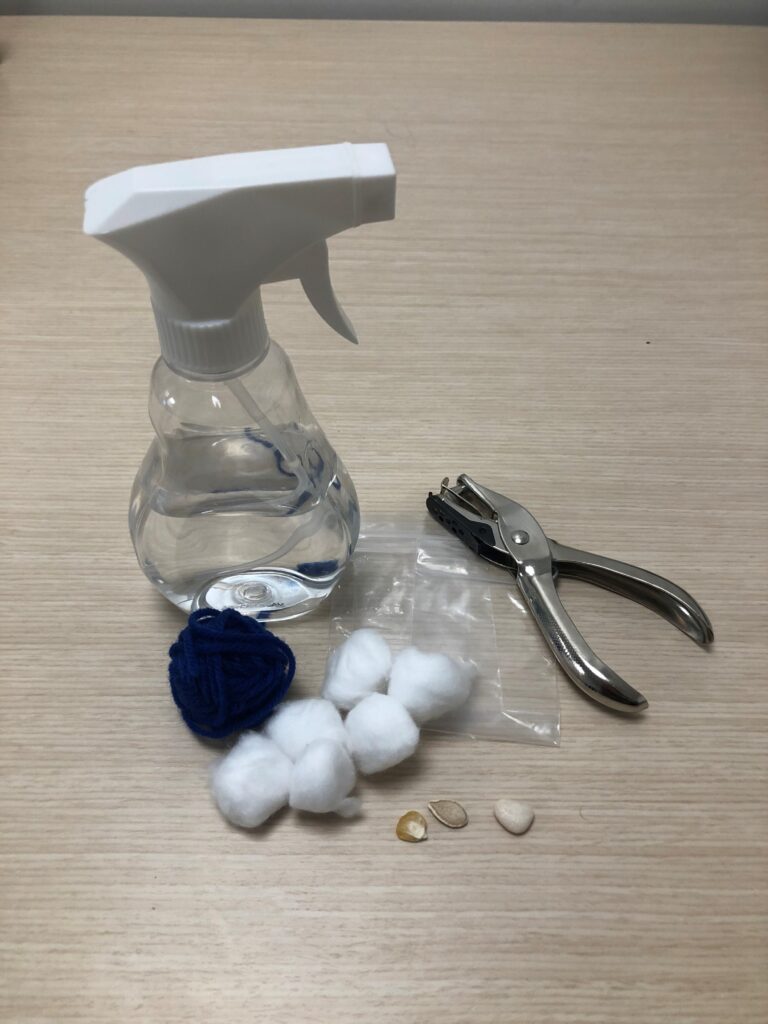
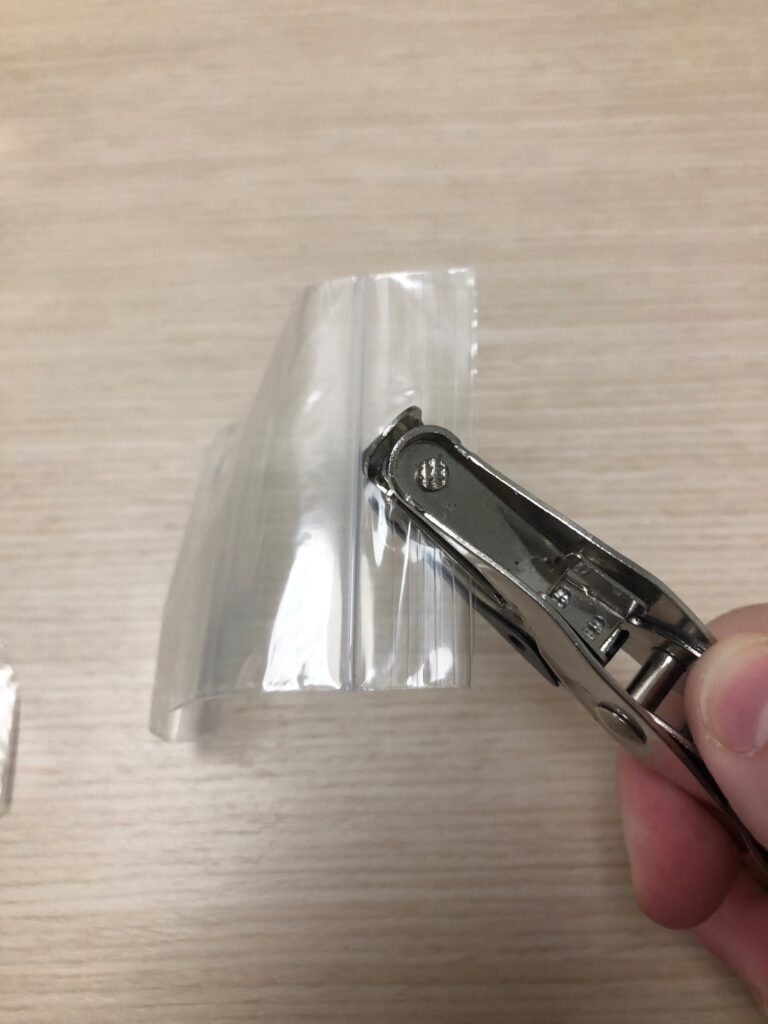
Step 1: Carefully punch a hole at the top of each of your three resealable bags. This hole will be used to string the bags together in a later step to make the necklace.
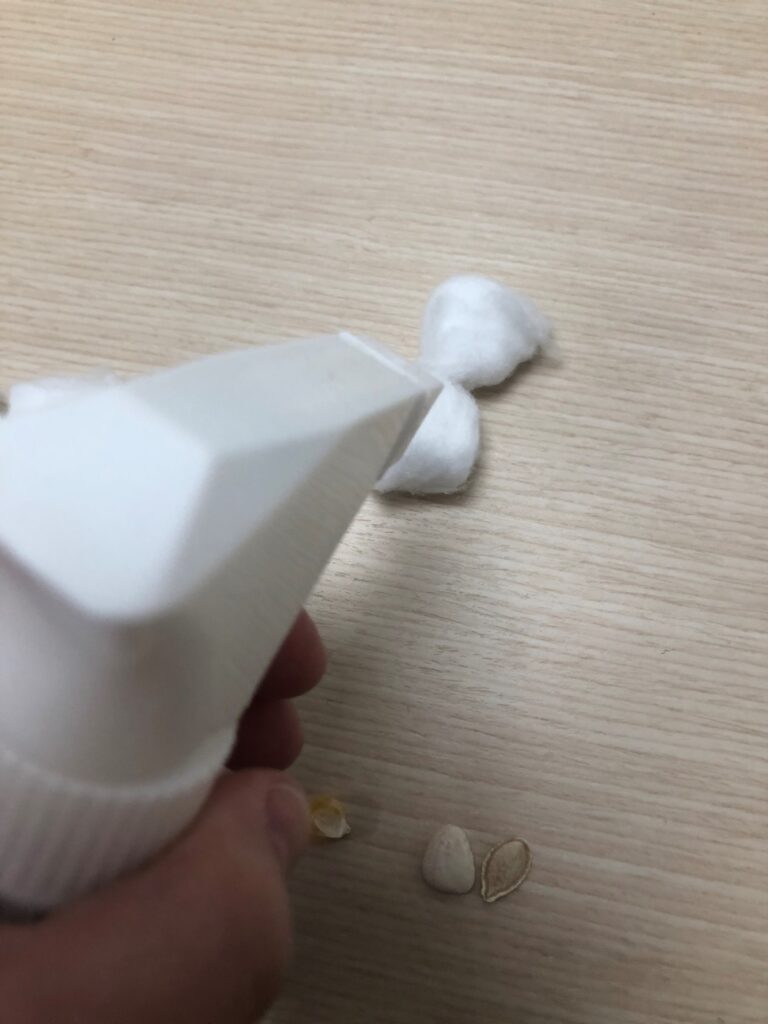
Step 2: Spray the cotton ball(s) with water so they are wet, but not dripping.
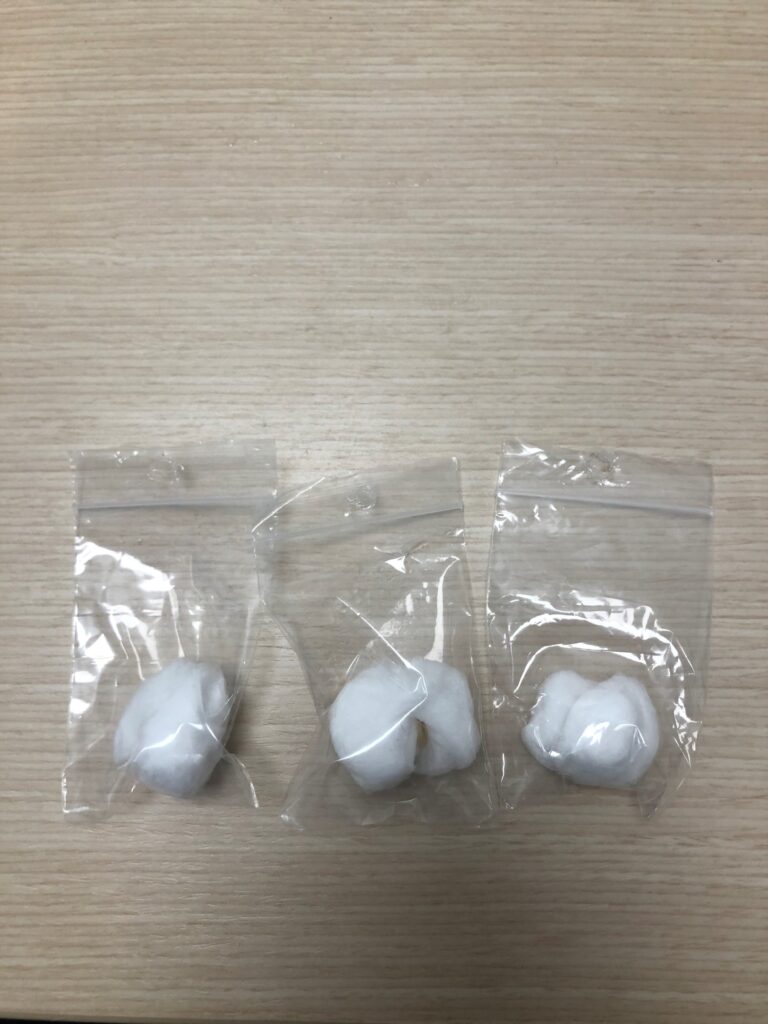
Step 3: Put a seed between two wet cotton balls (or wrap the seed in one wet jumbo cotton ball). Put the “seed sandwich/seed taco) in the resealable bag and seal it (leave the air inside).
Step 4: Repeat this procedure for the other two seed necklaces.
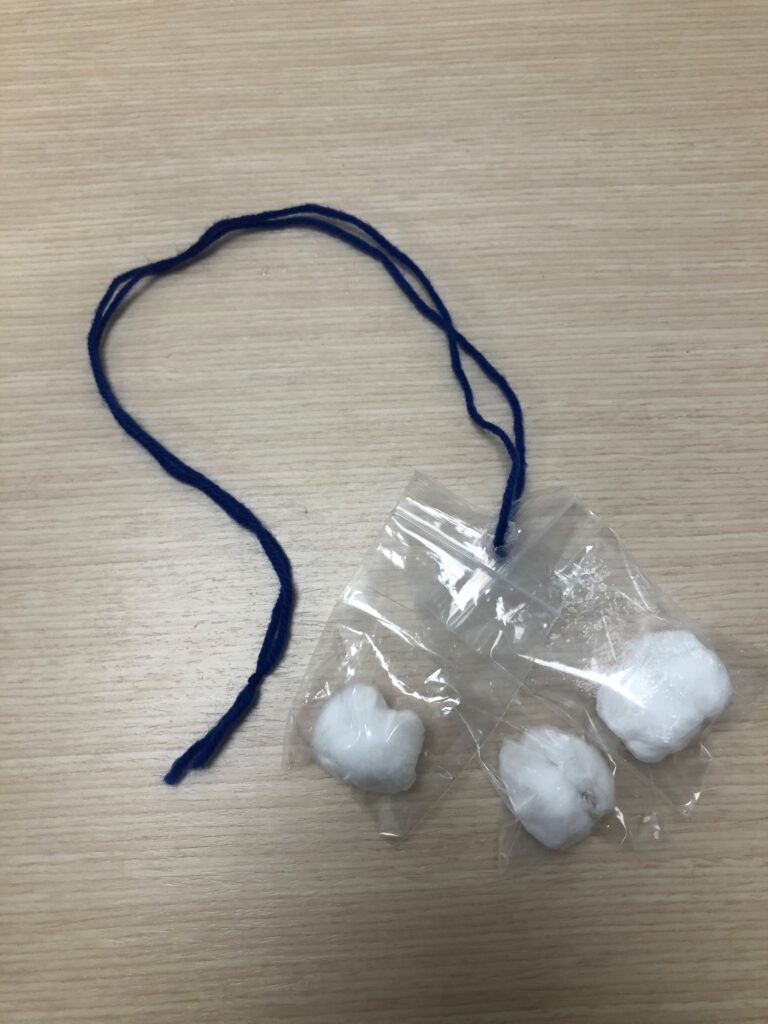
Step 5: String the yarn through the hole in the top of each seed bag and tie a knot with the end pieces. The seeds in this necklace have everything they need to grow: air (squeeze bag to show there is air inside), water, and warmth (from your body or a warm room) to grow.
Now that you have completed all the steps use the following questions as prompts for discussion with your child.
How soon will it take the seeds to start growing? You should start to see the root growing in about a week. Remember that the seeds’ growth may be covered by the cotton balls.
Do I need to add water to the little bags? You shouldn’t have to as long as you gave it enough water when you made the necklace. If you notice that there are no little water droplets in the bag after a few days and the cotton ball looks dry, put a squirt or two of water in the bag and seal it again.
Do I need to wear my necklace all the time or put it in a sunny window? No, your seeds just need warmth to grow (not light). Any location in a warm home will do.
Can I plant the seeds once they grow? YES! Wait until they get some leaves and then plant the roots in some potting mix in a paper cup with holes in the bottom (so the water can drain out when you water your plant). Put your pot in a sunny window and water it when the soil starts to get dry. Visit our growing seeds blog for directions.
Vocabulary Words
• Germinate: To begin to grow; sprout.
• Three Sisters: Onëö (Corn), Osae’da’ (Beans) and O:nyönsa’ (Squash) are the three
• Seneca Nation: The Seneca were the largest of the six native nations that made up the Iroquois Confederacy (the other members of the confederacy are Mohawk, Oneida, Onondaga, Cayuga, and Tuscarora). In the Seneca language these people are known as Onondowaga (pronounced: Oh-n’own-dough-wahgah), or Great Hill People.
• Indigenous Peoples’ Day: This holiday is celebrated on the second Monday of October annually. Indegenous Peoples’ Day honors and celebrates Native American peoples, histories and cultures.
Let’s get moving! Simon says is a great activity to make physical activity fun. During this activity we can practice our fine motor skills and counting. For older children, we can discuss terms for exercise. Parents should choose exercises that coincide with their child’s abilities.
Academic Subject(s):
Physical Education
Directions:
“Simon says” is a basic game anyone can enjoy. The rules we will set for this activity will be:
When the leader (Simon) commands the group starting with the phrase “Simon says…” the task should be completed to the best of the participant’s ability. When the leader does not start the command with the phrase “Simon says…” the action should not be completed. If the participants start the action anyway, they can answer a question or do an exercise to join in the game again (such as 3 pushups, jumping jacks, name a healthy snack etc.).
A great way to start an exercise would be dynamic stretching. Examples for dynamic stretching are: lunges, butt-kicks, straight leg walk, inch-worm, bear-walks, leap frog jumps, skips, arm windmills, wrist windmills, and chicken arm windmills. Use whatever examples you want and add in your own too!
Once you’re warmed up, you can add basic exercises. Pushups, jumping-jacks, burpees, v-sits, superman, squats, jogging in place, jumping, dancing, ect. Keep in mind that this game is very open ended. If there is movement, and everyone is having fun, the goal is met.
End your workout with a cool down. Focus on slow movements that will help lower everyone’s heart rate. Shrinking down and touching your toes, growing tall and reaching for the sky, trunk twists, and walking are great examples of cool downs. Finish with static stretching like toe touches, arm stretches, pike stretches, scrunching your toes and fingers, ect.
Simon says stay safe and have fun while you exercise!
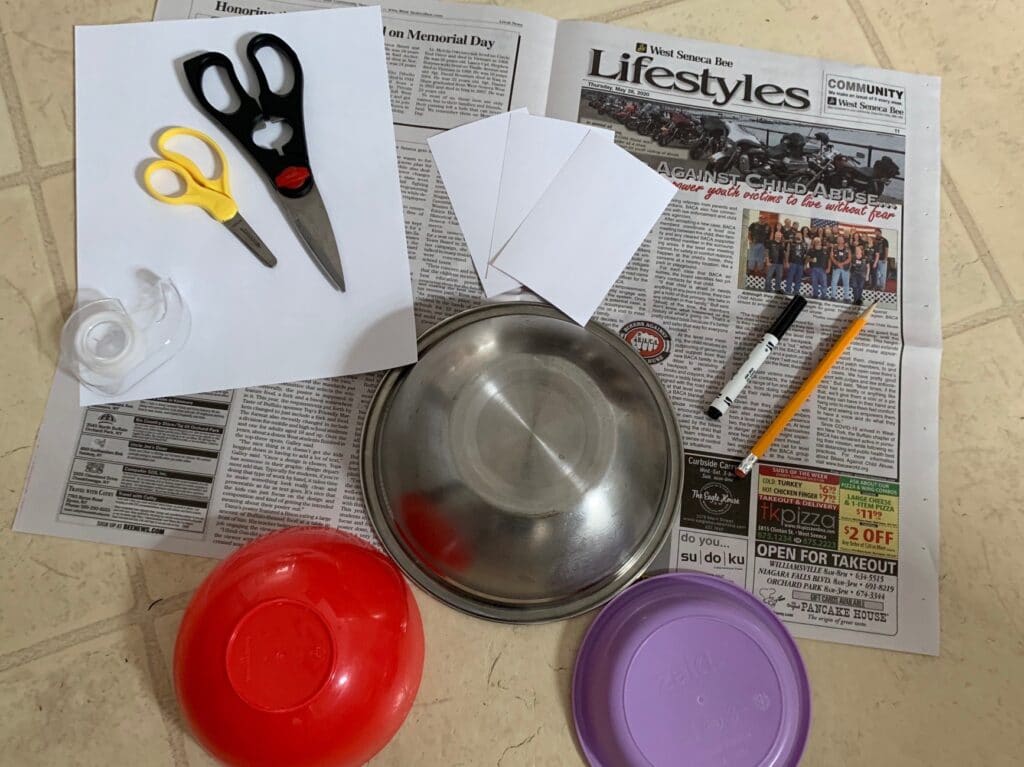
3 bowls of differing sizes (no larger than a medium sized mixing bowl)
Adult and child safe scissors
Tape
Length:
Set up: 5 minutes
Activity: 10 minutes to create and endless fun to have!
Academic Subject(s):
Art and basic Engineering (Aeronautics)
Looking for a new game that you can create right inside your home, especially on a rainy day? Look no further than the Paper Airplane Toss Game! This easy point board is simple to create and will provide loads of fun. You can even customize your airplane and try different versions to see what works the best! Find a partner to play against.
Directions:
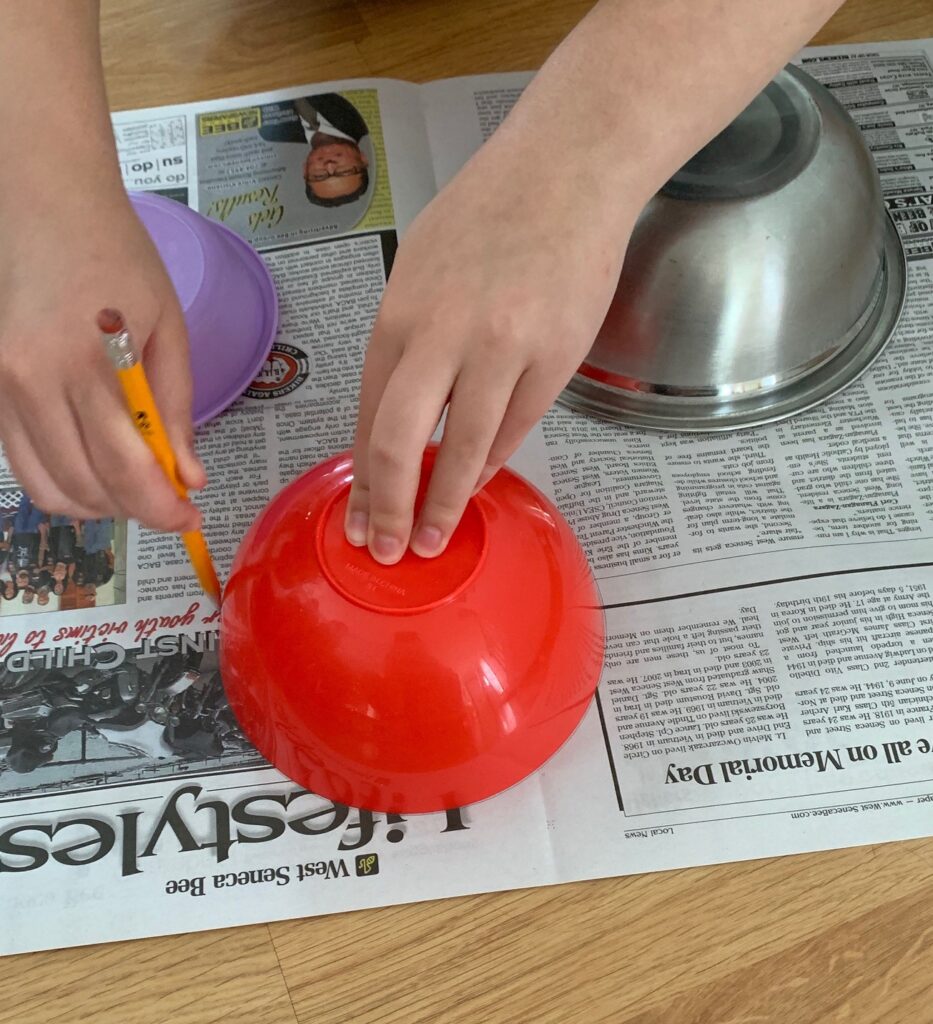
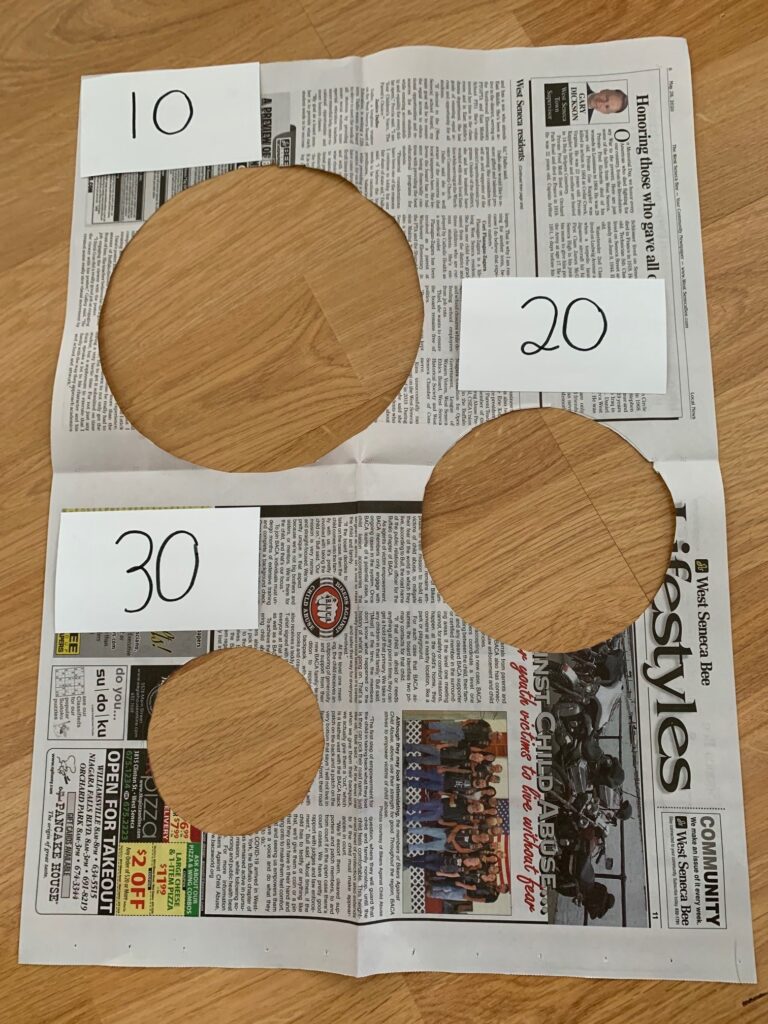
Step 1: Place all three bowls of differing sizes (from smallest to largest) on the piece of newspaper spread out. Flip the bowls over and trace around them with a pencil.
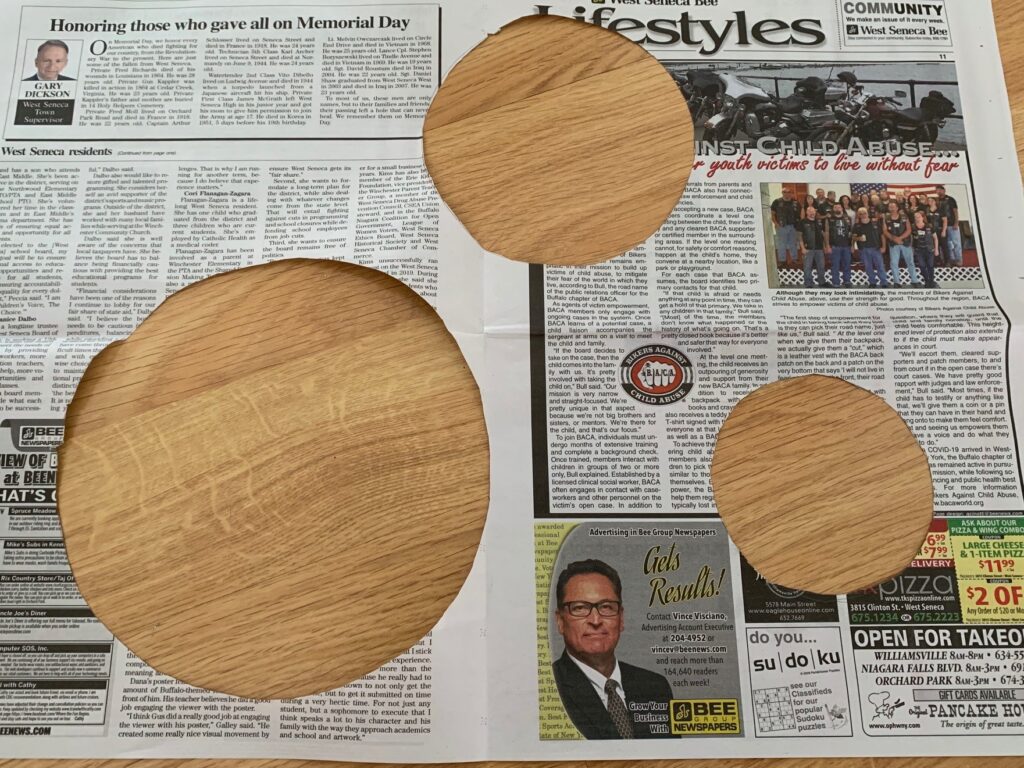
Step 2: Parents, you may need to assist with this step! Use adult scissors that have a pointed tip to cut a small slit in the first circle. Children can then finish cutting out the circle with child safe scissors. Complete this step for all three circles.
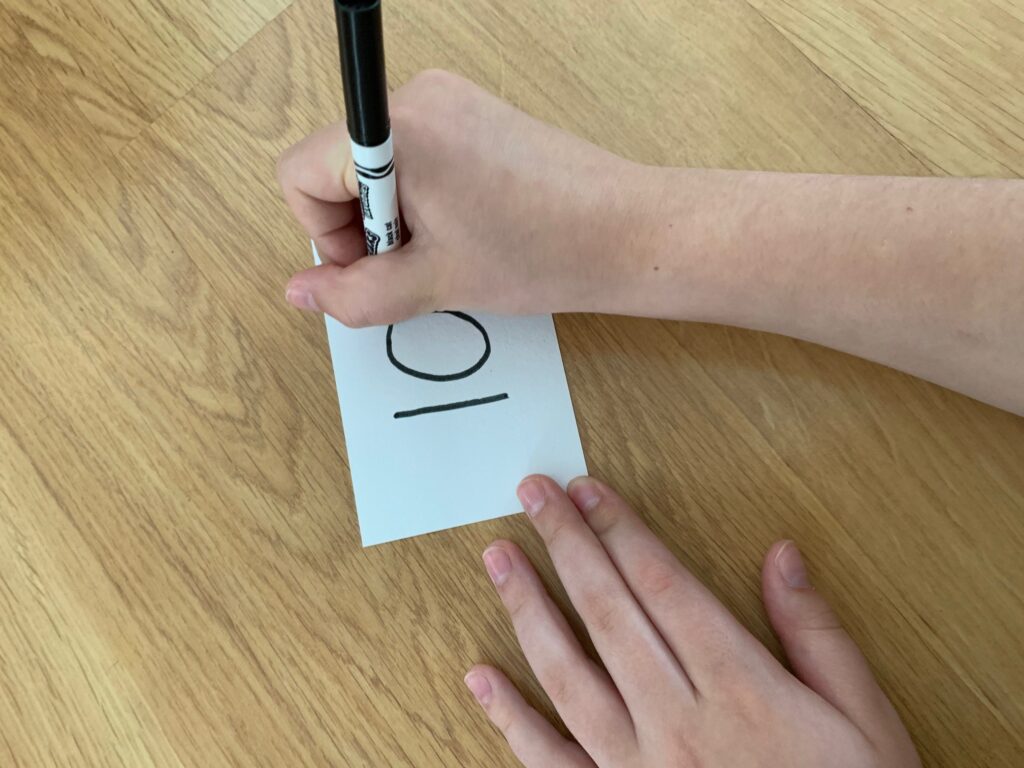
Step 3: Here’s a great opportunity for number writing practice! Write 3 increasing point values on index cards; one for each circle. For the largest circle, you would appoint the lowest number because getting the airplane through it would be the easiest! Your totals could be something like 10, 20, 30. Or you could do 25, 50, 100; whatever values you would like. Encourage your child to write these number totals with a marker on an index card.
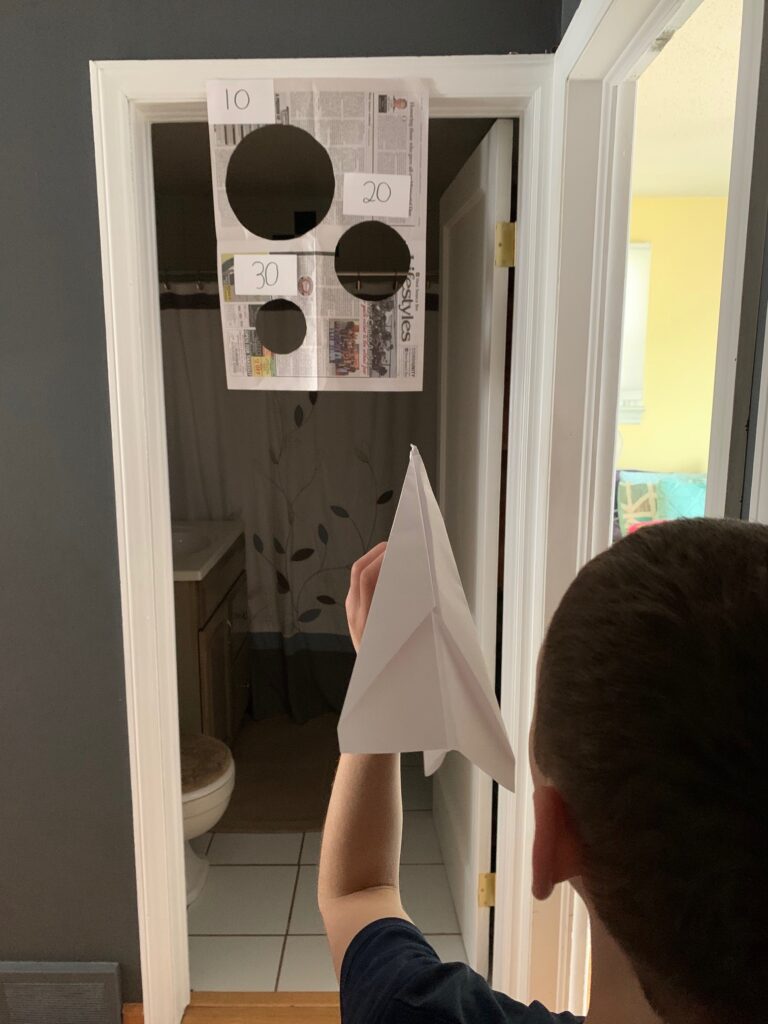
Step 4: Tape the index cards above the circles (with the lowest total on the largest circle, and the highest point total on the smallest). Then place tape rolls on the back of the newspaper just at the top. Tape your “board” to any doorway in your home to play!
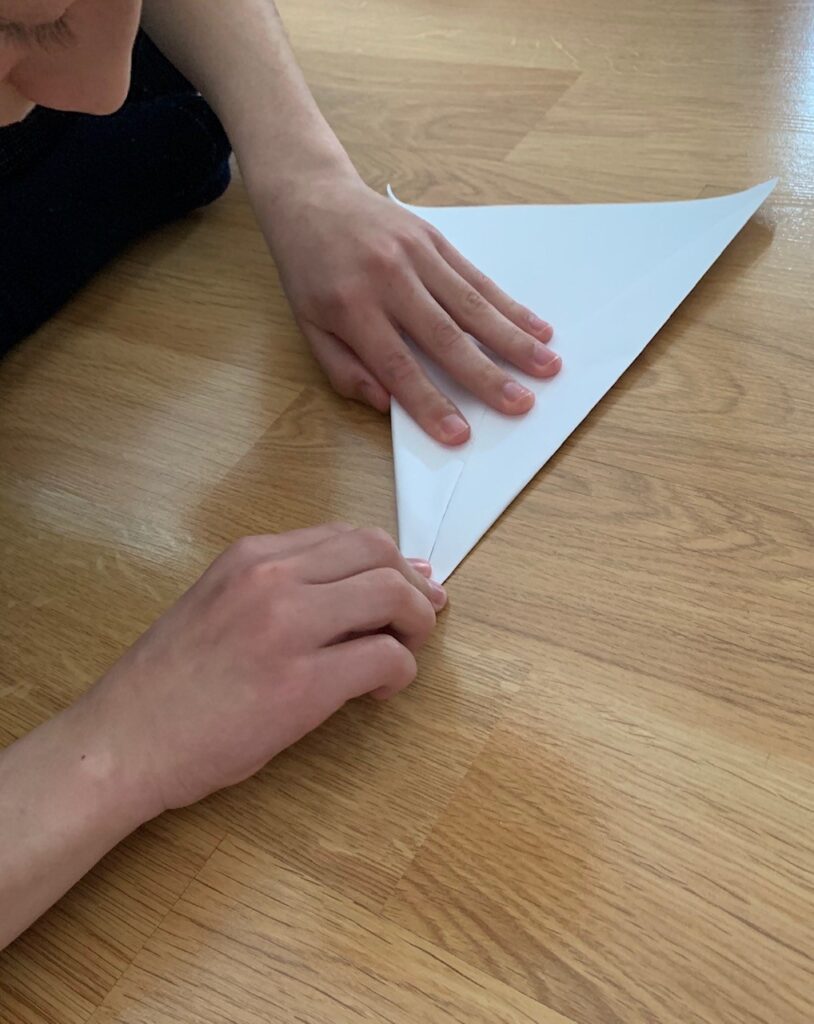
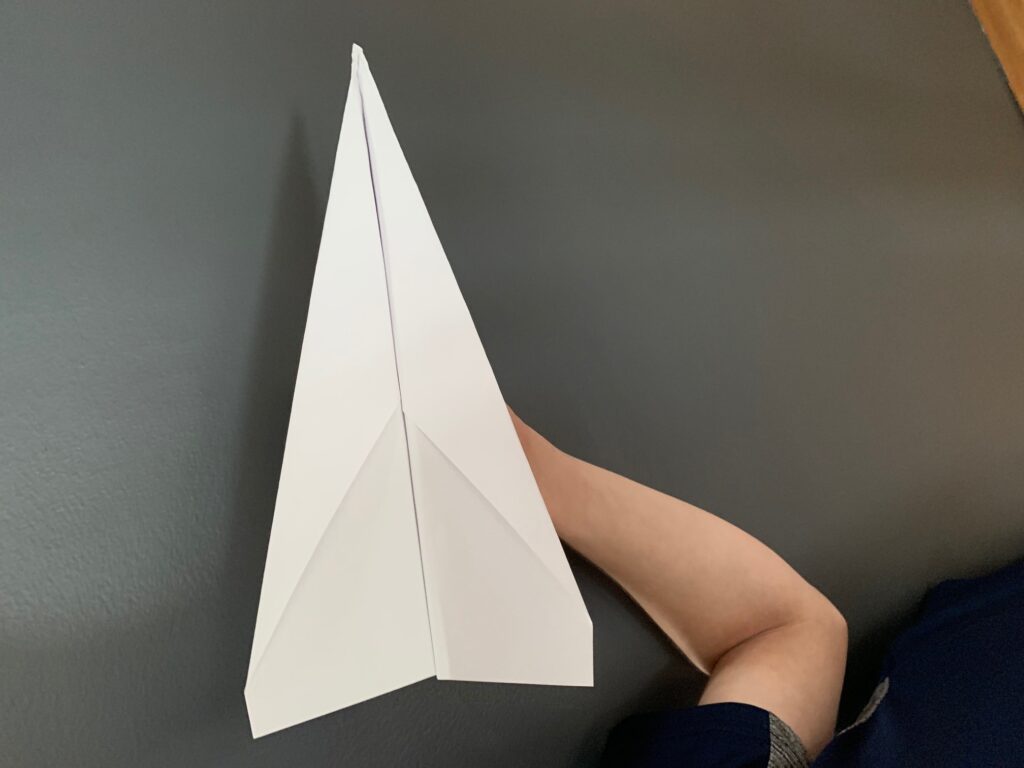
Step 5: Create your paper airplane. Take one piece of copy paper and fold it aerodynamically (try some different folds to see which flies the best)!
Step 6: Time to play! Stand about five feet back at least and see if you can get your plane through each hole. Keep trying or design a new plane!
Try out your plane solo or find a partner to compete against and keep score. You can even attempt some variables in the game like throwing from different distances, or even try launching it with your non-dominant hand!
Vocabulary Words
Aerodynamics: a branch of dynamics that deals with the motion of air and other gaseous fluids.
Dominant hand: Hand dominance is the preference for using one hand over the other to perform fine and gross motor tasks. This includes activities like writing, cutting, and catching and throwing a ball.