Sanity Savers, Honk for Heroes Edition: Trash or Recycle?

 By: Amelia Schrader
Senior Manager of Learning and Education  

Download a printable PDF here!
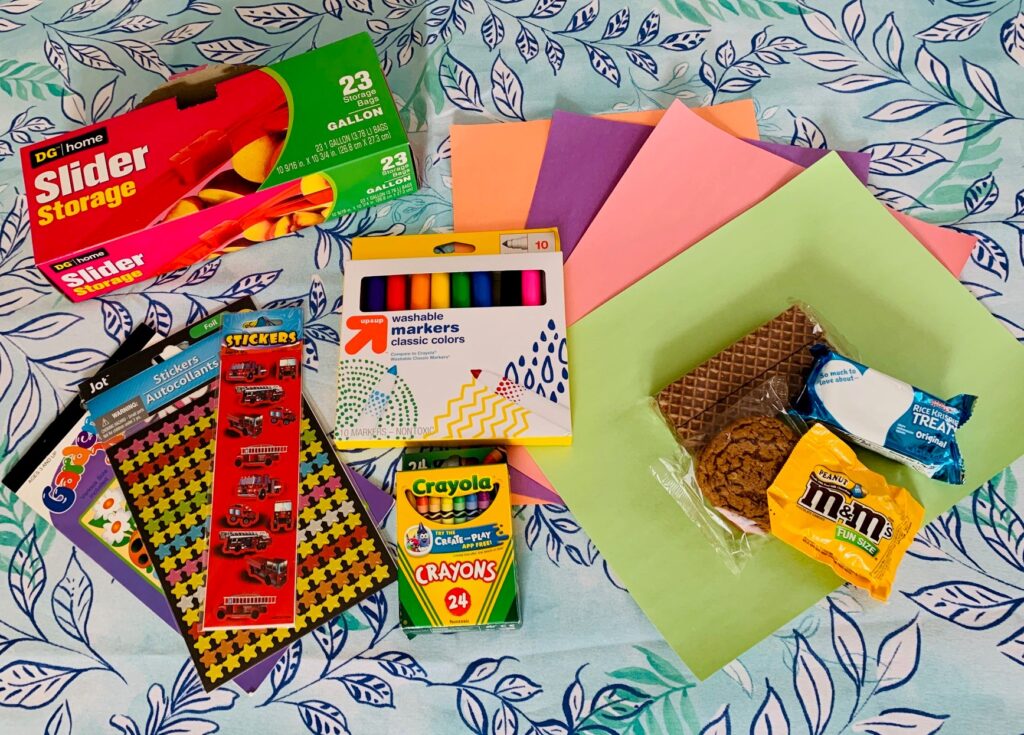
Materials

Recyclable and Non-Recyclable Worksheet
Scissors
Two Bins  

Length:

Activity: 5-20 minutes  

Academic Subject(s):

Science and Social Studies  

Sanitation workers often get overlooked when it comes to recognizing community heroes but without these workers our community would not function! Can you help-out our sanitation workers by learning to sort the recycling from the trash? 

Directions:

Step 1: Place two bins or small containers on your table. Label one “RECYCLE” and one “NON – RECYCLE”.  
Step 2: Carefully cut on the rectangles out on the dotted line. These images represent 8 items that can be recycled and 8 items that cannot be recycled. 
Step 3: Sort your images into the correct bin.
Ask your grown up to help check to see how many you sorted correctly!  Great job sorting the trash from the recycling! What other items in your home can you recycle? What else can you do to help the environment if something can’t be recycled? 

Vocabulary Words

  1. Recycle – is the process of collecting and processing materials that would otherwise be thrown away as trash and turning them into new products. Recycling can benefit your community and the environment.

For more Storytime stories click here!

Storytime, Honk for Heroes Edition: Senior Master Sergeant Mike Peppers reads Hey Granddude

Storytime: Senior Master Sergeant Mike Peppers from the Air Force reads Hey Granddude by Paul McCartney.

Special thank you to our Honk for Heroes Storytime Sponsor – Bond, Schoenek & King!

Meet Grandude, an intrepid explorer grandfather, and his four grandkids. With his magical colourful postcards, Grandude whisks his grandchildren off on incredible adventures. Join them as they ride flying fish, dodge stampedes, and escape avalanches…

For more Storytime stories click here!

Sanity Savers, Honk for Heroes Edition: Thank a Hero!

 By: Val Drapeau
Education Coordinator

Download a PDF of the instructions here!

 Materials

Construction Paper
Crayons or Markers
Stickers
Gallon size storage bag
Pre-packaged treats 

Length:

Set up: 5 minutes to gather materials
Activity: 15-20 minutes (or as long as the children are interested in making them!) 

Academic Subject(s):

English Language Arts (ELA) and Art 

So many heroes have been working the front lines through this entire pandemic.  They are nurses and doctors, workers from grocery stores, sanitation departments and the postal service to name just a few!  With many of us spending more of our time at home due to Covid, why not take this opportunity with our kids to spread some cheer?  Sending homemade decorated cards to local heroes will put a smile on their face guaranteed!  Any age of child/adult can participate in this activity, so making it a family project could be fun! 

Directions:

Step 1: Choose a piece of construction paper and fold in half. 
Step 2: Have children think of appropriate sayings that could be put on a card that would be received by someone that they don’t know.  Sayings like, “Thank You!” or “You’re a Hero!” or “We’re sending some cheer!” would all be great choices.  A teachable moment for continued learning could be asking your child what different things they would say to someone close to them versus someone that they didn’t know or just met.  Talk about how they came to those conclusions and why. 

Step 3: Take some time to write on the front covers and insides of the cards with a marker or crayon.  Remember that whatever is created will brighten a person’s day; so don’t worry too much about it being perfect!  
Step 4: Add some stickers that you have available around the house or have children draw some small pictures all over the cards of things like smiley faces, stars, etc.  It is a parent’s discretion on whether or not to have children sign their name. 
Step 5: Place cards in a gallon sized storage bag with a few pre-packaged treats for the recipient(s) to enjoy.  Knowing that kids are thinking of them will bring such joy to the heroes in your community!  Allow the bags to sit for a few days to ensure sanitization before delivering them to a local hospital, post office or any other place that you can bless a hero! For this community service project, any number of cards/treats that you give would be great!  Encourage your friends to try this project too, and let’s see if we can flood our community with a lot of kindness! 

Vocabulary Words

  1. Hero – a person who is admired or idealized for courage, outstanding achievements, or noble qualities
  2. Conclusion – a judgment or decision reached by reasoning or the end of an event or process
  3. Community service project – voluntary work intended to help people in a particular area

For more Storytime stories click here!

Sanity Saver: Biodegradable Bird Feeder

Sponsored by: National Grid

Written by: Dan Walsh
STEM Educator

Supplies ideas:  

Any citrus fruit that can be hallowed out such as an orange, spoon, knife, hole puncher, and bird seed, newspaper or table cloth

Length:

10 minutes

Academic Subjects:

Science

Directions for Biodegradable Bird Feeder

Did you know ornithology is the study of birds, this includes migration patterns, colors, and even bird calls! Today we will be creating our own biodegradable bird feeders. Biodegradable means that it can decompose naturally without leaving behind any trash.


1.)  Find the best place to work and place a tablecloth down that you can get dirty. With the help of an adult cut your piece of fruit in half.
2.)  Hallow out both of the insides of the fruit with a spoon. Try to get as much of the fruit out as you can. The insides make for a great snack!
3.)  Once the fruit halves are hallowed out, take your hole puncher and punch four holes opposite each other.
4.)  Tie a piece of string connecting two of the holes, repeat this process for the other two holes. Make sure the string is long enough to hang from a tree.
5.)  Once you are outside, fill the bird feeder with seed and then hang it from a tree! Keep an eye on your feeder, and marvel at the different types of birds that visit.  


Biodegradable Bird Feeder Vocabulary:

Ornithologists– studies all aspects of birds This includes bird songs, colors, flight and migration patterns, and so much more!  
Roost- a place where birds gather to sleep at night or a place where bats gather to sleep during the day.
Genus– A large group of different animals that are closely related. Much like a last name for a family, animals have a genus, to make them easier to identify.  
Species– If genus is a animals last name, then their first name is species. Species describes one kind of animal within a genus. 
Migration– The seasonal movement of animals from one area to another. 

Check out our other Sanity Savers posts here!   

Sanity Saver: Magic School Construction

Sponsored by: National Grid

Written by: Dan Walsh
STEM Educator

Supplies suggestions:

Modeling clay, straws, craft sticks, any other recycled materials

Length:

20 minutes

Academic Subjects:

Science
This lesson supports the following standards:
ETS1.A: Defining Engineering Problems- Possible solutions to a problem are limited by available materials and resources (constraints).

Directions for Magic School Constructions:

Explore & More has decided to open up a school of witchcraft and wizardry and we need your help! First we need a model school built first. Using different materials found around your home can you help build us a school for witches and wizards!? Follow the below directions to get you started on your project, then use your imagination to add some magic!

1.) Start by ripping your clay or dough into small pieces. Each piece should be the size of your thumb.
2.) The bottom of our school will be built on a square. You will need four pieces of clay. Stick a straw into the clay, and then add another piece of clay to the other end.
3.) Using the same straw, we are going to add another straw to each piece of model magic. It should look like the letter u.  
4.) Add a piece of clay onto both straw ends.  
5.) Finish the square by adding another straw.  
6.) Next we will use the craft sticks to build up toward the sky! Place a craft stick in every piece of clay pointing toward the ceiling.   
7.) We’ll need 4 pieces of model magic for this step. Add them one at a time to the top of the craft stick. Now we are taking are square and turning it into a new shape. A cube!  
8.) Pull out 4 more straws, and attach them one at a time between the craft sticks.  
9.) Finally you can either build a roof, add flags, or keep building toward the sky. If you wish to keep building on your tower, we will add more clay to the 4 corners. Then place a craft stick on each corner pointing towards the sky. See if you can remember what to do next! If you wish to stop and build a roof, you will need 4 straws. Place them into the clay and slowly push the tops of the straws toward the middle of the cube to form a triangle! You can add a piece of clay at the top of the triangle to hold it together. 

Vocabulary 

Architect– a person who designs buildings. Architect’s decide on the buildings shape, size, and what the building is made of. 
Engineer– a person who takes the architect’s building plans and builds them.

Check out our other Sanity Savers posts here!   

Field trips are back! Please be aware that it will be busier than usual.