By:Amelia Schrader
Senior Manager of Learning and Education
Thank you to our Halloween Spooktacular sponsor, Hunt Real Estate.

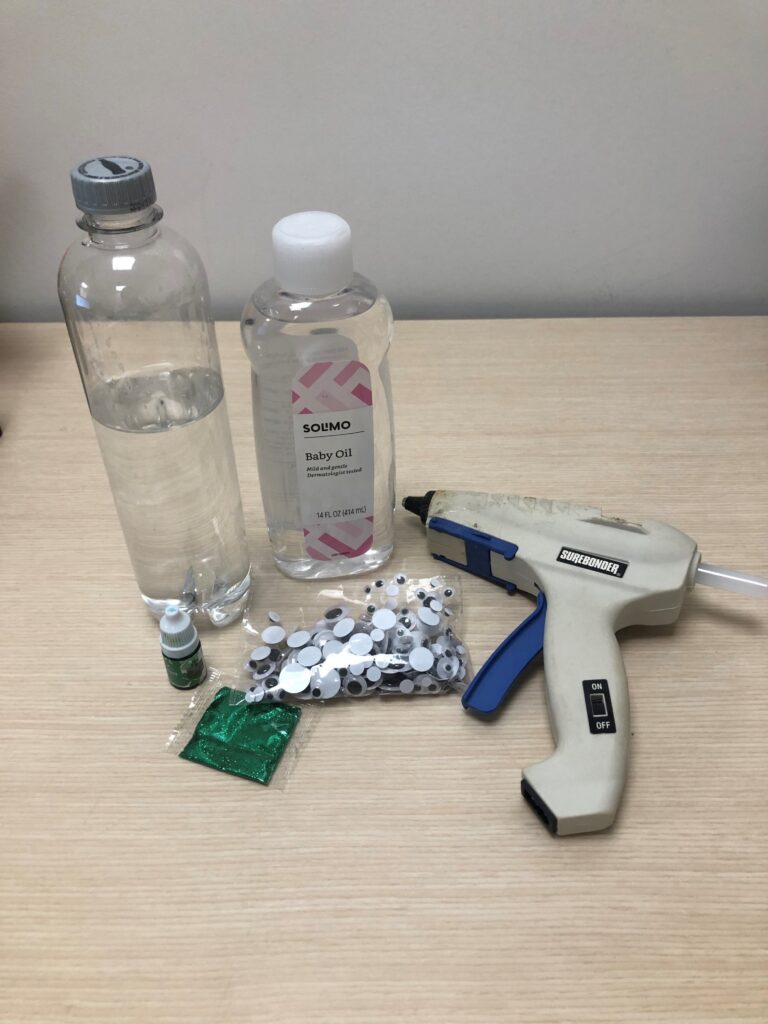
Materials:
Empty Water Bottle (with cleaned off label)
Baby Oil
Room Temperature Water
Glitter (color of choice)
Googly Eyes
Food Coloring
Hot glue
Length:
Activity Time: 5 minutes +
Play Time: Unlimited!
Academic Subject:
Art
Science
Halloween is fast approaching! This holiday can be over stimulating for many of our friends so Explore & More has put together a simple lesson to make a Spooky Halloween Sensory Bottle. This quick activity is has a calming, meditative effect while being played with and as an added bonus, it is mess free! Having your child help make this bottle with also refine fine motor skills used in pouring and early math and science through measuring.
Directions
Step 1: Make sure your bottle label is cleaned off. If you are having challenges with sticky residue, trying using a sticker remover then washing with warm soapy water.
Step 2: Fill the bottle about halfway with room temperature water.
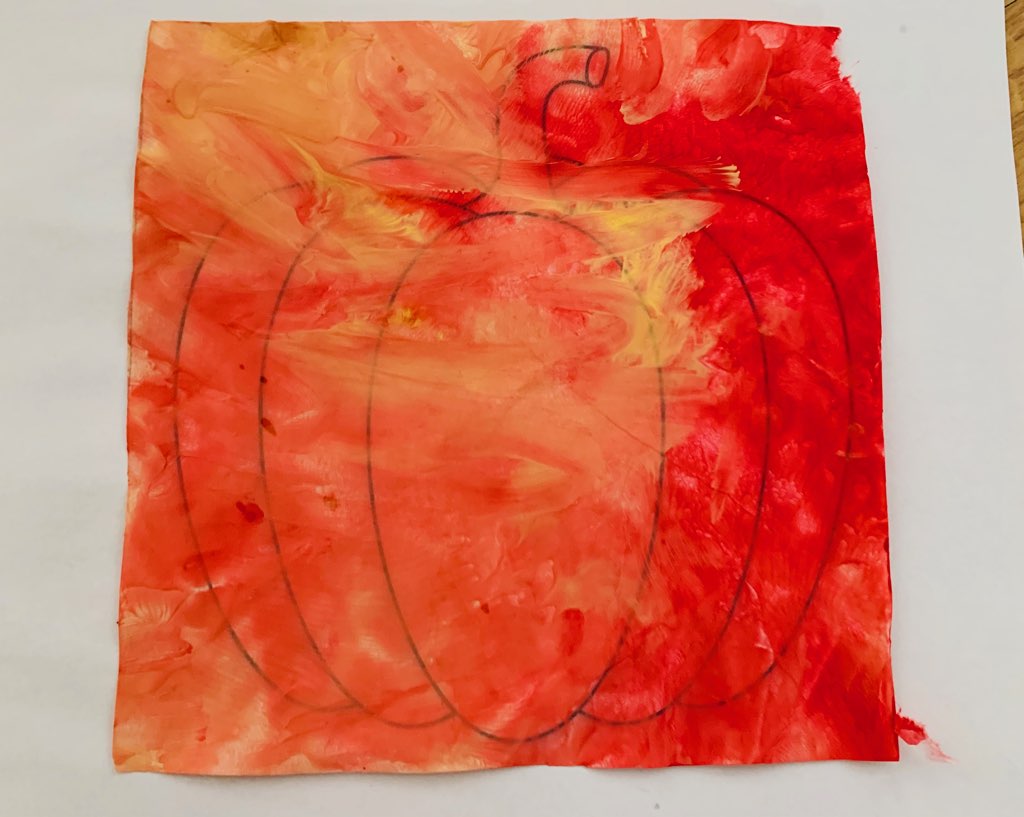
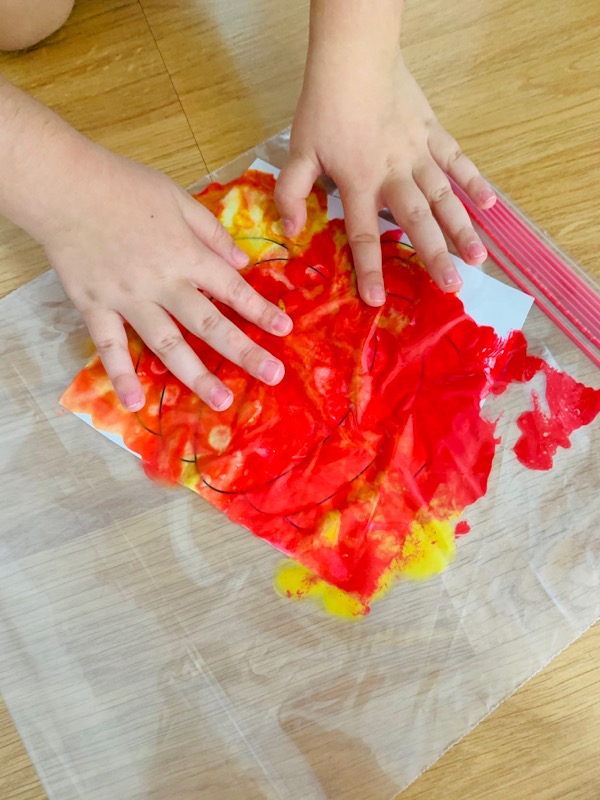
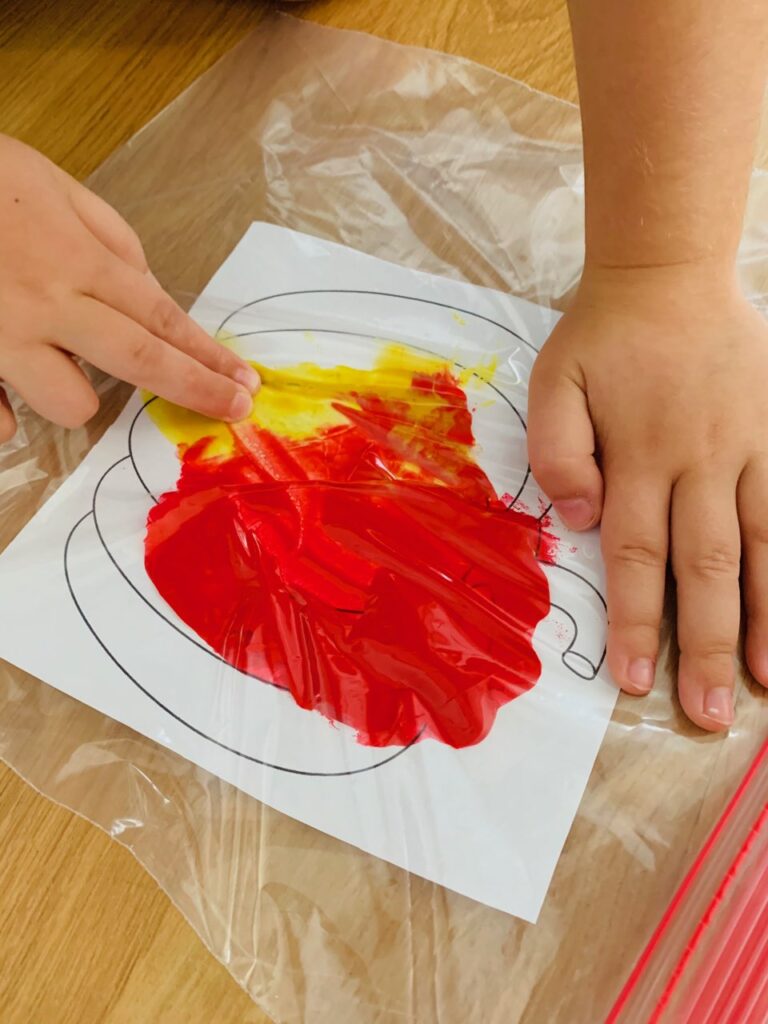
Step 3: Add a few drops of food coloring and glitter to your bottle. You can add as much or as little as you want. I have a rather large bottle so I added about 2 tablespoons of green glitter.
Step 4: Time to add google eyes! Like the glitter, you can add as many or as little as you want. For my bottle, I used about 1 tablespoon of google eyes in various sizes.
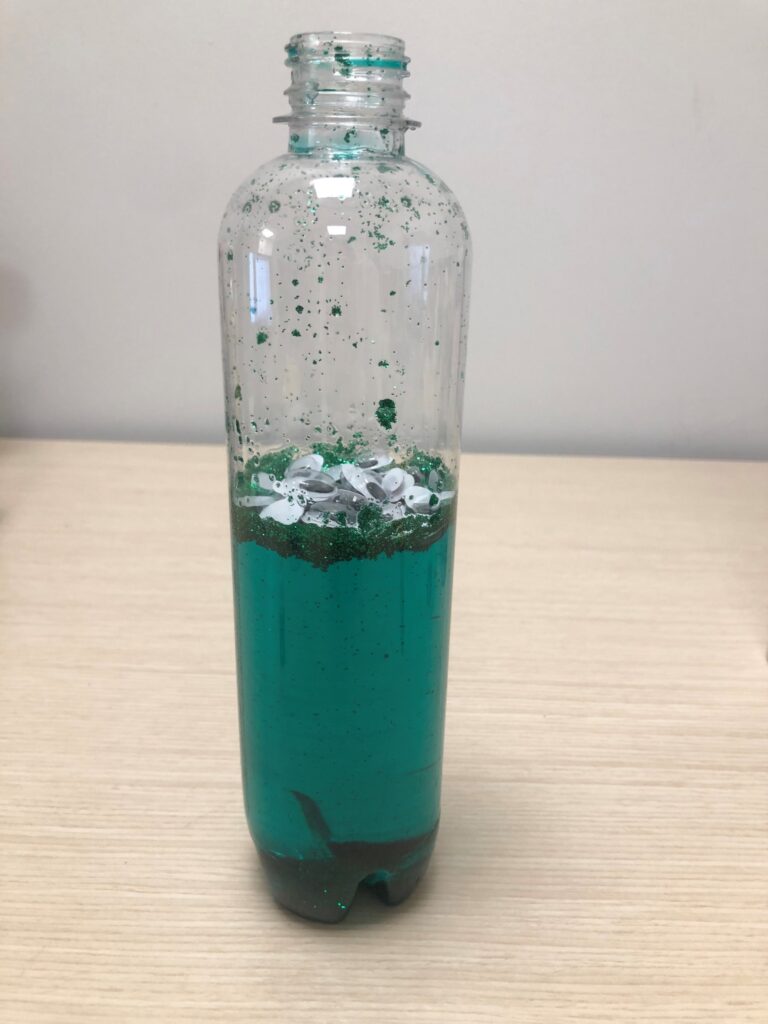

Step 5: Fill the bottle the rest of the way with baby oil. You want to fill the bottle almost all the way to the top then let any air bubbles escape. Once air has had a chance to escape carefully finish filling the bottle with oil, getting it as close to the top as possible without spilling.
Step 6: Carefully screw on the lid of the water bottle. With the help of a grown up, seal the bottle with the hot glue!
Now it is time to play with your sensory bottle! This calming toy provides hours of sensory fun! You can customize these bottles any way you want. Change up the glitter or add in spiders instead of google eyes. The possibilities are endless!