presented by: m&t bank
By: Karen Roesser
Early Childhood Educator
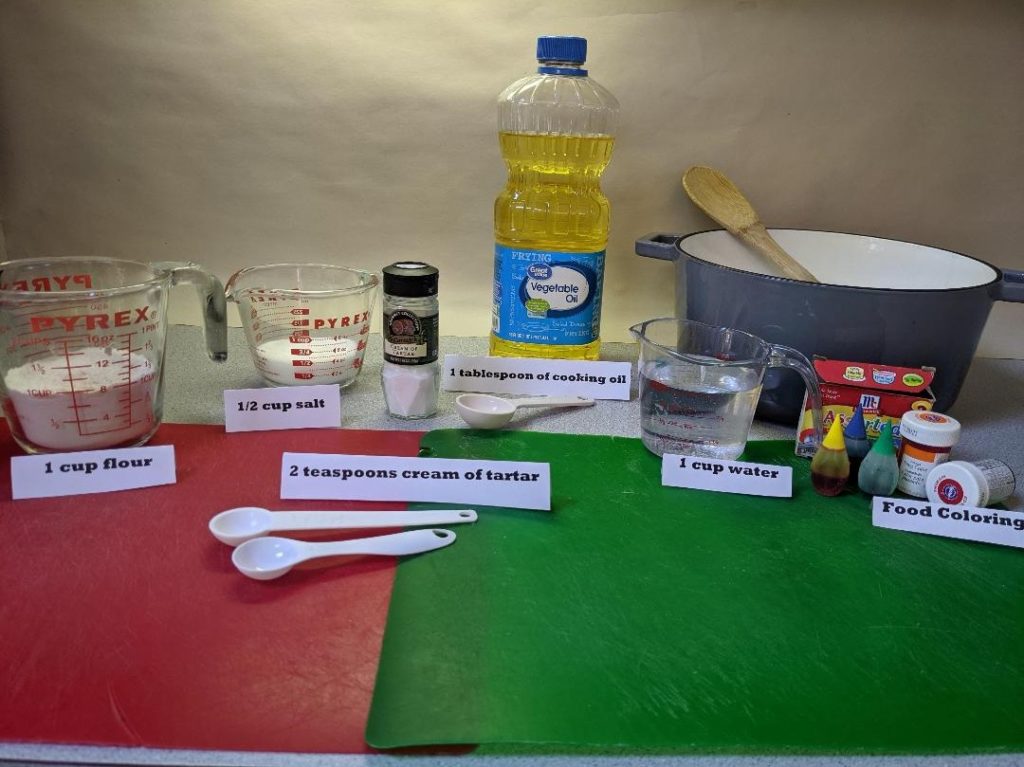
Materials:
1 large cooking pot
Spoon
1 cup of flour
½ cup of table salt
2 teaspoons of cream of tartar
1 Tablespoon of cooking oil
1 cup of water
Food coloring (the Wilton icing color containers make extra vibrant colors!)
*Other add-in ideas:
– Use of package of unsweetened jello to color and SCENT your dough. A couple of drops of scented oil like orange, lemon or peppermint will also work well.
-Adding cinnamon will give your dough a nice brown color and a great smell especially when warm!-Add some glitter and your dough will sparkle.
Length:
Cooking time: 15 minutes
Interactive time: Hours of fun! (Dough can be kept in an airtight container or Ziploc bag and it will last for a long time.)
Academic Subject(s):
General lesson that covers ( pre-)academics in the areas of literacy, numeracy and science, fine motor skills important for developing small muscles of hands and fingers, building vocabulary and encouraging creativity.
This lesson supports areas of Early Childhood Development and PreK Curriculum:
· Developing fine motor skills.
· Using dough as a tool for practicing academic skills, developing language, and building social-emotional relationships.
Directions:
Step 1: Measure out the needed ingredients and put them all together in a medium sized cooking pot. This is a great opportunity for older children to read and follow a recipe independently and do the measuring on their own. Younger ones can certainly help pour the ingredients in and choose their favorite color for the dough.
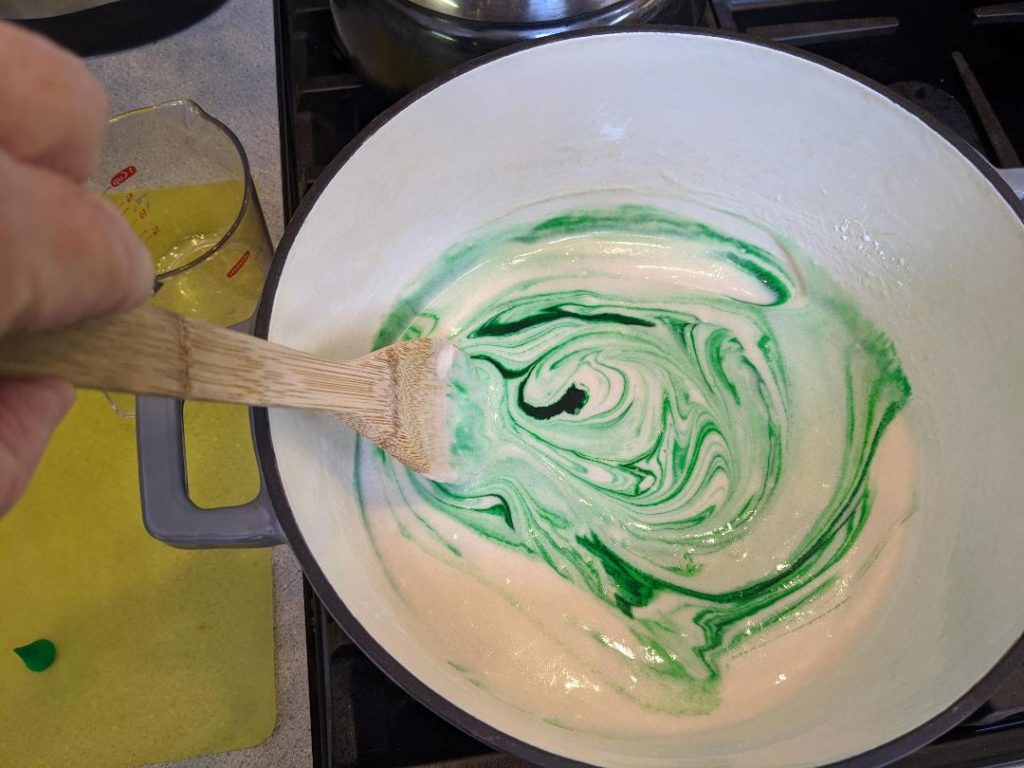
Step 2: Mix together the ingredients in the pot until smooth and then squeeze in 5-10 drops of your chosen color. Encourage stirring and watching the process of the change in color.
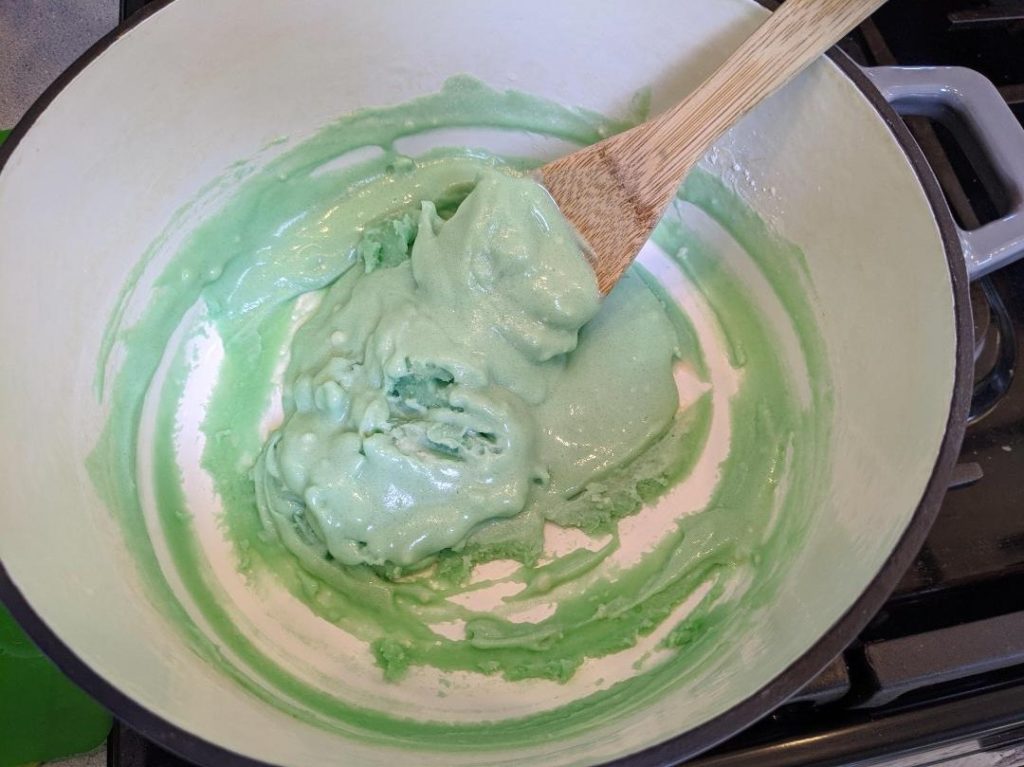
Step 3: The adult will cook the mixture over medium heat until it becomes solid and can be scraped up into a ball. Stir frequently during this process and scrap the bottom of the pan as it solidifies.
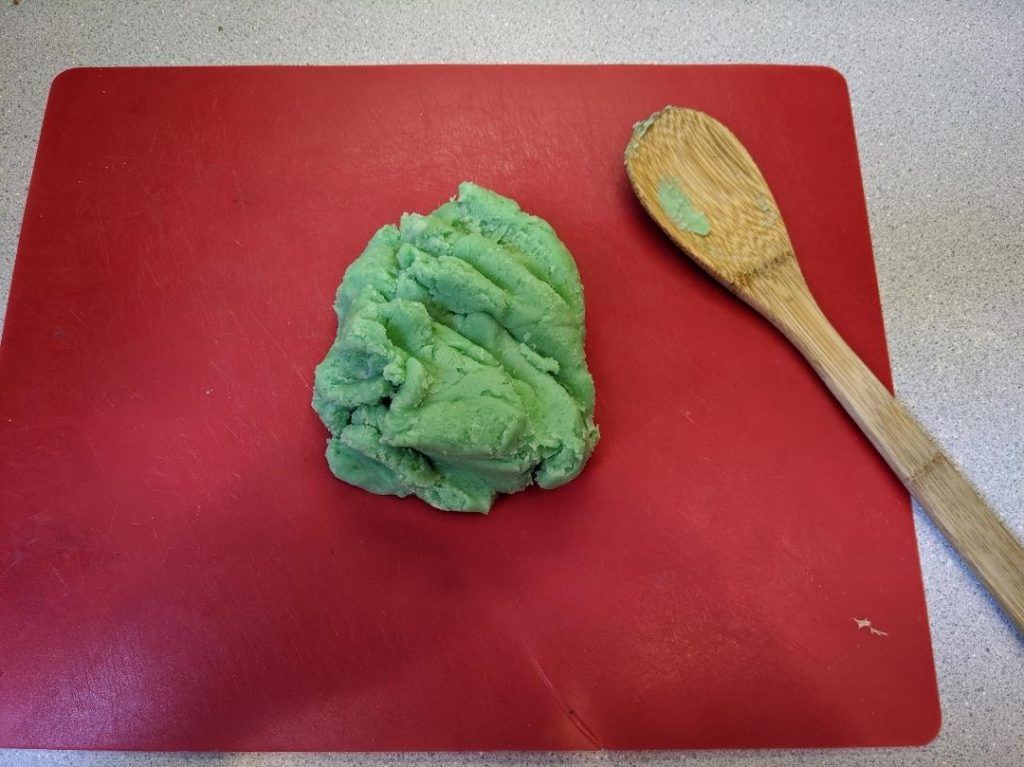
Step 4: Turn out the ball of dough onto a heat resistant surface and let it cool until it can be kneaded together by hand. Manipulating the dough while it is warm is a pleasant sensory experience. Talk about the changes that occurred during the process. (liquid to solid and change in color)
Step 5: Your modeling dough is ready to play with. It’s best to play with it on a table surface, tray or placemat that can be easily cleaned. Don’t forget to put it in that air tight container when you are done with it to save for another day. Ideas for expanding play with modeling dough
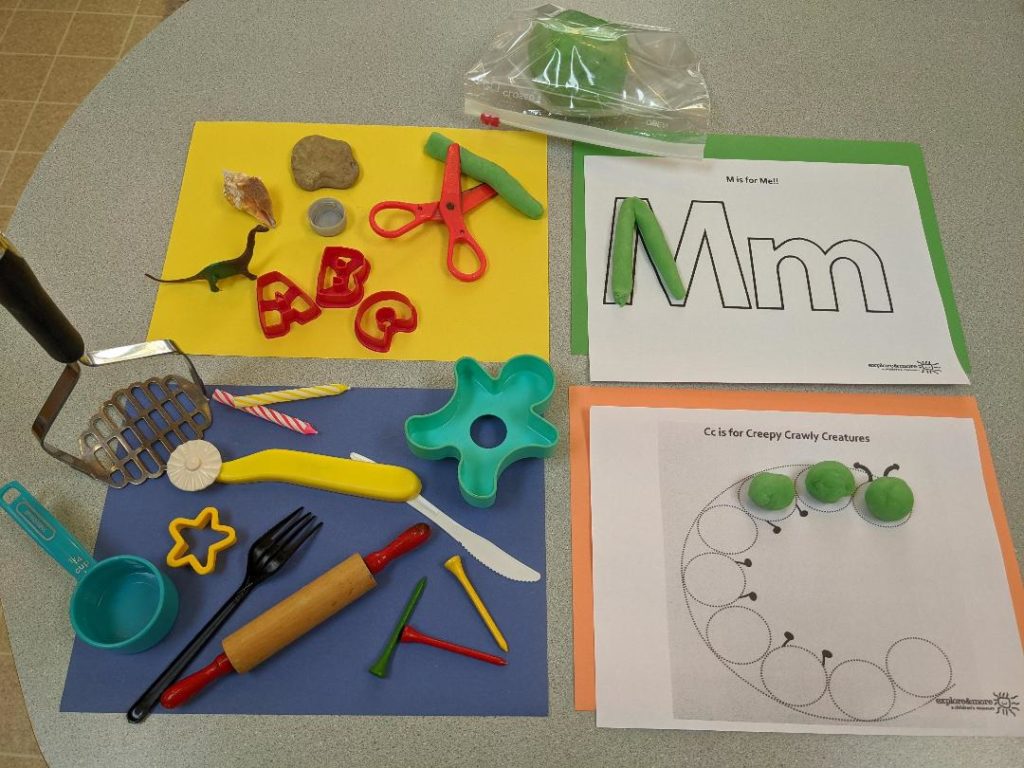
+ Provide an assortment of “tools” to use that you would find in your kitchen.
Ex. Cookie cutters, plastic knives/forks, small plastic containers, rolling pin, birthday candles, melon baller, potato masher etc.
+Find objects that could be pressed into the dough to make prints. Ex: seashells, rocks, twigs, small plastic animals, alphabet letters, numbers, bottle caps etc.
+ Practice cutting skills by snipping dough “snakes” into little pieces.
+Roll “balls and snakes” to form the letters of the alphabet, numerals and the letters of your name. Can you make a face? Can you make an animal? Play games for counting and making sets of objects.
+What color dough did you make today?
What great ideas can YOU come up with when playing with your homemade modeling dough?