Sponsored by: National Grid
Written by: Dan Walsh
STEM Educator
Supplies ideas:
Tape, straws, any other recycled materials

Length:
Build time: 10 minutes
Academic Subjects:
Science
This lesson supports the following standards:
ETS1.A: Defining Engineering Problems – A situation that people want to change or create can be approached as a problem to be solved through engineering. Such problems may have many acceptable solutions. (secondary to KPS2-2)
Directions for Whacky Robot DIY
Explore & More needs your help! We are trying to build the wackiest robots imaginable. Can you help us? As you are building imagine what jobs your robot could do. Does your robot put out fires, help on construction sites, or help doctors with surgery? The instructions are open ended, so you can build however you want! Here are some basic instructions to get you started.
1.) Collect all your supplies and brainstorm what kind of robot you will build.
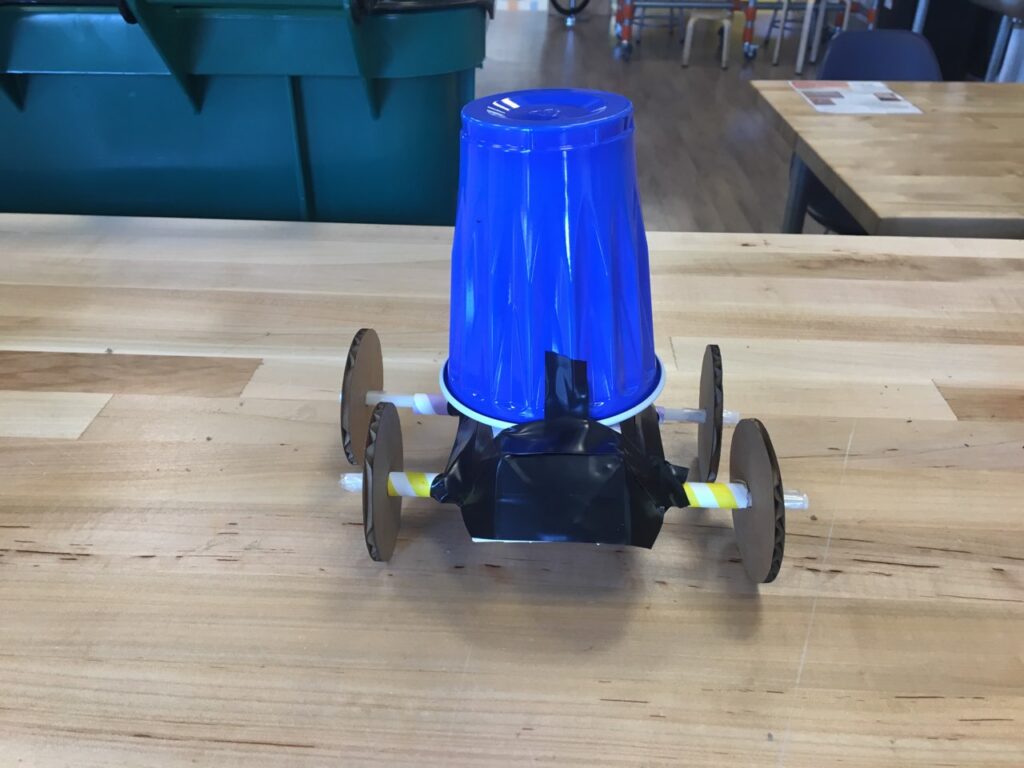
2.) First start by building a body.
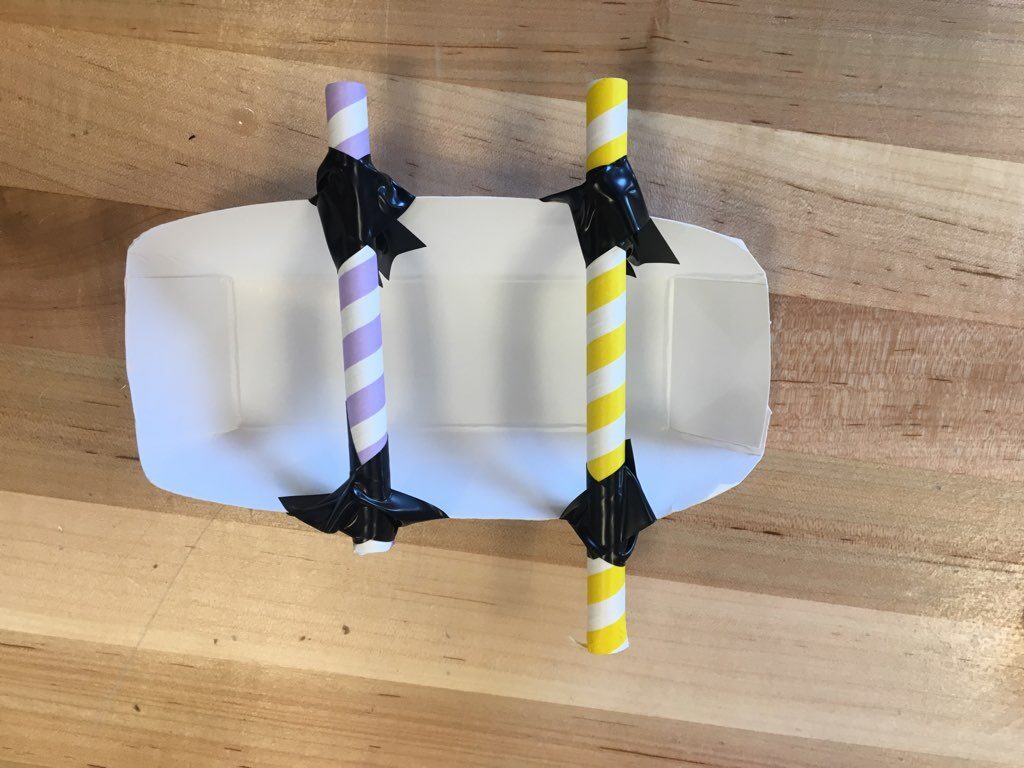
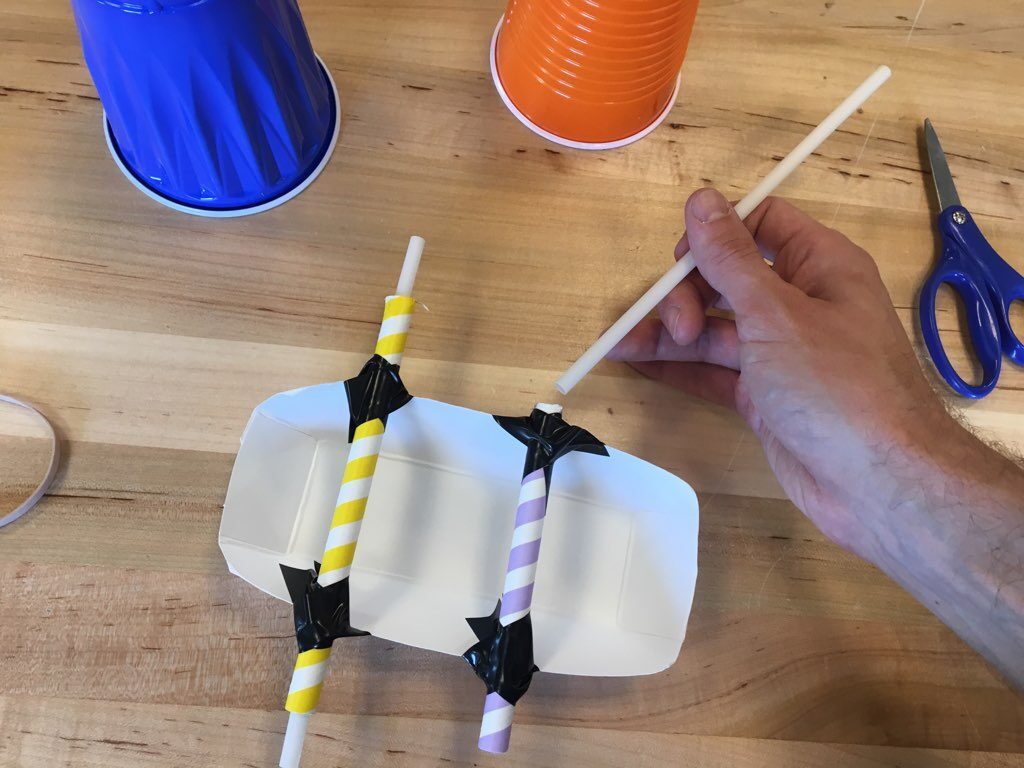
3.) Add wheels onto the bottom of the body. Using a bubble tea straw, and a regular size straw slide the two together. Tape the bubble tea straw to the bottom of the body.
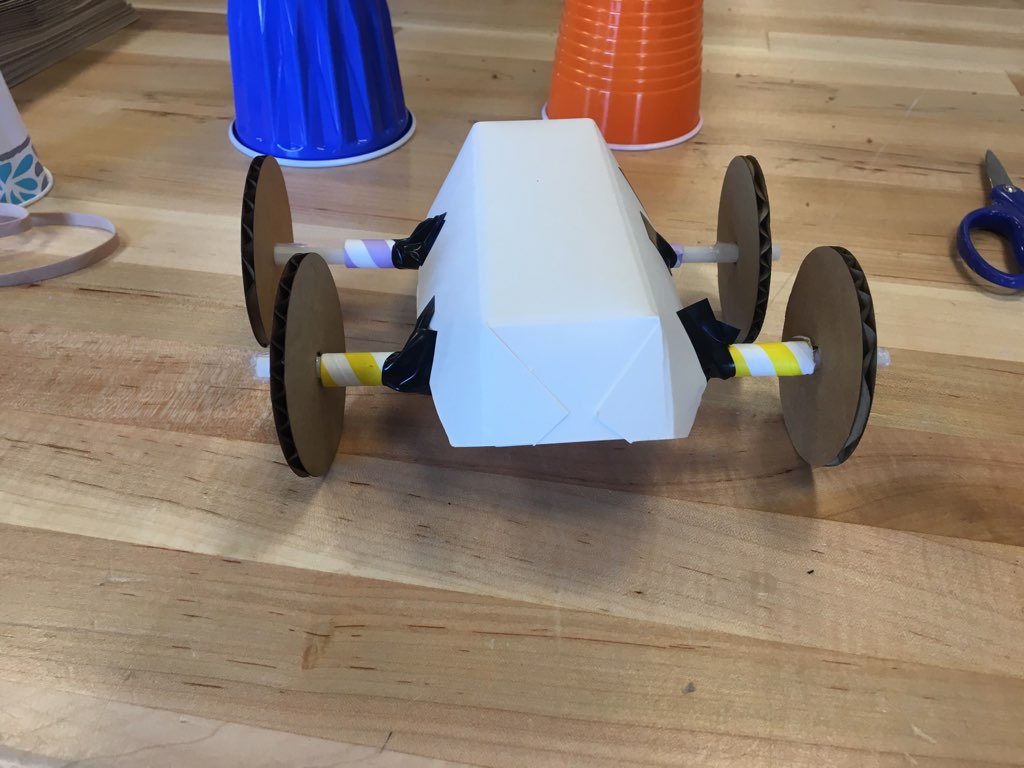
4.) Create wheels out of cardboard. Slide the wheels onto the axels. Place a piece of tape on the outside and inside of the wheels to make sure they don’t wobble.
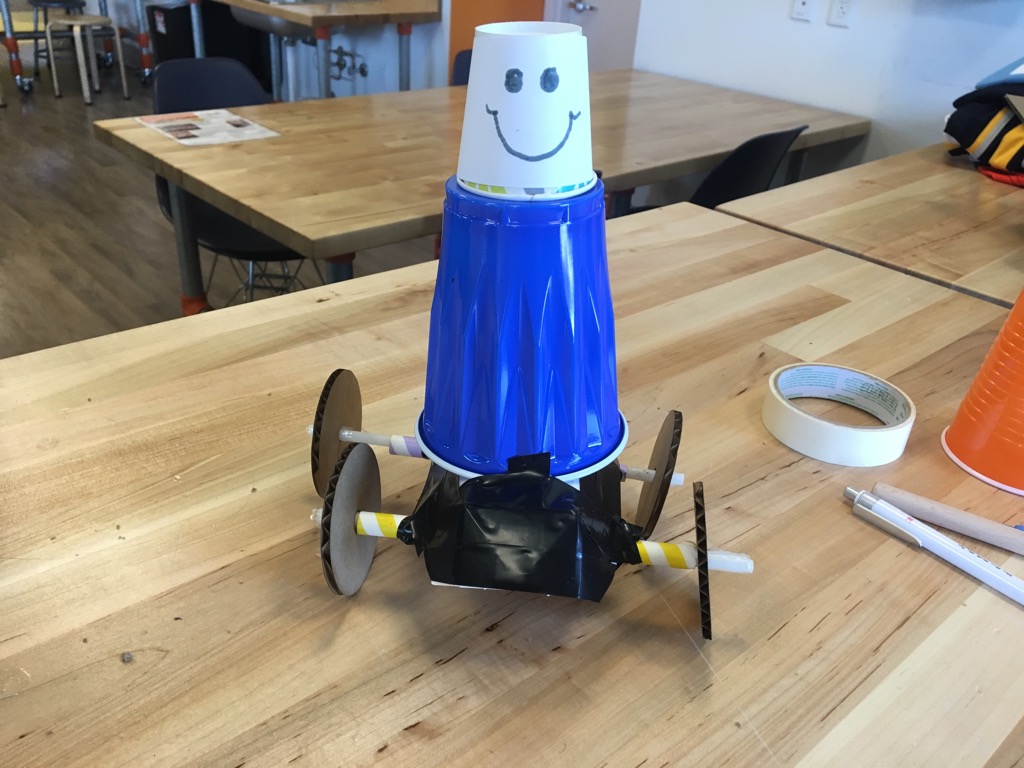
5.) Stack a little cup on top of a big cup.
6.) Then let your imagination run wild! You can add pipe cleaners for arms, googly eyes, and you can use a marker to draw designs.