Sponsored by: National Grid
Written by: Dan Walsh
STEM Educator
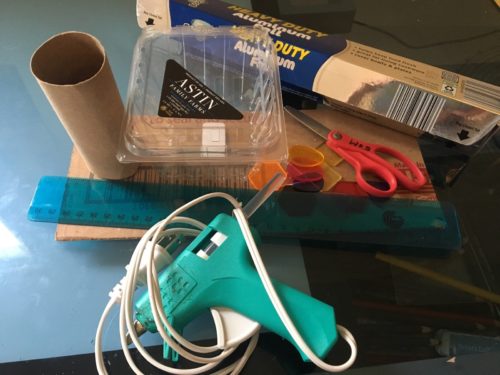
Supplies ideas:
Toilet paper tube (or Pringles can), reflective paper such as tin foil or scrap booking paper, colored beads, tissue paper, glitter, ruler, cardboard, glue, tape, fruit container or any see through cap
Length:
30 minutes
Academic Subjects:
Art and Science
Directions for Rainbow City Kalidoscopes
May 1st marks the 119th anniversary to the opening of the Pan-American Exposition located in Buffalo NY. The Pan-Am Expo was a world fair that showcased culture, scientific advancements, and of course electricity!
Electricity wasn’t a household thing yet, so people traveled from all over the world to see the entire fair powered with electric lights. The fair was powered by a hydroplant near Niagara Falls! The lights on the Electric Tower were covered with the spectrum of the rainbow, thus Buffalo was nicknamed Rainbow City.
1.) Begin by lining up your roll with a plastic container or cap. Place the roll over the plastic and draw a circle around it. Include 4 tabs to make the gluing easier. Make two of these circles and then cut them out.
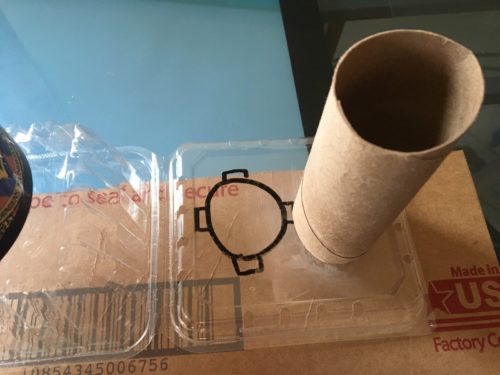
2.) Fold the tabs and then make sure the circles fit inside the tubes. Next place a little glue on each tab. Slide into tube about a quarter of an inch and let the tabs dry. Place a little glue on the outside of the tabs to make sure the plastic stays put.
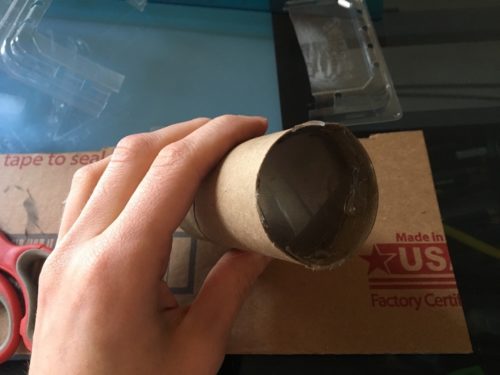
3.) Add glitter, colored jems, beads, or tissue paper onto the first circle.
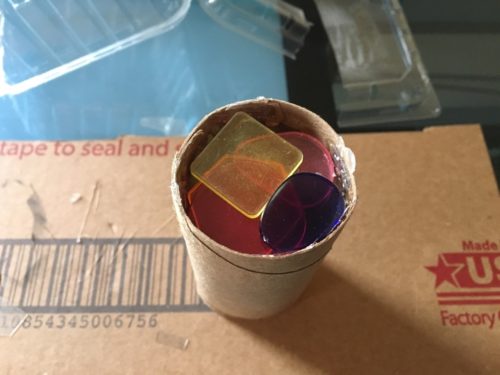
4.) Glue the next circle over the top of your roll.
5.) Next we are going to work on our prism. Measure the inside of the roll with a ruler. If using reflective scrapbook paper, or any other reflective paper skip to Step 10.
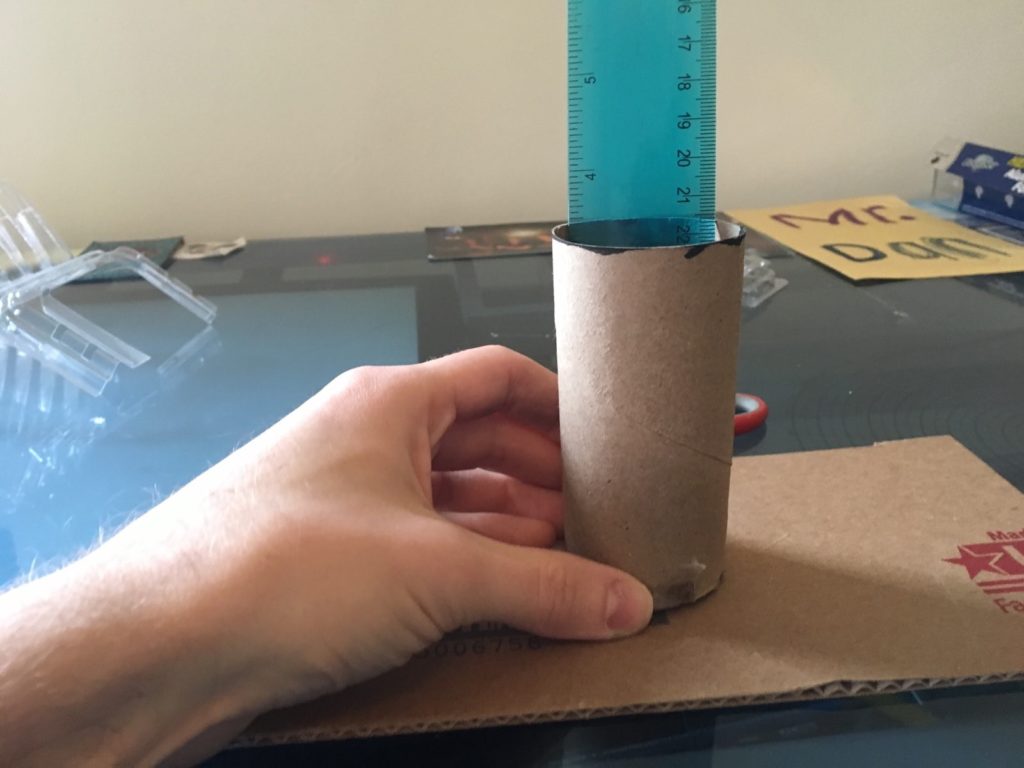
6.) Use this measurement to measure out your cardboard. Outline it on the cardboard. Measure out three equal rectangles lengthwise. I made mine about 1.5 inches each.
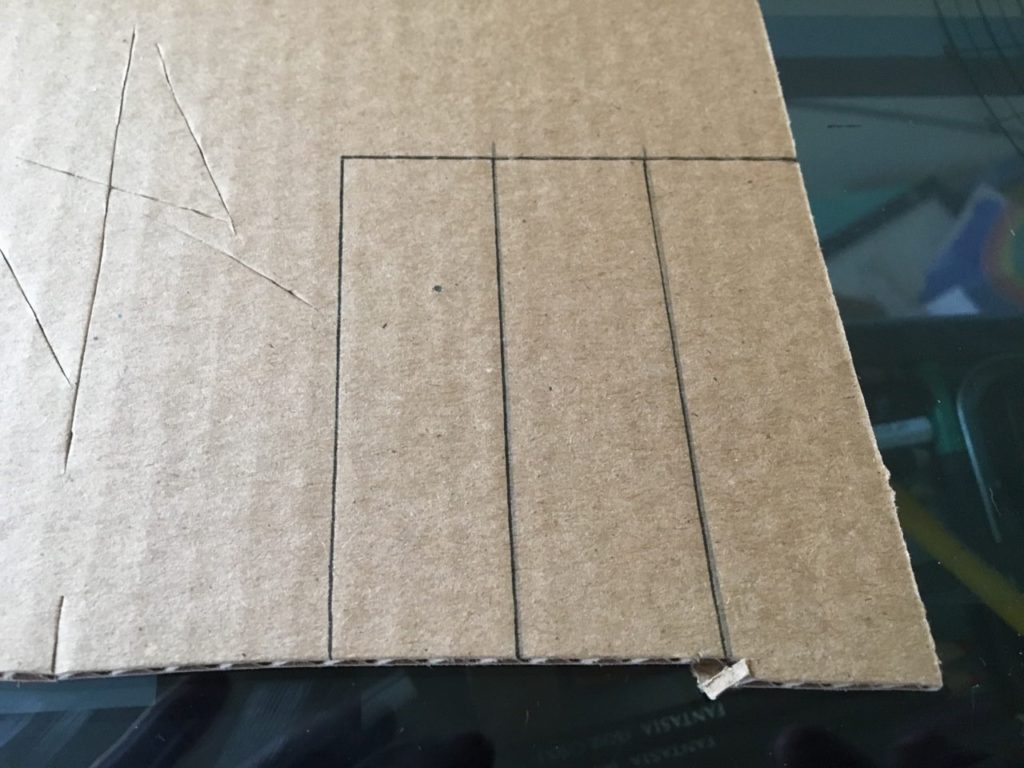
7.) Next we are going to cut the prism out. A neat trick for this part involves lightly cutting the two middle vertical lines. Don’t cut through the entire sheet, this will allow you to bend the cardboard later. If you cut it in the valley, you can see how far to cut. (Pictured below)
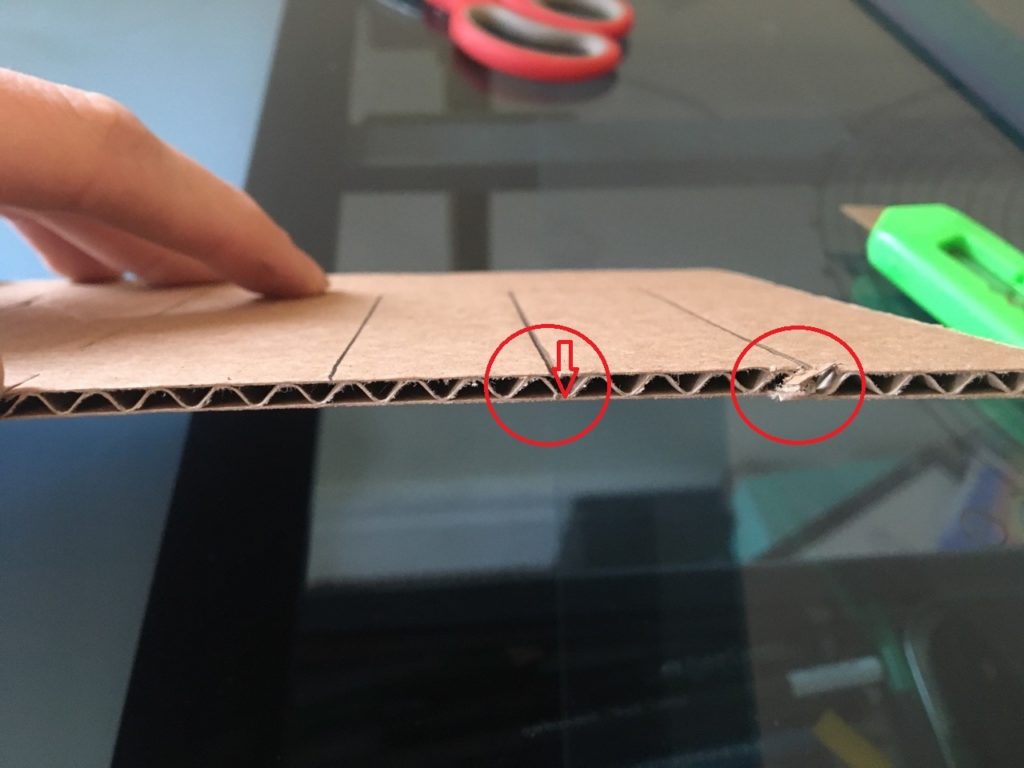
8.) Cut through the outline. Bend at the vertical lines slightly.
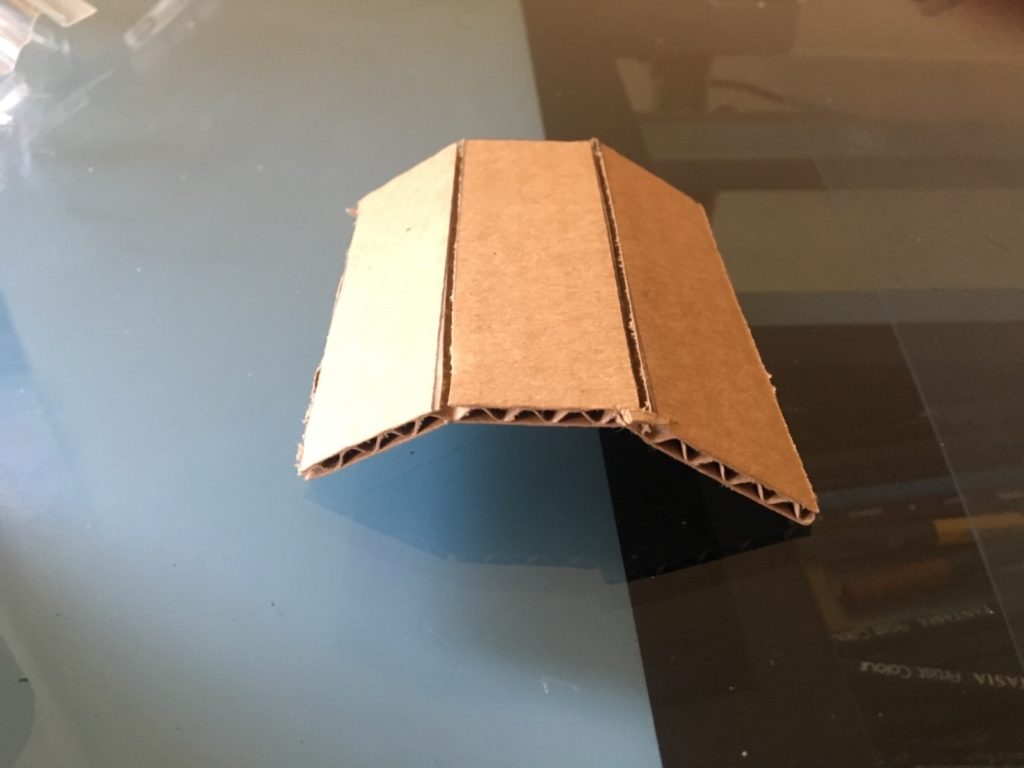
9.) Measure out a piece of tin foil and cut it to size. Then glue down on top of the cardboard.
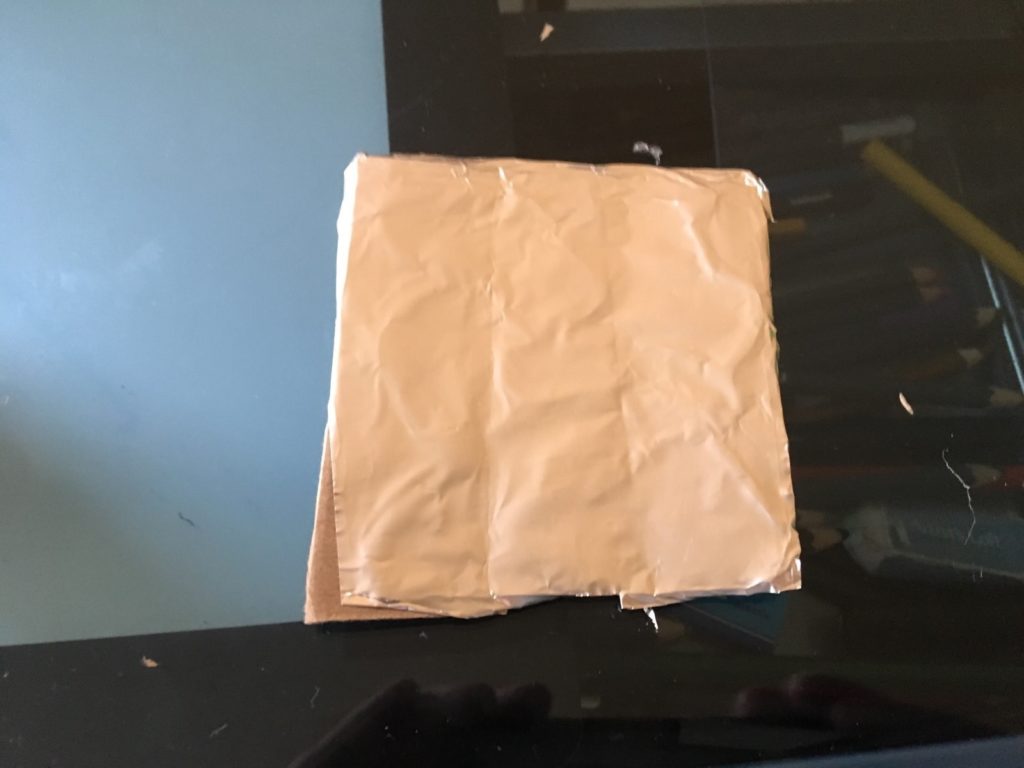
10.) Bend the cardboard (reflective paper) into a triangle shape. Place tape on top.

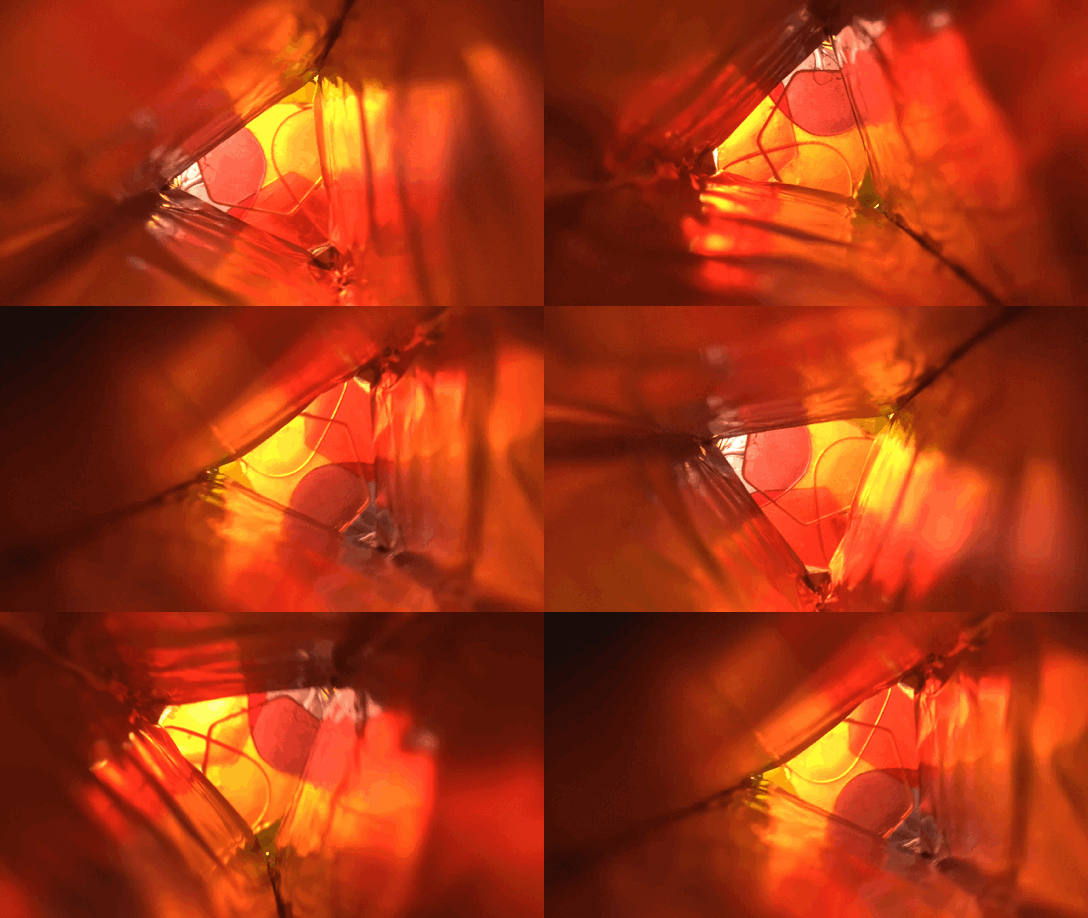
11.) Slide the prism into the roll. Head towards a window or light and marvel at the colors you see. Slowly turn the roll to see different colors!

Vocabulary
Geomety– a branch of matamatics that studies shapes, points, lines, surfaces, and solids.
Prism– a geometric shape that has two equal ends and are connected perpendicualry.
