Sponsored by: M&T Bank
Written by: Julia McMahon
Lead Play to Learn Facilitator
Materials
Envelope
Paper that fits inside the envelope when folded in half
Paper for drawing
Pencil, crayons, markers, and/or colored pencils
Scissors
Glue stick
Length:
Set up: 5 minutes
Active: 10-30 minutes
Academic Subject(s):
English Language Arts, Visual Arts, Math
Directions:
Step 1: Draw a picture and color it. This will be the piece that pops out from your card.
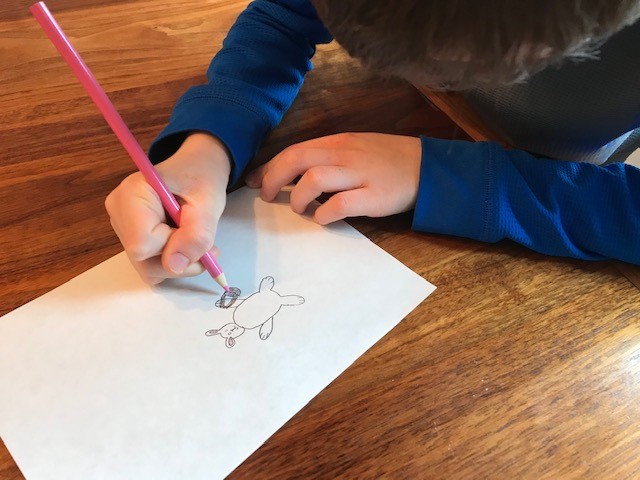
Step 2: Cut out the picture.
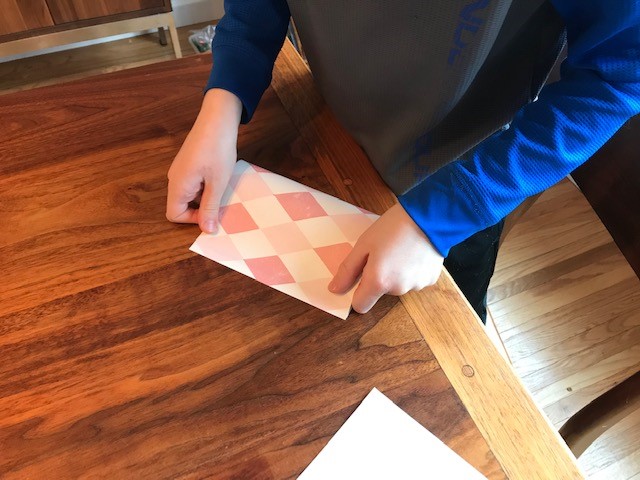
Step 3: Fold the paper that will become your card, in half, as shown.
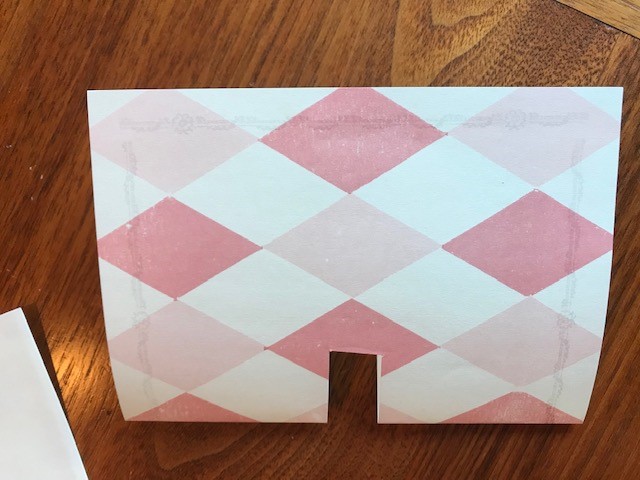
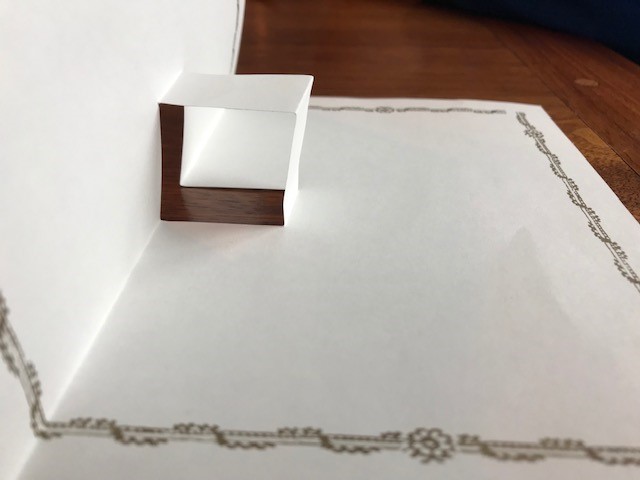
Step 4: Cut two slits in the middle of the folded end. They should be perpendicular to the fold and parallel to each other. The strip in the middle should be narrower than the bottom of your picture.

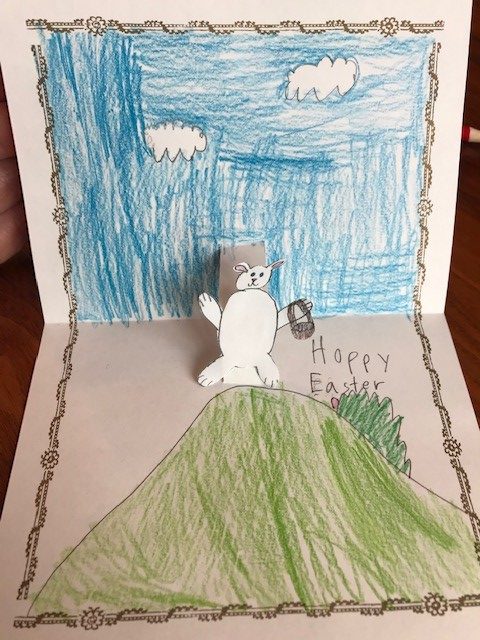
Step 5: Open up the card and push the middle strip to the inside of the card. Close the card and flatten in out. When you open it, it should look like this:

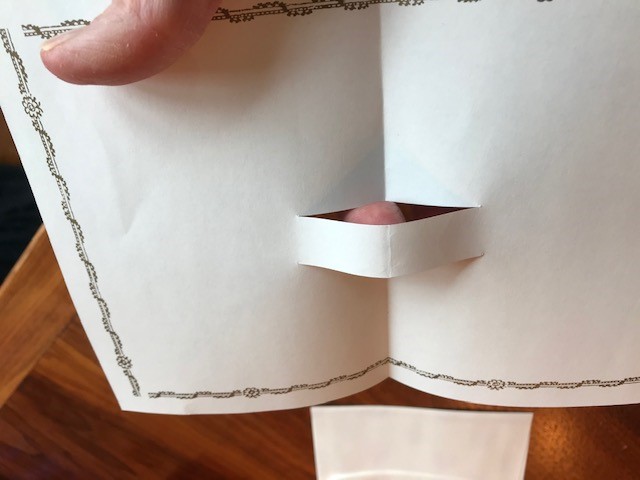
When closed, it should look like this:
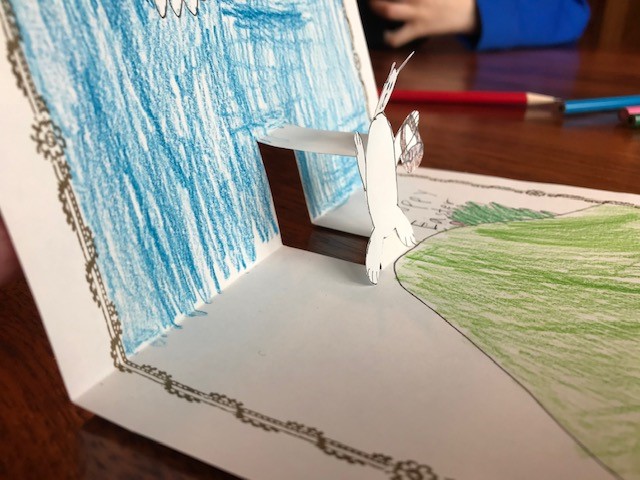
Step 6: Draw and color the background (the inside of the card) and write a message. This is also a good time to decorate the front of the card.
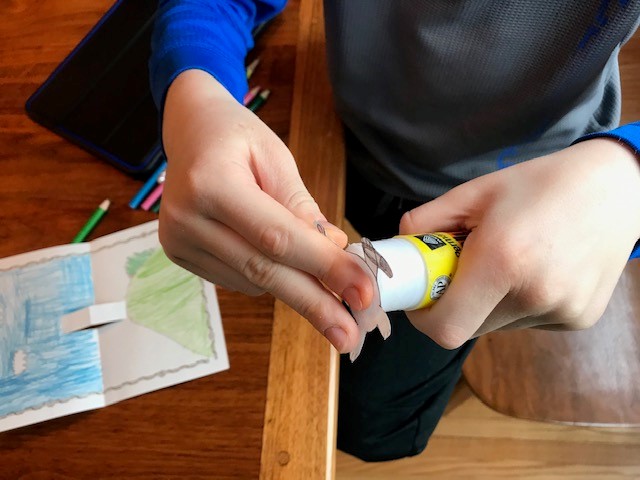
Step 7: Glue the bottom of the picture and attach it to one side of the middle strip. The bottom of the picture should just touch the point where the middle strip meets the rest of the card, as shown.
Tip: Allow the glue to dry before closing the card!
Vocabulary Words
• Parallel: side by side lines that are the same distance apart and never cross each other
•Perpendicular: at a 90 degree angle to a given line (in this case, the fold of the card)
•Horizontal line: line that runs left to right (not up and down)