Supported by The Peter C. Cornell Trust
Written by: Julia Bozer
Cultural Program Educator
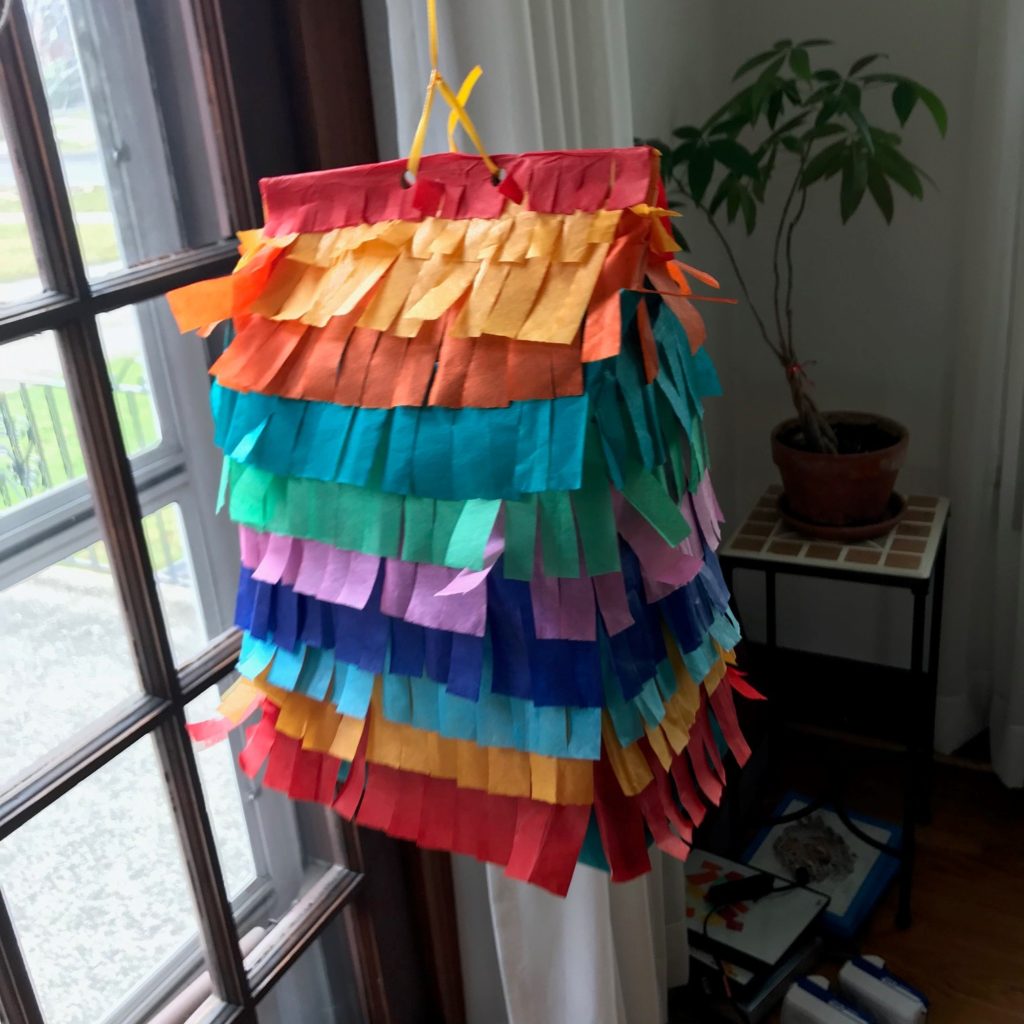
My household has a birthday coming up this weekend, and we will be social-distance partying at home. This seemed like a perfect time to break out one of my favorite make-and-break activities: the paper bag piñata! If you’re missing out on birthday revelries, are generally feeling festive, love tissue paper, and/or feel a need to hit something with a stick, this craft could be for you. I made one in under an hour with my four-year-old.
Don’t have a birthday this week? Here are some other reasons to celebrate:
Tuesday (3/17): St. Patrick’s Day
Wednesday (3/18): Awkward Moments Day
Thursday (3/19): Vernal Equinox (11:49pm in Buffalo)
Friday (3/20): Mr. Rogers’s birthday
Saturday (3/21): Observance of Nowruz, the Persian New Year
Sunday (3/22): World Water Day
Before we start, some background:
Piñatas are commonly associated with Mexican birthday parties, but they have a rich history that is hundreds of years old. In Europe, during the Middle Ages, people would break clay pots during the Catholic period of Lent – the word piñata actually comes from the Italian and Spanish terms for “pot.” The Spanish brought the practice to Mexico, where it blended with indigenous traditions. During some Aztec festivals, blindfolded participants would swing at treat-filled pottery typically decorated with colorful paper. Ever since, piñatas have been a key part of a flourishing papier-mâché folk-art tradition in Mexico, known popularly as cartonería.
You can make a simplified version of a traditional papier-mâché piñata using an inflated balloon, strips of newspaper, a paste solution (one part water to one part flour), and some patience – but we have none of the above. So, we turned to the next best thing: a trusty paper bag.
Materials
Paper bag
Tissue paper
Glue stick
Scissors
Tape
String or yarn
Treats!
Length:
~45 minutes total (40 to make, 5 to break)
Academic Subject(s):
Social Studies
This lesson supports your student’s 3rd grade curriculum:
SOC 3.4, 3.5, 3.6
This lesson supports areas of Early Childhood Development and PreK Curriculum:
PreK Standards: Approaches to learning: Creativity and Imagination, physical development (fine motor), Social Studies: History and The Arts: Visual Arts
Directions:
Step 1: Gather your materials. For a small piñata, you can use a brown paper lunch bag; for a larger version, try recycling a shopping bag.
Step 2: Fill the bag with treats. We used this project as a good excuse to search our shelves and drawers for forgotten treasures. We found leftover holiday candy, five tiny plastic dogs, stickers, and Frozen Band-Aids and added in a beloved monster finger puppet. Anything works! If you’re brave and don’t mind sweeping up afterwards, you can add in paper cuttings or sequins as confetti.
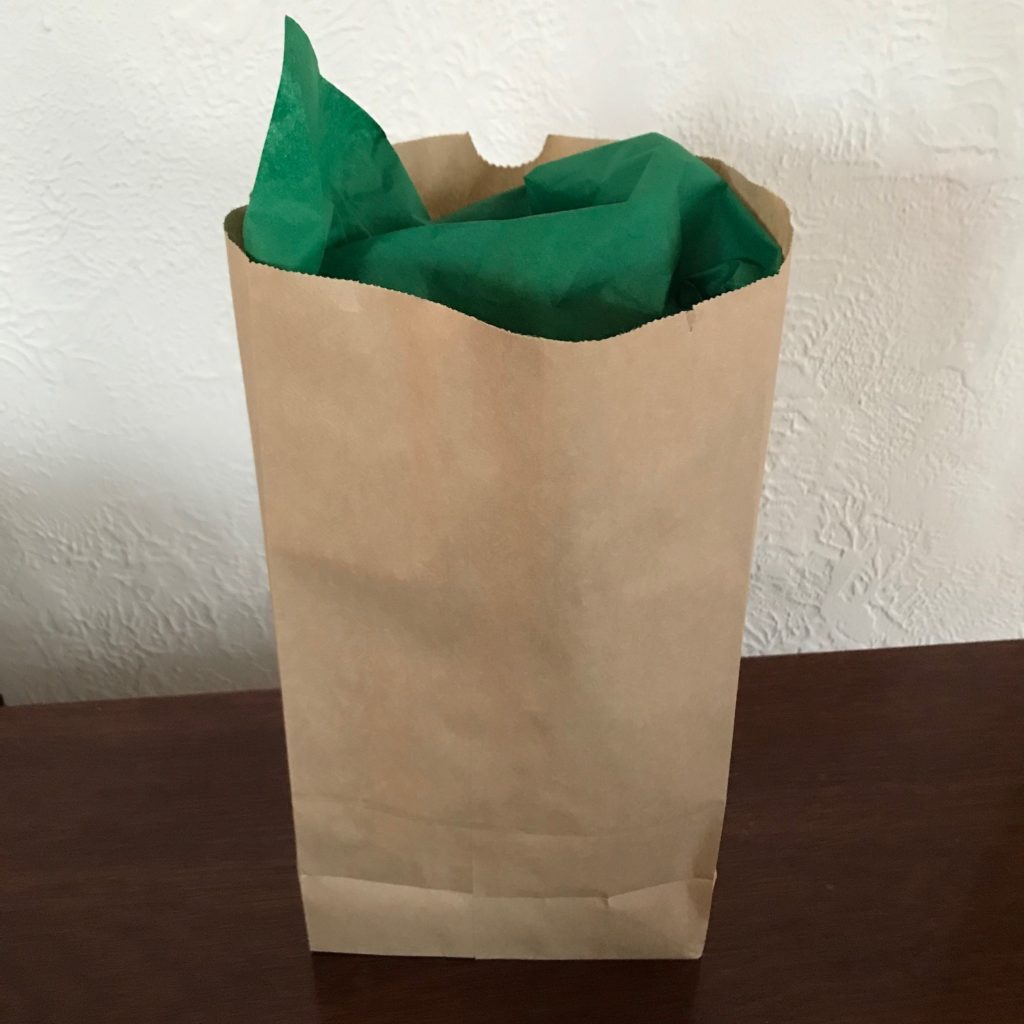
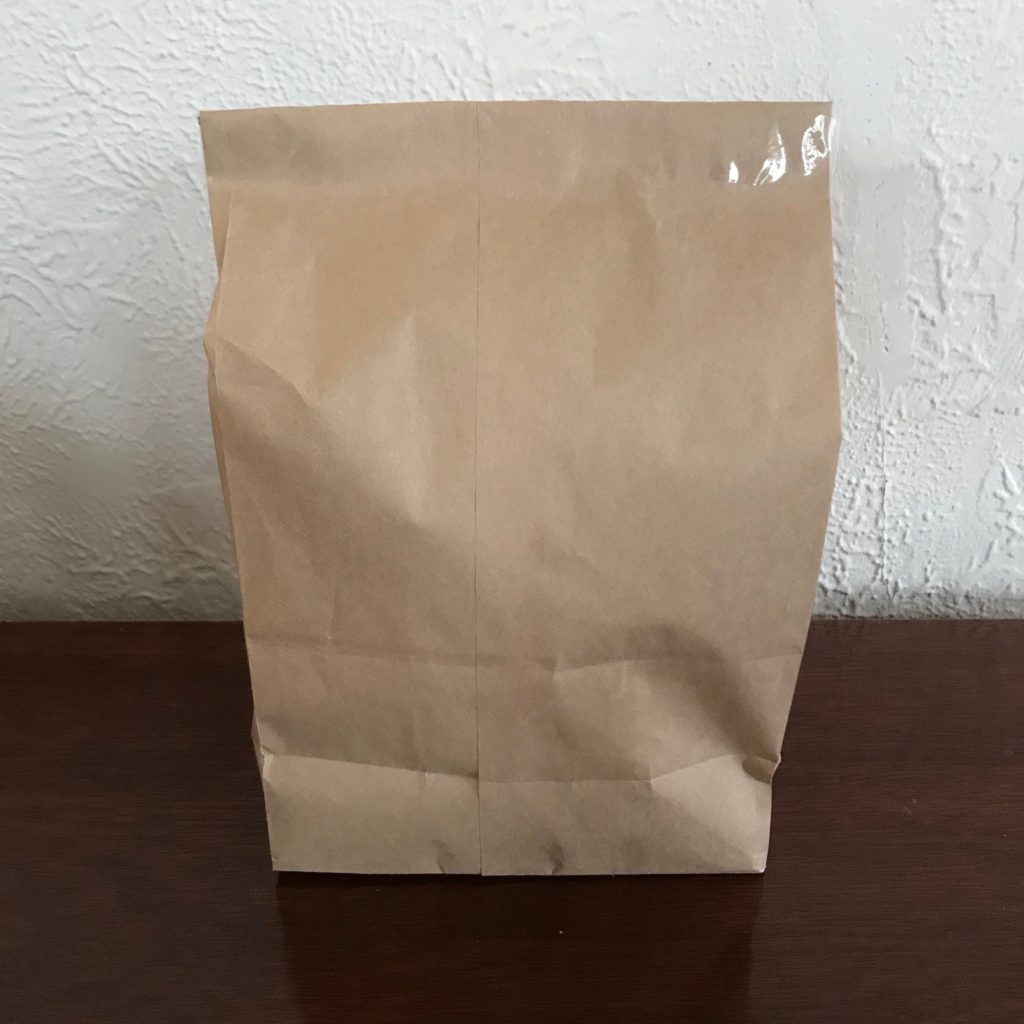
Step 3: Once your treats are “in the bag,” add some crinkled tissue paper to puff it up it and give it some shape. Fold the top of the bag over twice to seal it, and staple shut. (We do not have a stapler at home, so I got creative with some tape).
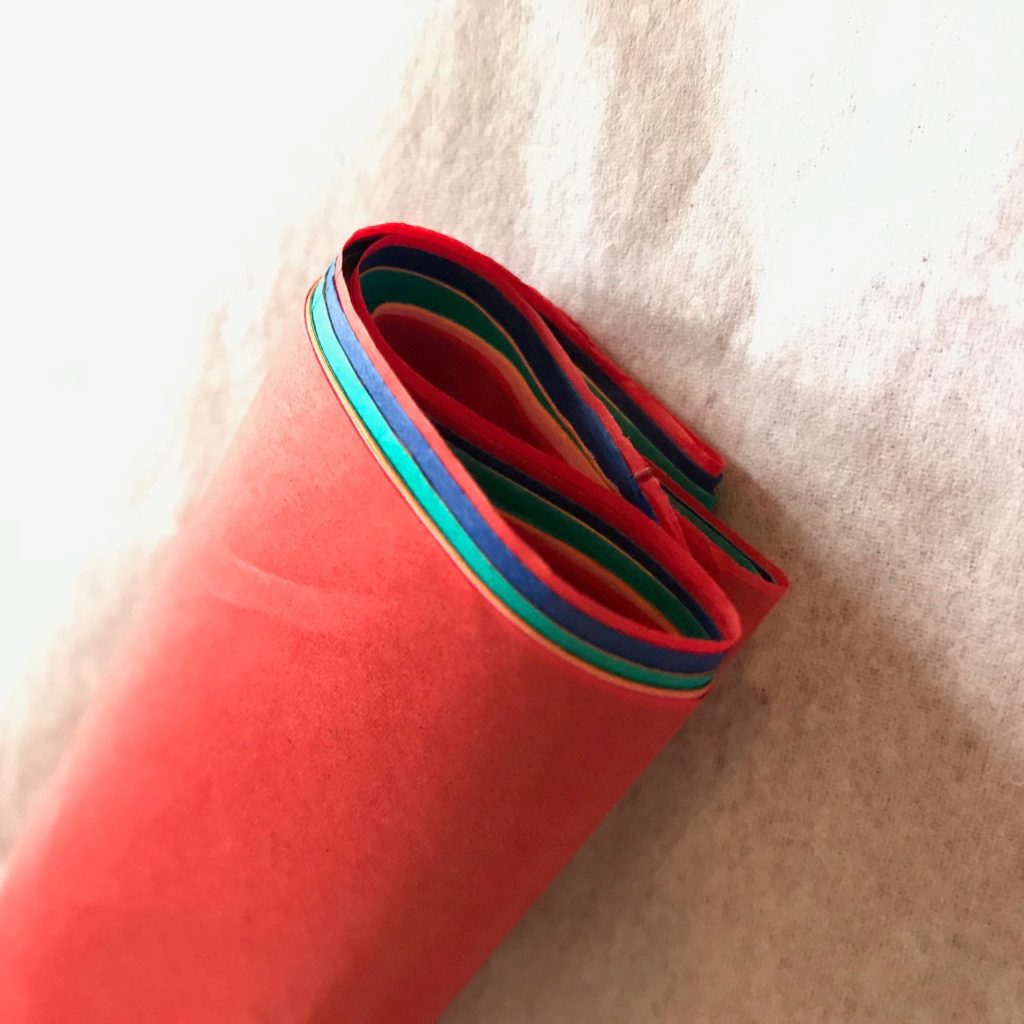
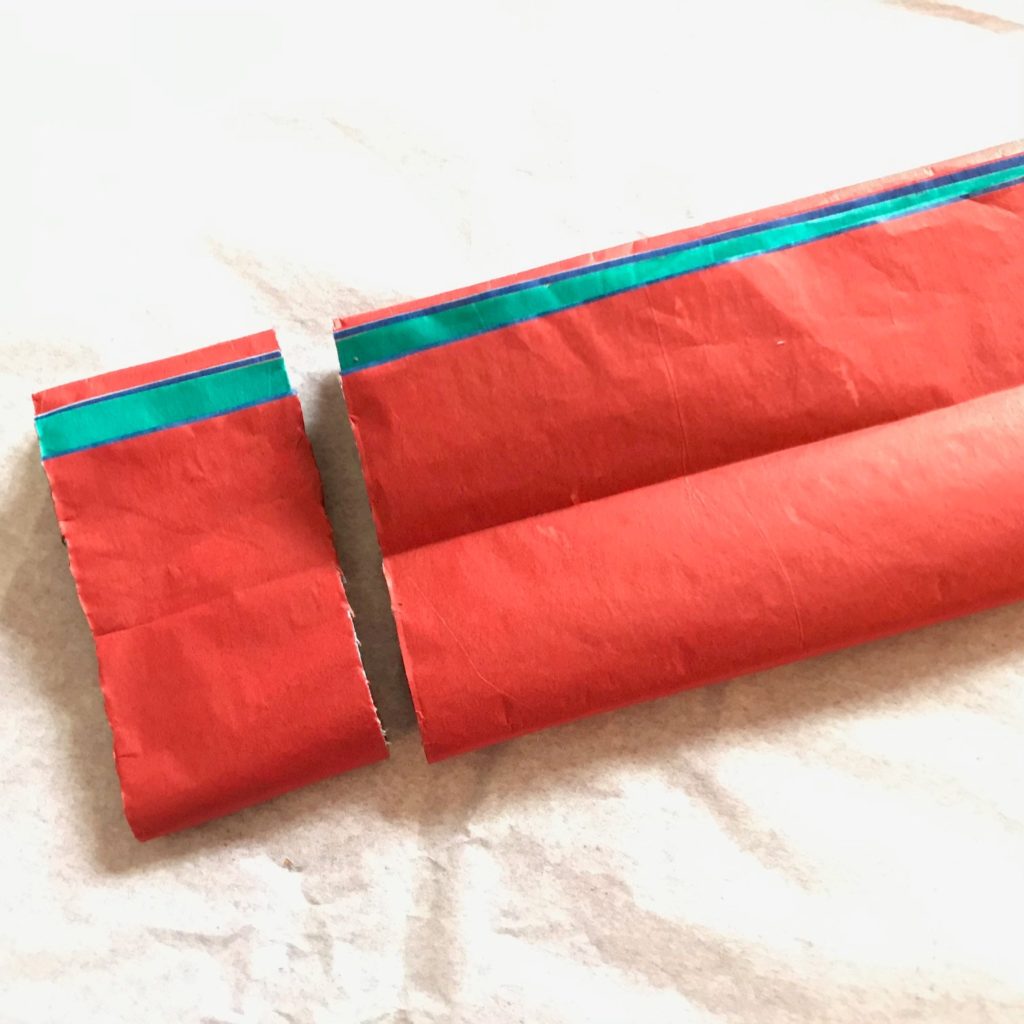
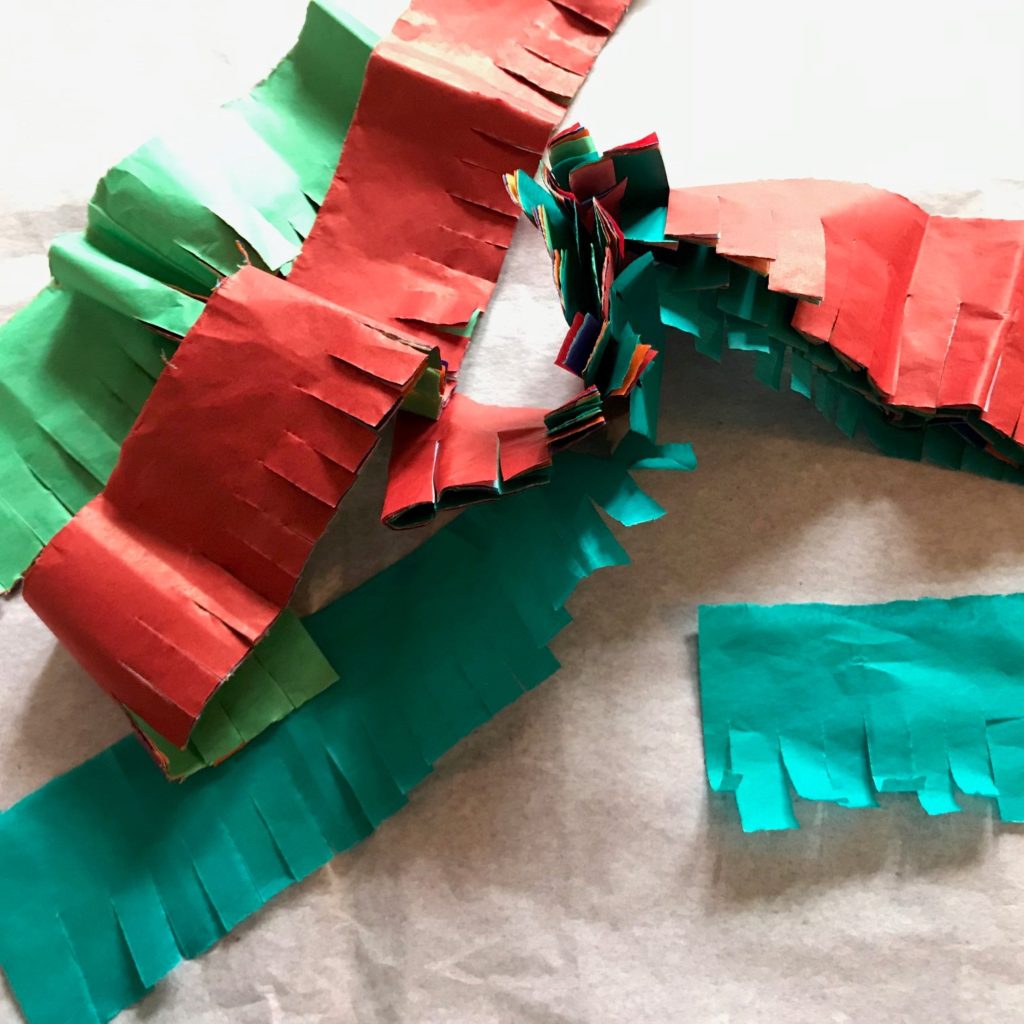
Step 4: Prepare tissue paper fringe. I used to cut squares of tissue paper and let my toddler paste them randomly onto the piñata (this is good fun, and it totally works!). But I recently found a clever way to make fringed tissue paper garlands, which look even better. Stack a few sheets of tissue paper in different colors on top of one another and fold in half 3-4 times, until you have a long, thin tube. Cut a strip about 2 inches thick off the end. Unfolding the strip just a bit, fringe it along one edge, cutting about 1 inch or halfway up its width. For those letting toddlers take charge here, the cut is helpfully about one snip length when using children’s scissors. Unfurl and untangle the stack of tissue paper to get multiple fringed ribbons in different colors.
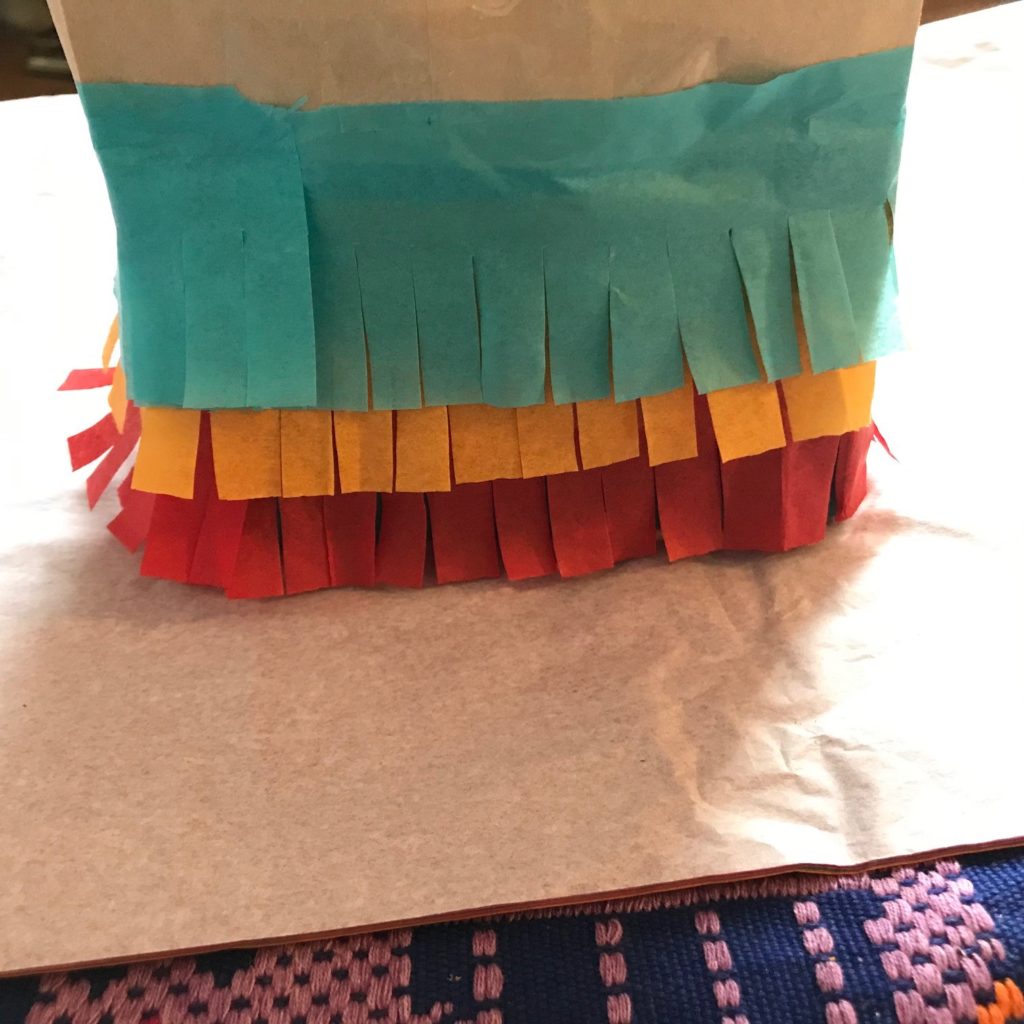
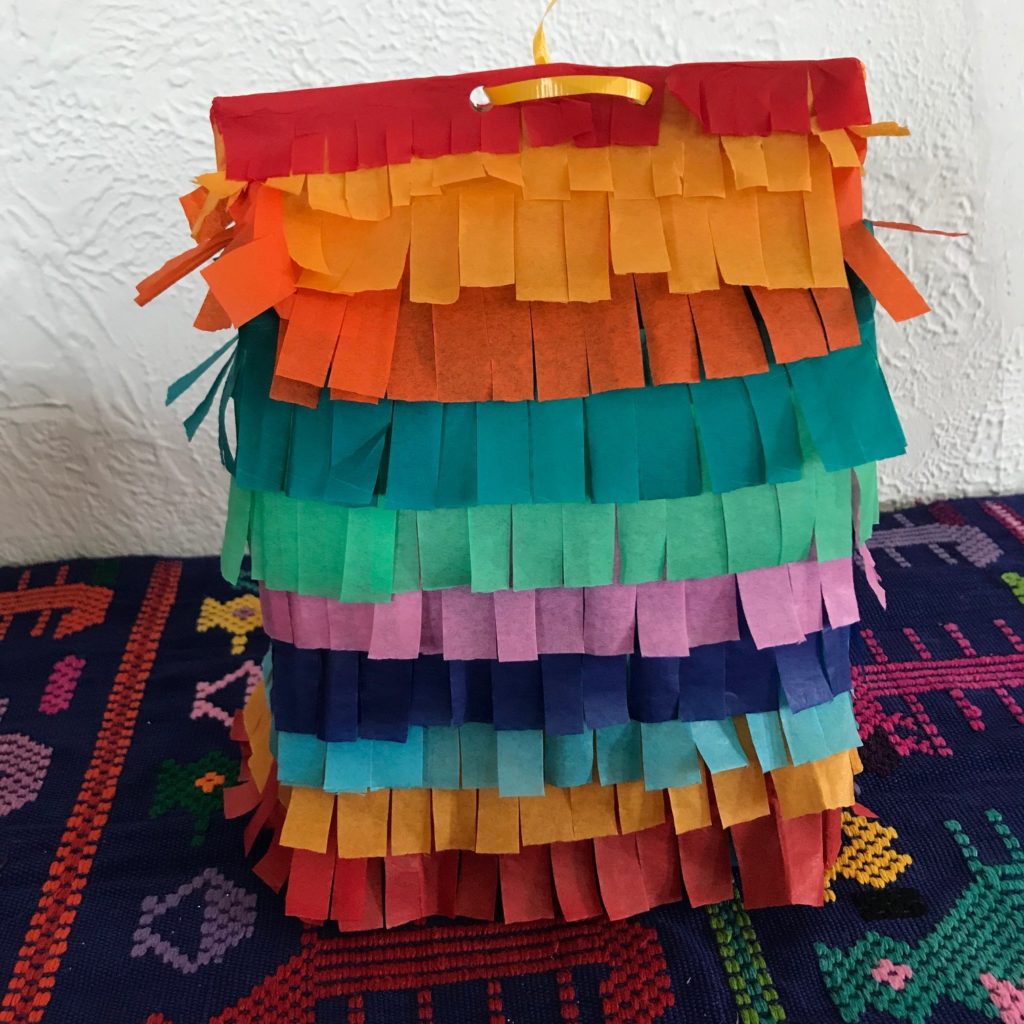
Step 5: Decorate your piñata. Add glue to the top of a strip and attach it to the bag, wrapping it all the way around. Once affixed, I added tape to the top edge to secure. Repeat with alternating colors, or whatever pattern you desire, until the entire bag is covered. You can also glue on pom-poms, ribbons, or whatever other decorative material you have on hand. Once the piñata is fully decorated, punch two holes at the top of the lunch bag, along the fold (or more, if making a larger version) and thread some ribbon through each hole to form a sort of hook.
Step 6: Enjoy! Destroy! String your piñata up in the middle of a room, at a safe distance from any windows, walls, breakable objects or people. Take turns swinging at it with a long, sturdy stick (we used a broom). Traditionally, those “at bat” are blindfolded and spun around prior to swinging, and a mischievous friend pulls at the piñata strings to create a moving target.
Our piñata lasted 10 minutes, or about as long as it took my daughter to want her toy monster back. We will be making another for the birthday party.
¡Learn some key words en español!:
·Papel (pah-PEL) – Paper
·Colores (coh-LOH-res)– Colors
·Tijeras (tee-HEH-ras) – Scissors
·Escoba (es-COH-bah)– Broom // Palo (PAH-loh) de escoba – Broomstick
·Dulces (DOOL-ses)– Sweets/candy
·Juguetes (hoo-GEH-tes) – Toys
Fun Facts
·In Mexico, your time swinging at the piñata is measured by a song, sung by your family and friends and anyone else you invited. It concludes with the chorus:
Ya le diste uno,
ya le diste dos,
ya le diste tres,
y tu tiempo se acabó.
Now you’ve hit it once,
now you’ve hit it twice,
now you’ve hit it three times,
and your time is up.
·Today, the most common piñata shape is a donkey (there are also cartoon characters, flowers, donuts, you name it) but, historically piñatas were shaped as a seven-pointed star. The seven points represented the seven deadly sins and temptations, which had to be destroyed and overcome during the time of Lent.
·The Mexican papier-mâché tradition of cartonería also includes expressive festival masks and alebrijes – colorful sculptures of fantastical, make-believe creatures. You might remember alebrijes from the movie Coco!