presented by national grid
By Dan Walsh
STEM Educator
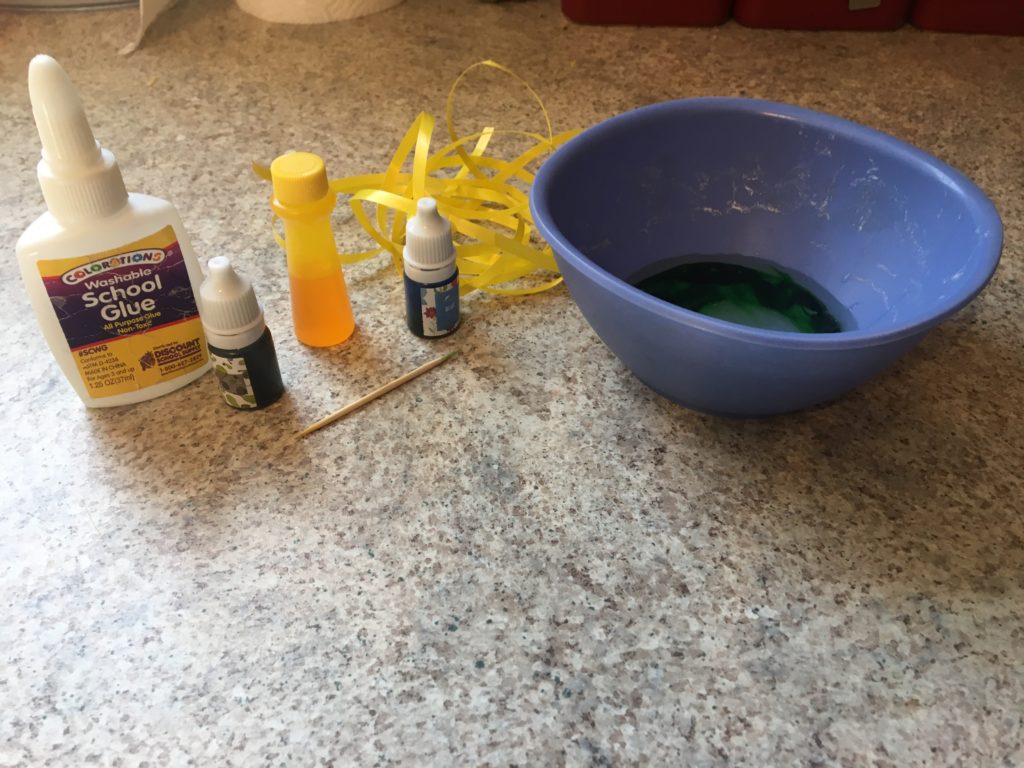
Supplies needed:
Small bowl or lid
Glue
Food dye
String
Length:
Build time: 5-10 minutes
Drying time: 1-2 days
Academic Subjects:
Science/Art
This lesson supports the following standards:
MS-ESS1-3
PreK-5 VA.Cr.1
Directions for Space Painting:
When you see pictures of outer space, what do you think of? What colors do you think of? Do you imagine seeing black, yellows, and whites?
For the most part, when scientists take pictures of space, there are no colors. But, once the scientists receive the pictures from satellites, they colorize the pictures. The added color helps scientists understand what they are looking at better. Today we will be making space paintings.
Step 1.) The first step is to get your plate or bowl ready. Have a grown-up pour glue onto the middle plate. We want enough glue to make sure it can be peeled off, but we don’t want too much glue that will make a mess.
Step 2.) Once you are done pouring the glue pick out your favorite colors of food dye. Add a few drops of the food dye onto the glue.
Step 3.) Take a toothpick and slowly swirl the drop around. Experiment with mixing colors! What colors can you make?
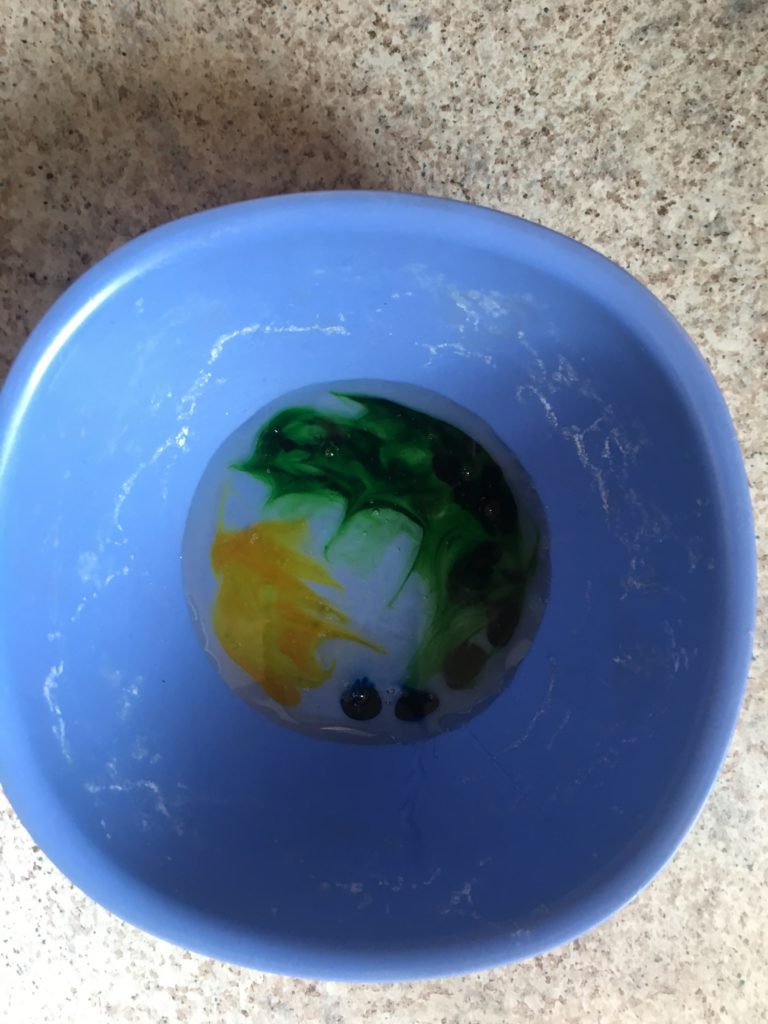
Step 4.) The next part will take some patience. Store the painting somewhere it will be safe. The glue will need to sit at least overnight to dry. It may even take a few days to dry completely.
Step 5.) Once the glue has dried, slowly peel the corners off. The glue should peel off in the shape of a circle. Then punch a hole at the top, tie a string through it, and hang it from your window!
As time goes by, the colors will eventually shrink and change because of the sunlight! Have the students predict how the colors will change over time.