Supported by: Peter C. Cornell Trust
Written by: Julia Bozer
Cultural Program Educator
If you visited Explore & More recently, you probably played in our mini West Side Bazaar and tried on different styles of clothing from around the world. Many of the intricate patterns and designs on these textiles are printed right onto the fabric, using block printing techniques.
Block prints are made from three-dimensional surfaces called reliefs. In a negative relief, a design is cut into a soft, flat surface, like drawing with your finger in wet sand. In a positive relief, the background is carved away, leaving the design sticking out, like with most rubber stamps. You can also make a positive relief by adding material to a hard, flat base.
When you press a relief into ink, the color stays on the outer surface. Used as a stamp, a positive image will appear in ink, while a negative image stays bare. Here are some simple block printing methods you can try at home, using everyday materials to stamp your own patterns and designs!
Materials
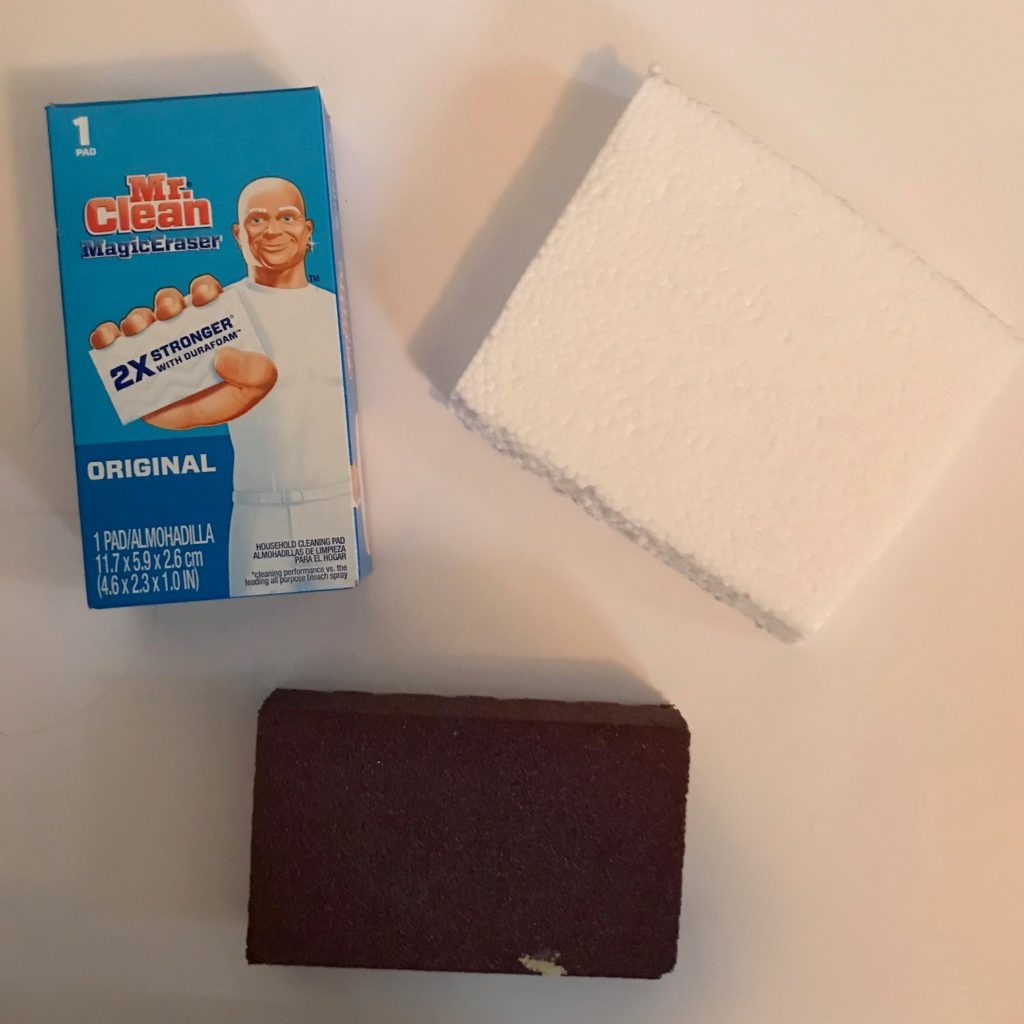
For a positive relief, try a wooden block, brick, or small cardboard box as a base
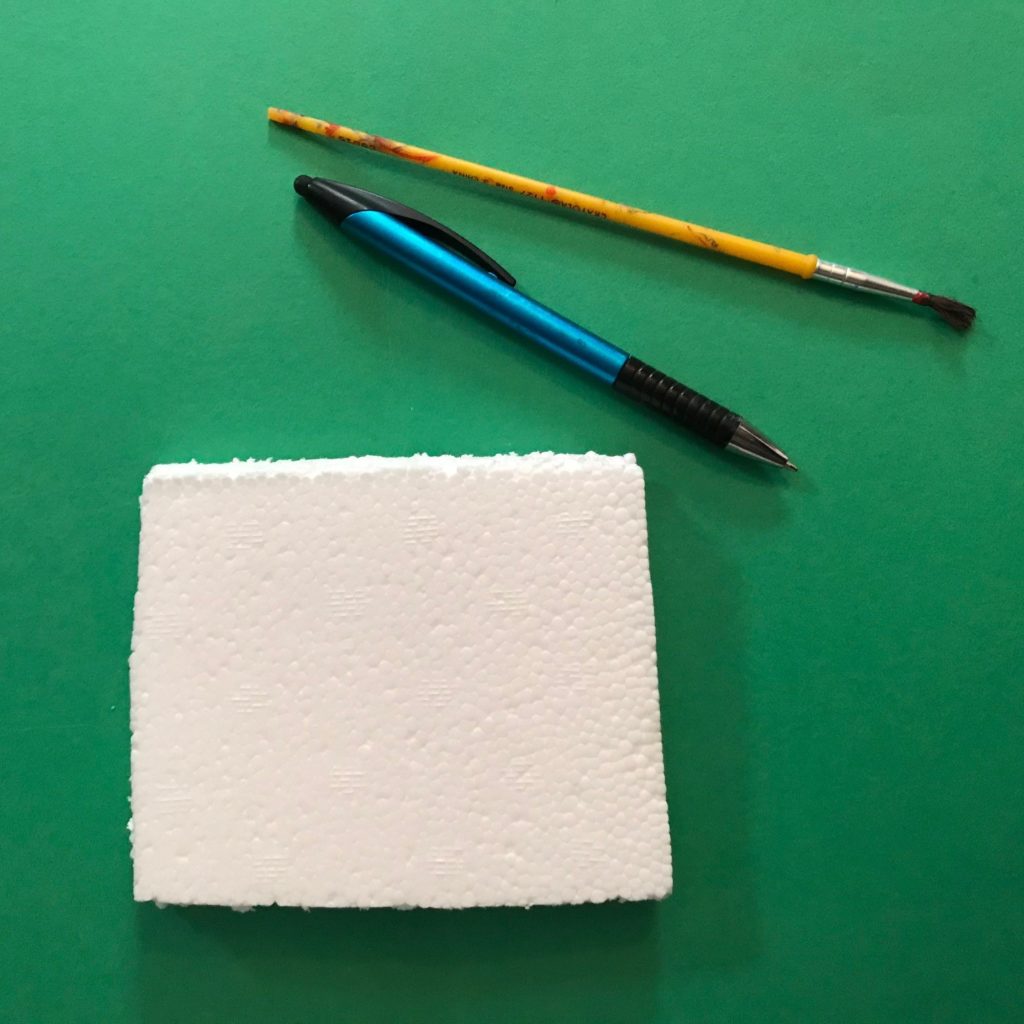
For a negative relief, try carving into Styrofoam or a potato
Yarn
Pencil or pen
Paintbrush
Paint or ink
Shallow pan or paper plate
Length:
15-20 minutes
Academic Subject(s):
Visual Art
This lesson supports your student’s curriculum: PreK – 5 VA.Cr.1
Directions:
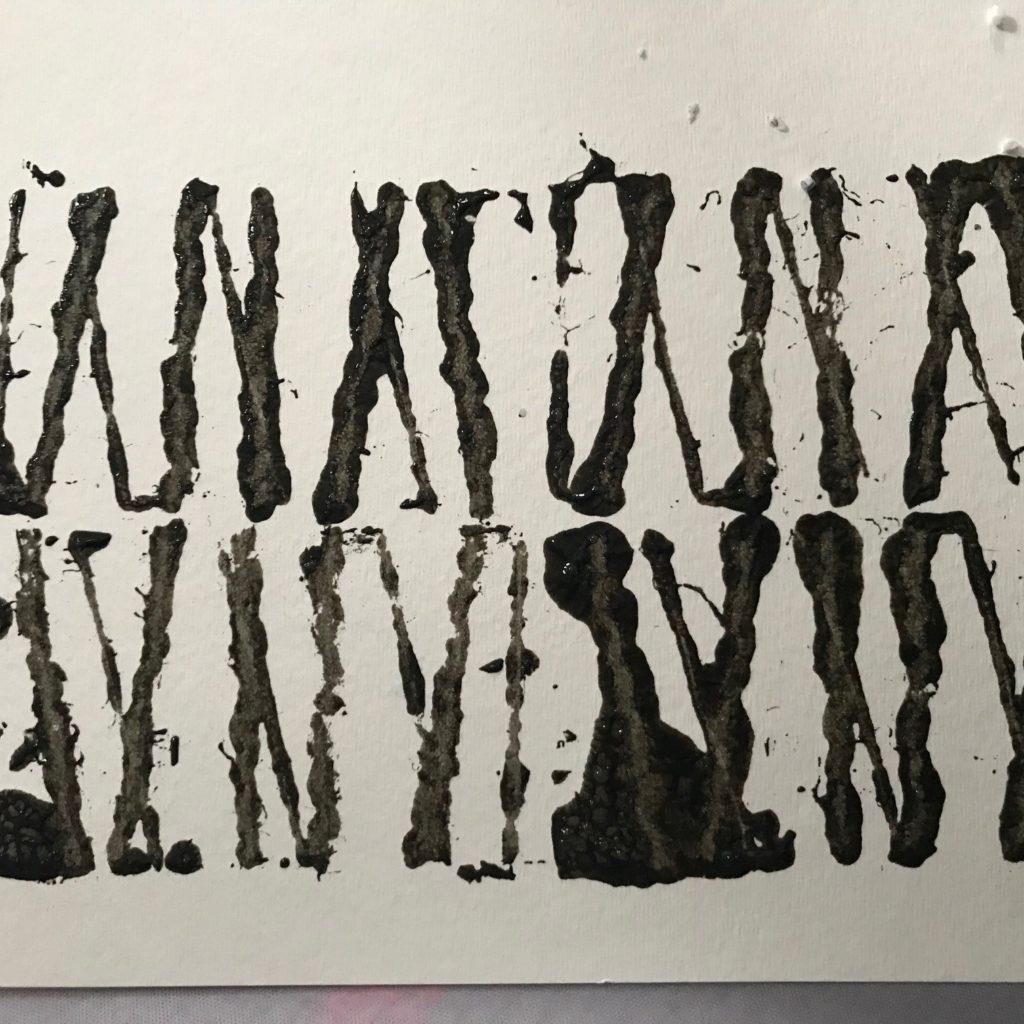
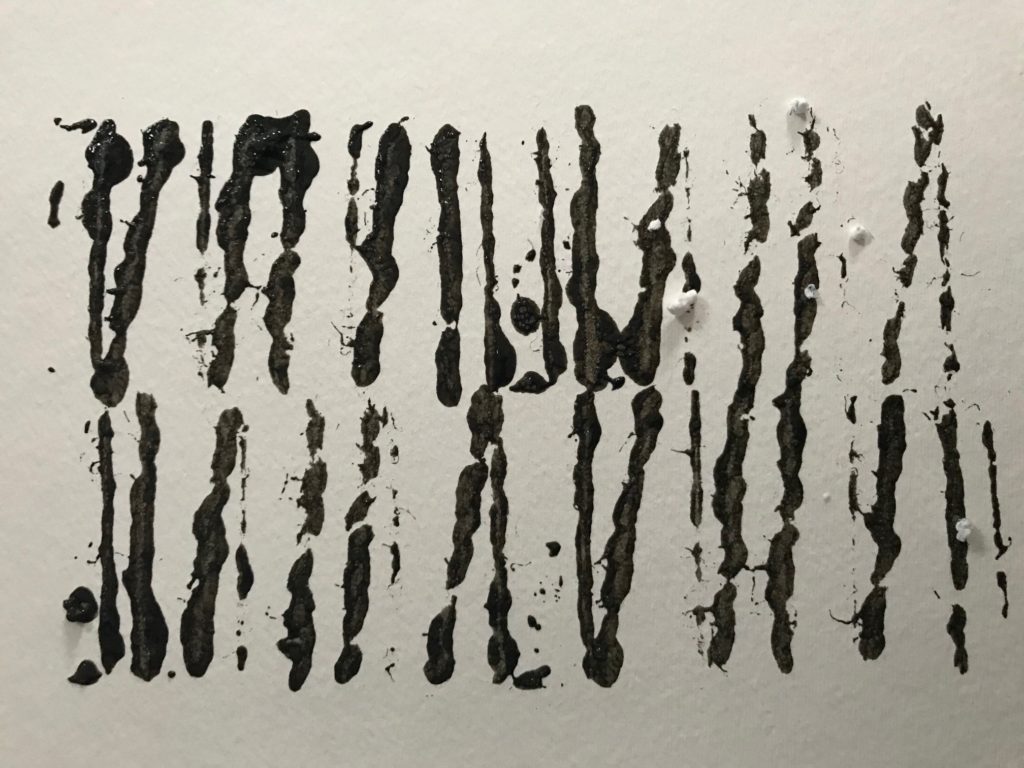
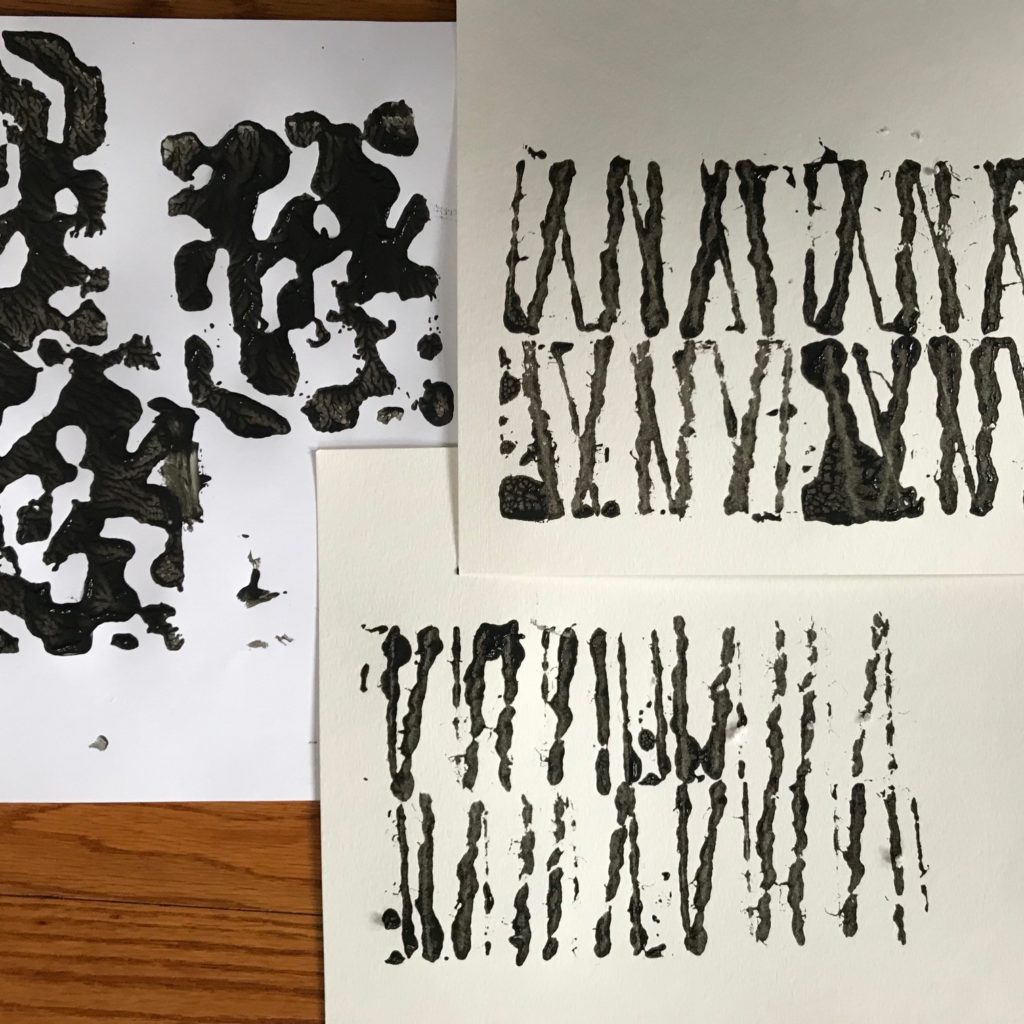
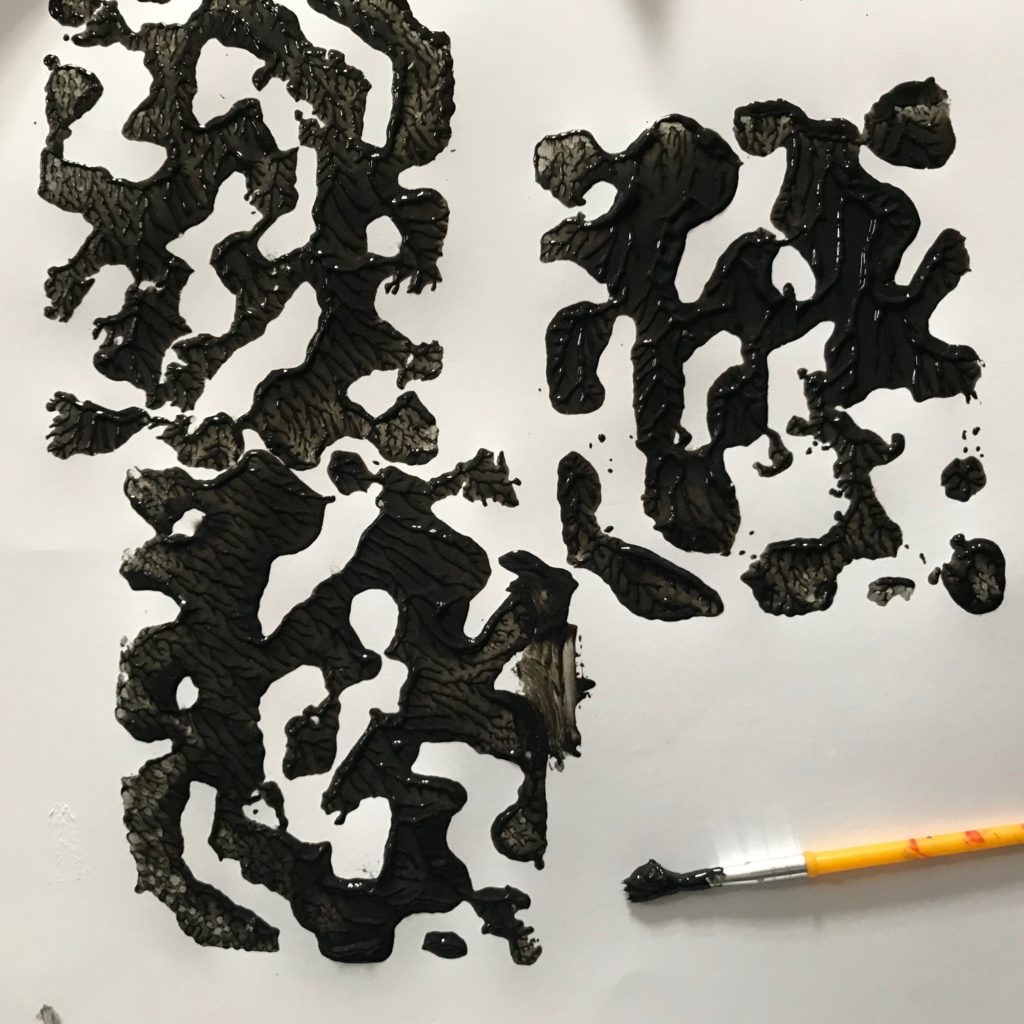
Step 1: Choose your materials. We decided on a small cardboard box and an old sanding block for our positive reliefs and a piece of packing Styrofoam for our negative relief.
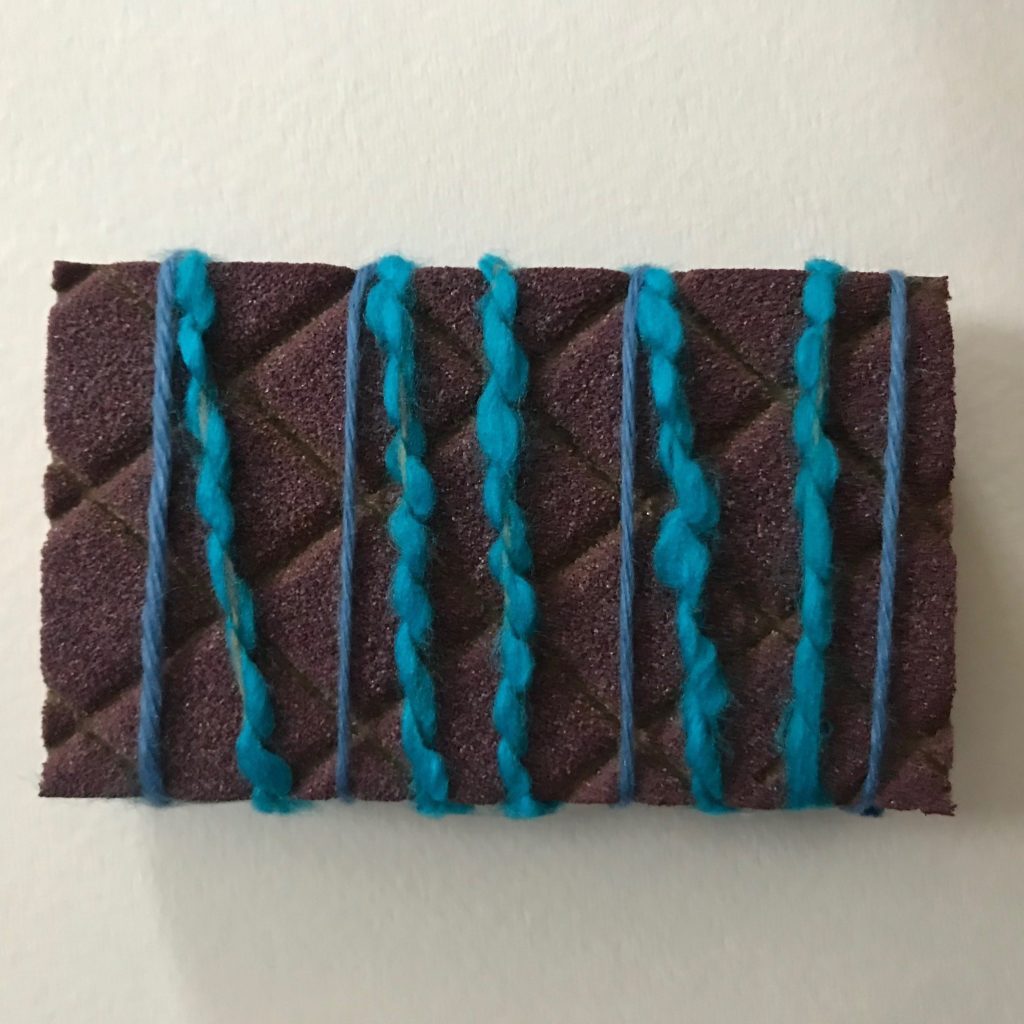
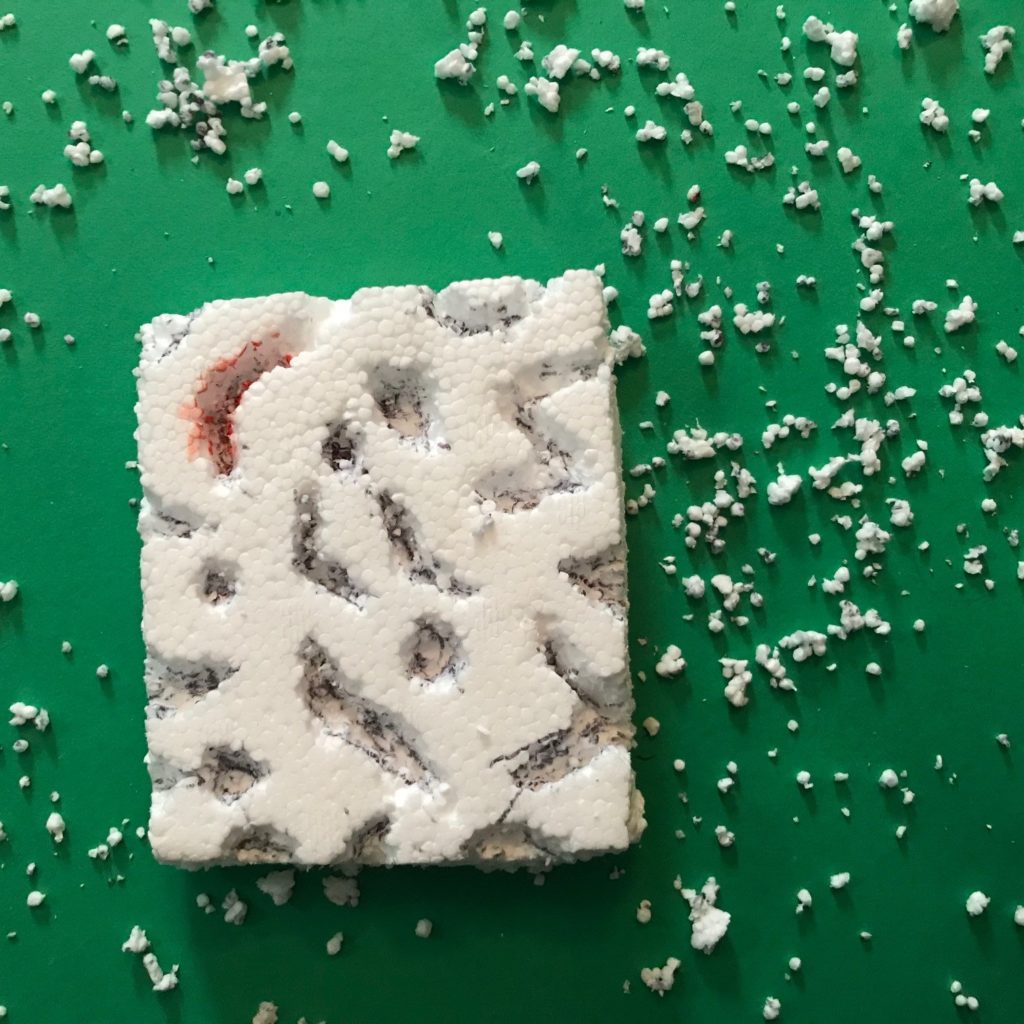
Step 2: Add your designs. For an easy positive relief: attach items to your solid, flat surface. We wrapped yarn several times around the sanding block, using tape to keep it in place, which resulted in a simple line pattern.You could also glue small items like popsicle sticks, toothpicks, or even cardboard cutouts to the surface for a more detailed design. For an easy negative relief: Use a dull tool to carve a pattern into your soft surface. We used the tip of a paintbrush to dig deeply into the Styrofoam block. As we discovered, this can get quite messy.
Step 3: Print your image. We poured some black paint into a shallow pan and spread it thin, but an ink pad will also work. Press your block gently into the pigment and then apply it, like a stamp, onto a blank surface. It helps to apply it to a piece of scrap paper first, to shake off any excess paint. You can print onto paper, fabric, wood, whatever you wish! We used one of our blocks to decorate a few plain t-shirts.
For further thought:
· What items around your house have printed designs? Take a close look at clothing, hand towels, stationary. Can you recreate any of the patterns you see in your own prints?
· Explore different surfaces around your home. What surfaces are two-dimensional? Which are three-dimensional? Can you find any three-dimensional images that use positive and negative space?
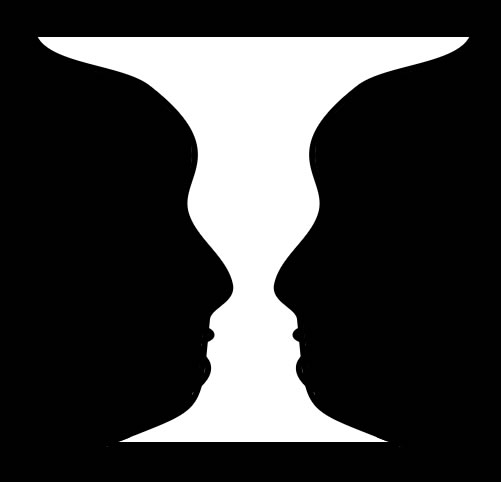
· Some optical illusions play with our perceptions of positive and negative space – think of the classic black-and-white image below, where you see either a vase or a pair of faces, depending on which color you focus on. Would it matter if the colors were reversed? Why, or why not? Keep playing!
· Can you find other items around your house that would make great block prints? Get creative!
We would love to hear about your new ideas and see your results.