Sanity Savers: Egg Carton Flowers

Written by Will Kawalec
Lead Play to Learn Facilitator   

Materials:

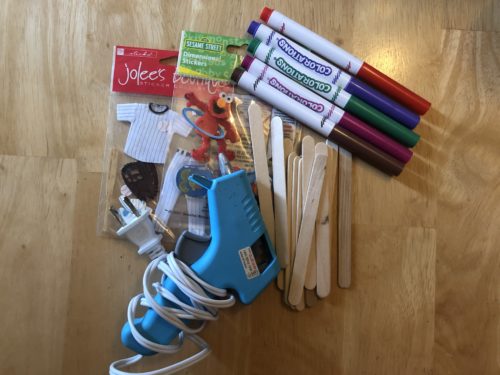
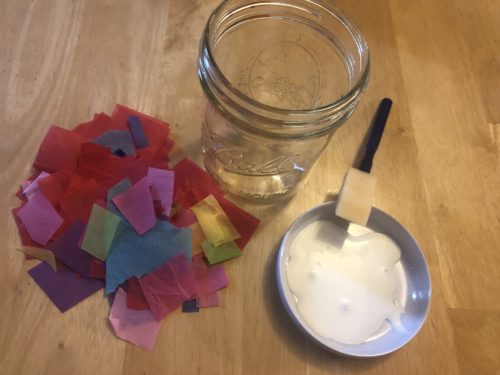
Egg carton (pulp carton preferred), paint or markers, pipe cleaners or straws (green if possible), popsicle sticks (optional)  empty jar (or make a vase here) buttons or beads, glue,tape.   

Length:

Set up: 5 Minutes
Activity 20-30 Minutes  

Academic Subject(s):

Art 

This art project will repurposed old egg cartons into a beautiful bouquet of flowers that can be put on displays for the entire house to see or given as a beautiful Mother’s Day gift!   

Directions:

Before beginning have an adult cut the egg carton into individual pieces so that each egg slot is separated from each other.  Lay out the rest of the materials for the child. 

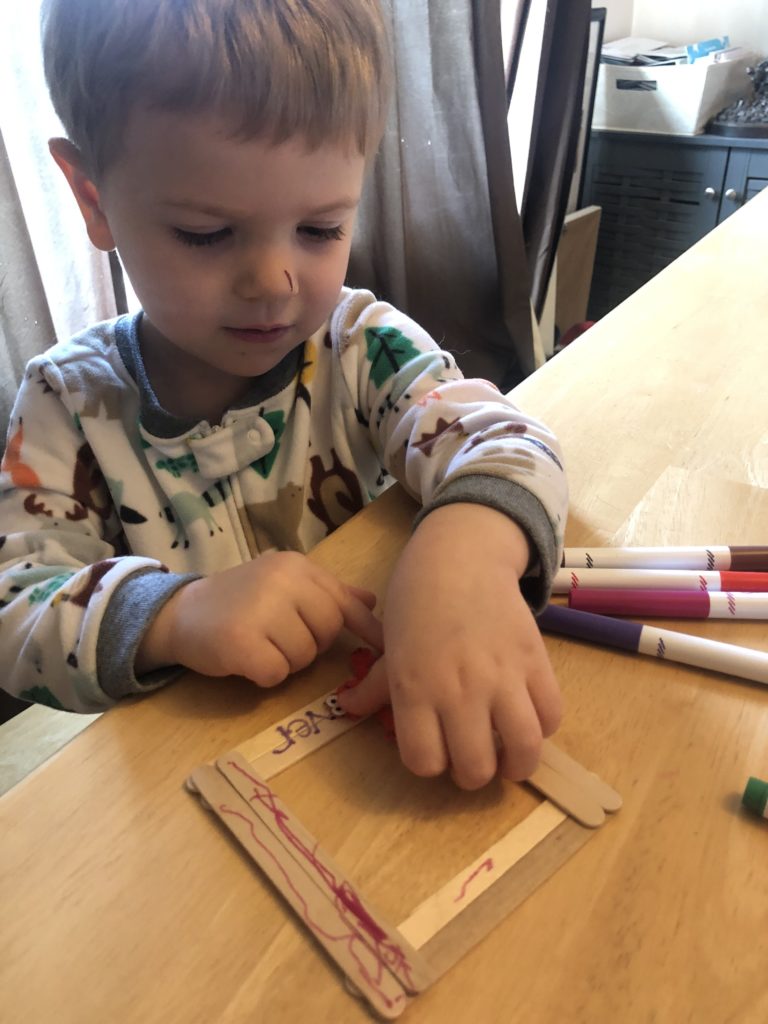
Step 1: Have the child color or paint the egg carton pieces any color they would like, try to emphasize natural colors of flowers. You can look around your own neighborhood to get ideas! If you want you can stack a second carton to give your flower more dimension. The second egg cup could be the same color or a new color! Stacking the egg cartons is optional.  

Step 2: Glue a bead or button to the assembled and painted carton in the center. This button represents the stigma of a flower or the part that holds the pollen.   

Step 3: Connect a pipe cleaner to the opposite of the beaded side and push it through the bottom of the egg carton. You may need a grown up to help you with this step. The pipe cleaner represents the stem of the flower. 

Step 4: Now that the flower has been assembled, you can repeat this process to make a bouquet.  

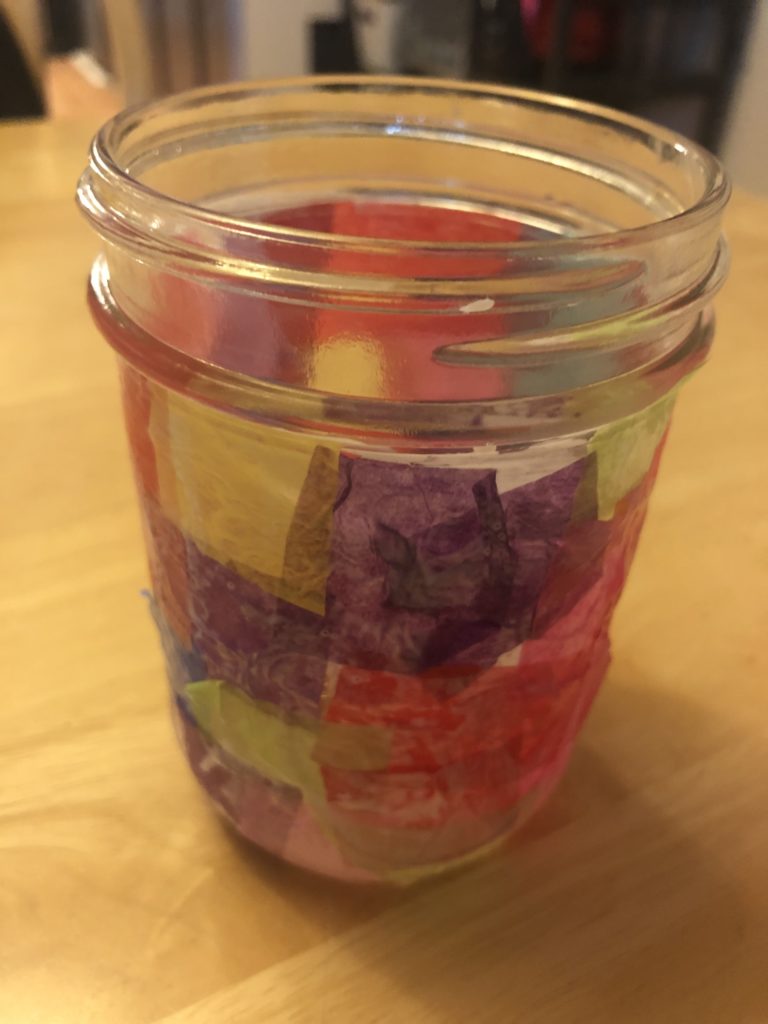
Step 5: Taking an empty jar fill it with the newly created bouquet. You can make all your flowers look the same or different! Use your imagination!

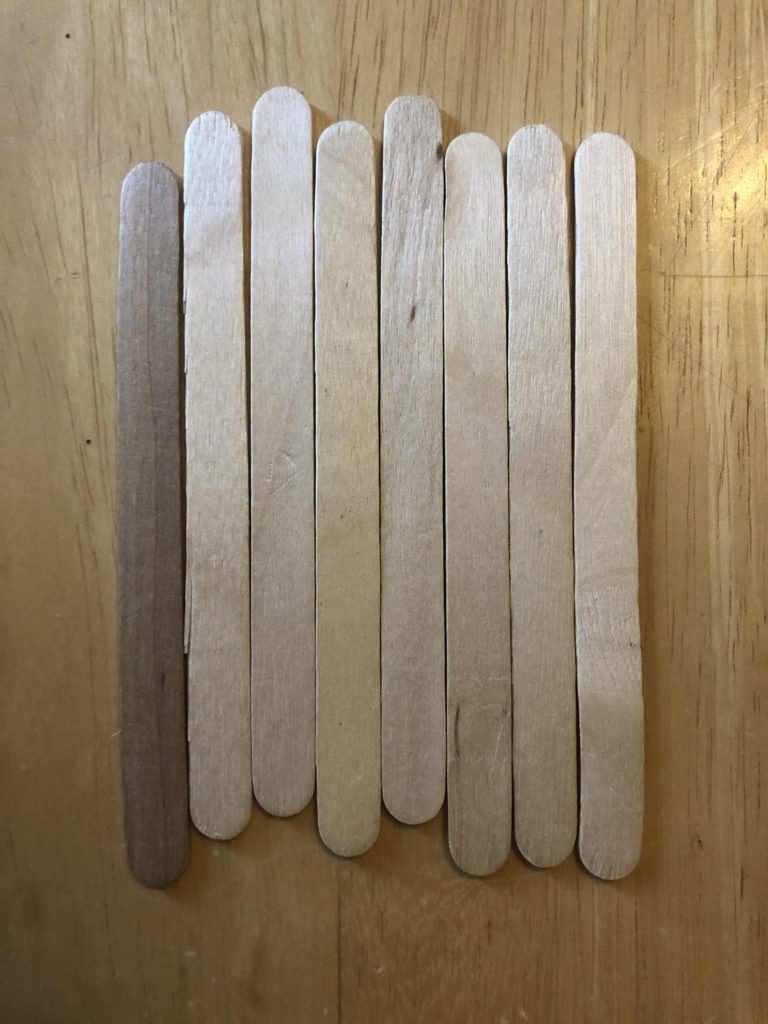
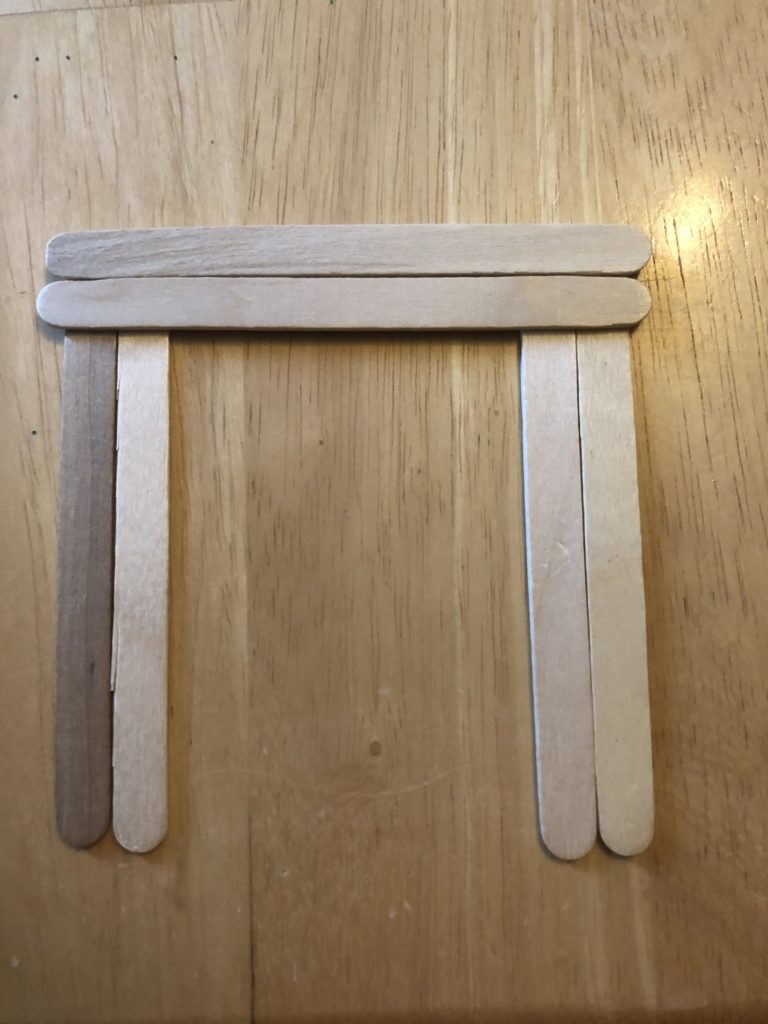
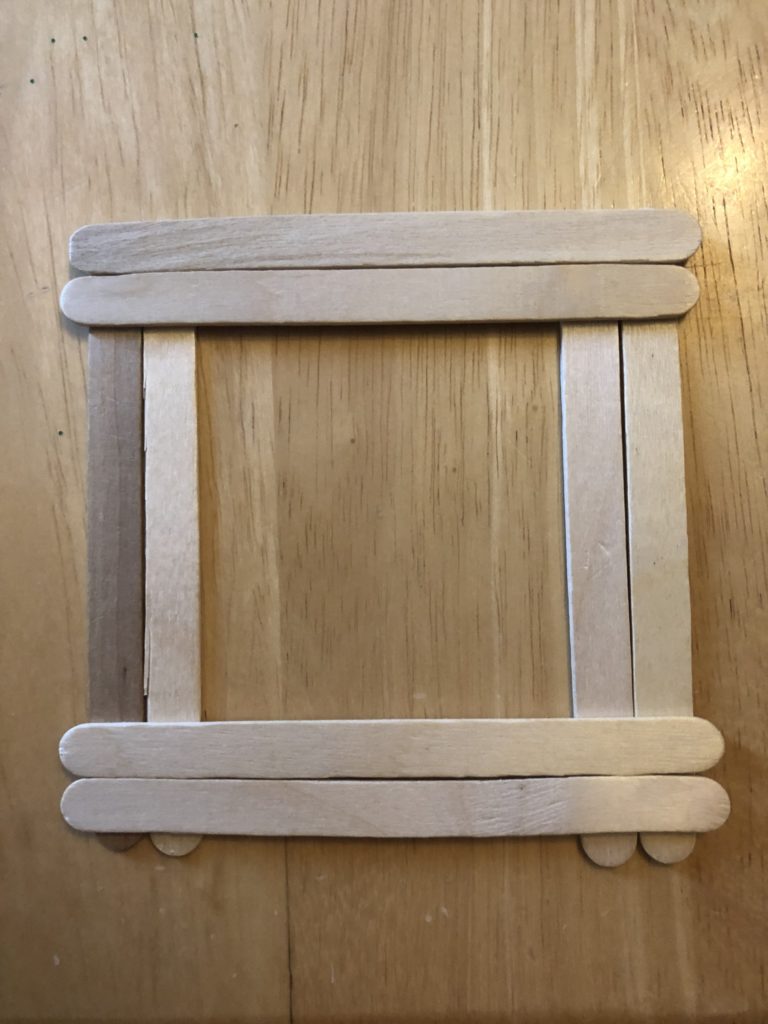
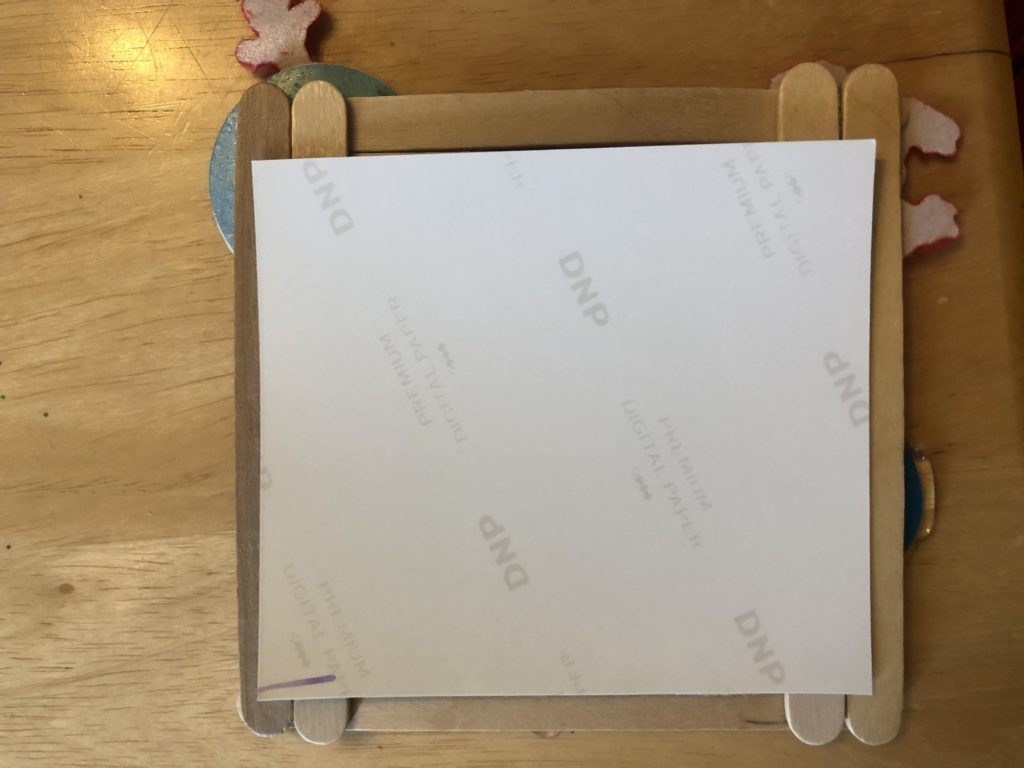
Step 6 (optional): If you have popsicle sticks tidily glue them around the jar to make an even more detailed vase. You can also paint the jar or use stickers to decorate!  

Show off the flowers and jar, use as a centerpiece at the dinner table make sure it can be seen! This project can also be used for a special Mother’s Day gift!  This project also teaching children about one of the 3 R’s that help our planet – Reduce, Reuse, Recycle. Today we are reusing  

Vocab Words:

Recycle– to use again through the process of turning an item into a raw material and making a new item.  I recycled my plastic bottles so they could be used to make new plastic bags.

Reuse – to use something again without changing its structure. I reused the egg cartons in this art project by painting them into flowers.

 Stem– the main body and support of a plant.  The stem of a sunflower is really sturdy and supports the plant.

Roots– the part of a plant that reaches into the ground helping the plant to gain nutrients.  The oak tree in my backyard has really deep roots, that’s how it grew so tall.

Vase– a decorative container.  We always put our fresh flowers into a vase on the table.

Check out our other Sanity Savers posts here!

Sanity Savers: Craft Stick Picture Frames

Sponsored by: M&T Bank

By: Amelia Schrader
Senior Manger of Learning and Education 

Materials

8 craft sticks (per frame)
Glue (I recommend hot glue with grown up help but liquid glue will also work)
Markers or paint
Stickers (optional)
String, pipe cleaner or magnets (optional)  

Sanity Savers: Craft Stick Picture Frames

Length:

5 minutes + 

Academic Subject(s):

Art, Geometry  

Today we are making popsicle stick picture frames! These are another great Mother’s Day gift but can also be created to send to any loved one you are really missing right now! You can use a real photo for these frames or draw a picture to put inside. For our samples, we did both! This lesson is also a great opportunity to address some basic geometry concepts!  

Sanity Savers: Craft Stick Picture Frames

Directions:

Step 1: Line up two of the craft sticks parallel to each other and place a glue dab at the top. I use hot glue because it dries so quickly. If you do use hot glue, make sure you have a grown up to help you! If you choose to use another liquid glue be careful not to let your sticks slide around while drying.  
Step 2: Next, place one stick at the top perpendicular to the two parallel stick in the glue dab. Place another stick directly underneath this one.  
Step 3:  Repeat this process on each corner of the frame until you have a square with each side having two parallel sticks. If you used a slow drying glue, allow the frame to dry completely before moving to the decorating step!  

Step 4: Decorate your frame with paint, markers or stickers! Whatever you have available! 
Step 5: Glue in your photo or special drawing to the back of the frame! If you want you can also attach a string to hang the frame or a magnet for the fridge. This simple art project is a great way to engage your child’s creativity and discuss some basic math concepts! For little ones the project provides so many learning opportunities including: counting, shape recognition, vocabulary building, fine motor skills and building imagination!  

Vocabulary Words

Parallel: side by side with continual equal space apart, two lines or objects that will never intersect.
Perpendicular: At an angle of 90 degrees (right angle)   

Check out our other Sanity Savers posts here!

Storytime: Deborah Krygier reads Walter and the Farting Dog

Deborah Krygier reads Walter and the Farting Dog written by William Kotzwinkle and Glenn Murray, and illustrated by Audrey Colman. Walter is a fine dog, except for one small problem: he has gas. He can’t help it; it’s just the way he is. Fortunately, the kids Billy and Betty love him regardless, but Father says he’s got to go! Poor Walter, he’s going to the dog pound tomorrow. And then, in the night, burglars strike. Walter has his chance to be a hero. A children’s beloved classic, this story will have kids rolling on the floor with laughter. Adults are permitted to laugh too.

For more Storytime stories click here!

Sanity Savers: Tissue Paper Vase

Sponsored by: M&T Bank

By: Amelia Schrader
Senior Manger of Learning and Education 

Materials

Mod Podge or other clear drying glue
Tissue Paper Squares
Jar
Large paint brush  

Sanity Savers: Tissue Paper Vase

Length:

15 minutes + 

Academic Subject(s):

Art 

We have another fun art project today that can be used as a wonderful Mother’s Day gift!

 Directions:

Step 1: Cut up your tissue paper into smaller shapes. You can do all squares or rectangles or you can get creative and cut out different shapes and do some recognition practice!
 Step 2: Place a thin layer of glue on your jar using your brush. Place tissue paper squares on top.   


Step 3:  Cover your whole jar! Or as much of your jar as you want. Don’t be a afraid to overlap your pieces and mix some colors!   
Step 4: Once your jar is fully covered add another thin layer of glue over the entire jar.  Step 5: Allow to dry!  This final project can be used as a vase for real flowers, our egg carton flowers (directions found here) or as a candle holder!     

Check out our other Sanity Savers posts here!

Storytime: Shredd and Ragan read Just Go to Bed

Shredd and Ragan from 103.3 The Edge read Just Go To Bed by Mercer Mayer

Just Go to Bed is a fantastic story about bed time routines and using your imagination to be anything you want to be!
At Explore & More, there are role play opportunities everywhere you look so you can also use your imagination to be anything! In our story the main character has a BIG imagination! He played so many different roles! What was your favorite role he played? YOU can be anything you want to be when you grow up!
Comment on Explore & More’s Facebook page with what you want to be when you grow up!

For more Storytime stories click here!

Field trips are back! Please be aware that it will be busier than usual.