Written by Amelia Schrader Senior Manager of Learning and Education
Materials:
3 cups of cheerios ¾ cup peanut butter (or similar if there is a nut allergy) ½ cup honey ¼ cup chocolate chips (optional) 8X8 pan (or two smaller ones) Medium pot Wax paper (optional)
Length:
Set up/Cook time: 10 minutes Inactive Time: 1 hour
Academic Subject(s):
Daily Living Skills, Math
May is National Celiac Awareness Month! Celiac Disease is a condition where people cannot eat gluten because it huts their small intestines. People who have this disease cannot eat wheat, rye and barley. These foods are commonly found in breads, pastas, cakes, cookies, and more! This disease affects a very large percentage of people with Autism Spectrum Disorder (ASD). Thankfully, there are more and more options for people who need to eat gluten-free foods! The Low Bridge Café at Explore & More offers several gluten-free options including pizza, burgers, and snacks!
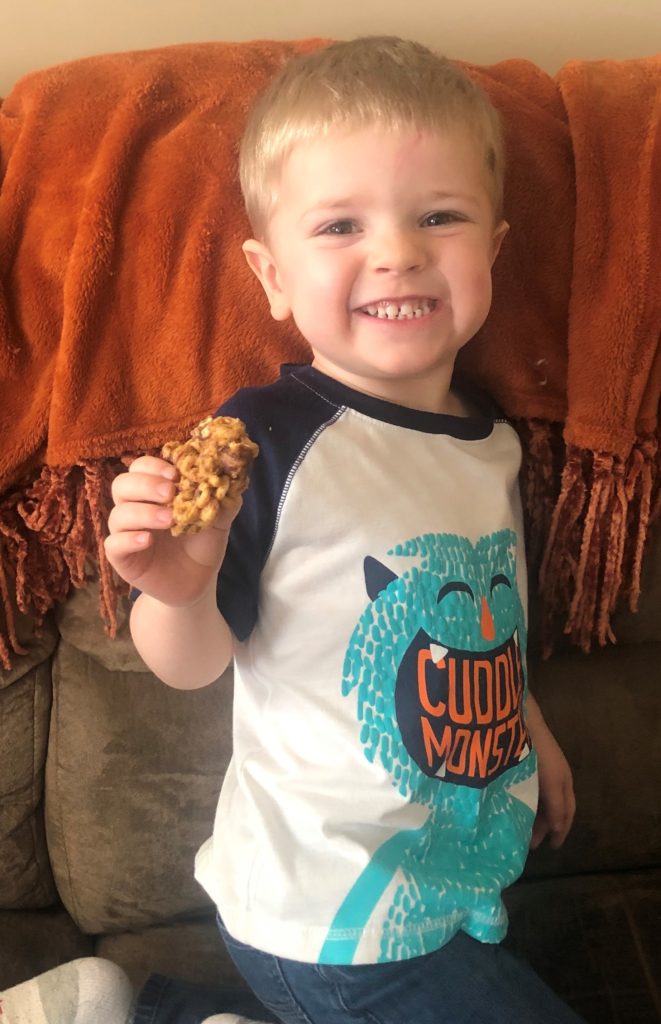
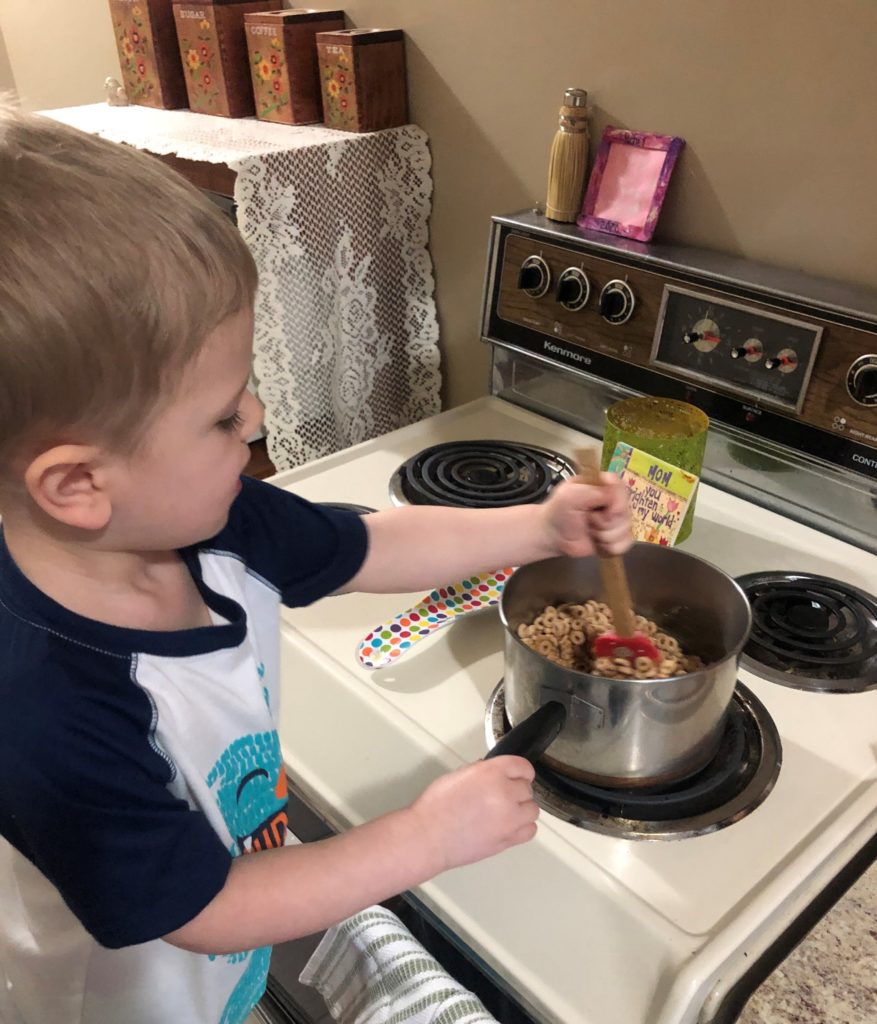
Today we are going to show you how to make your very own gluten-free snack at home! This delicious treat is made from Cheerios – a product made right here in our back yard at the local General Mills plant. This tasty treat is only 3 ingredients (with an optional 4th ingredient) and takes about 10 minutes to make. It is a perfect treat to have your little one help make and eat!
Directions:
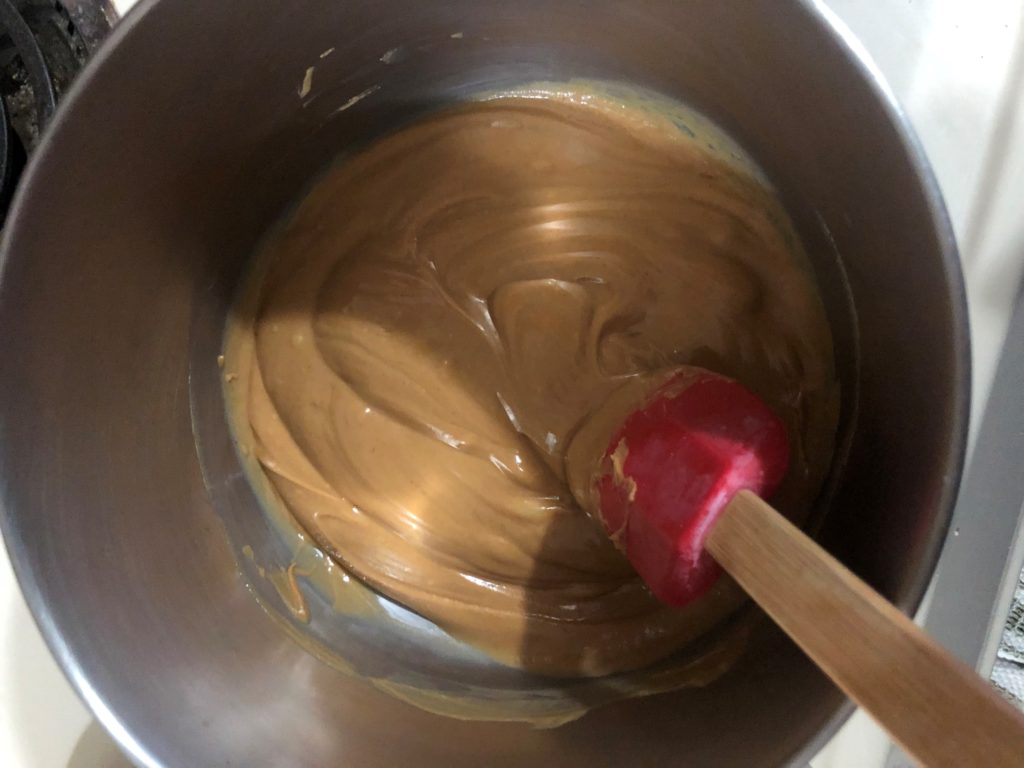
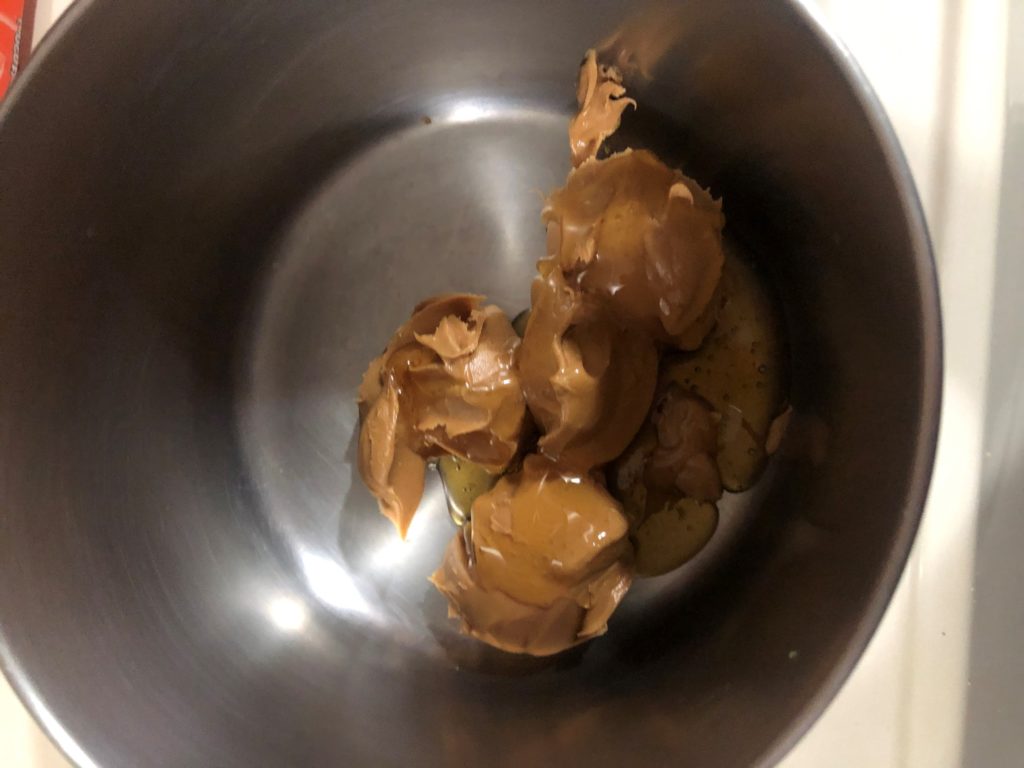
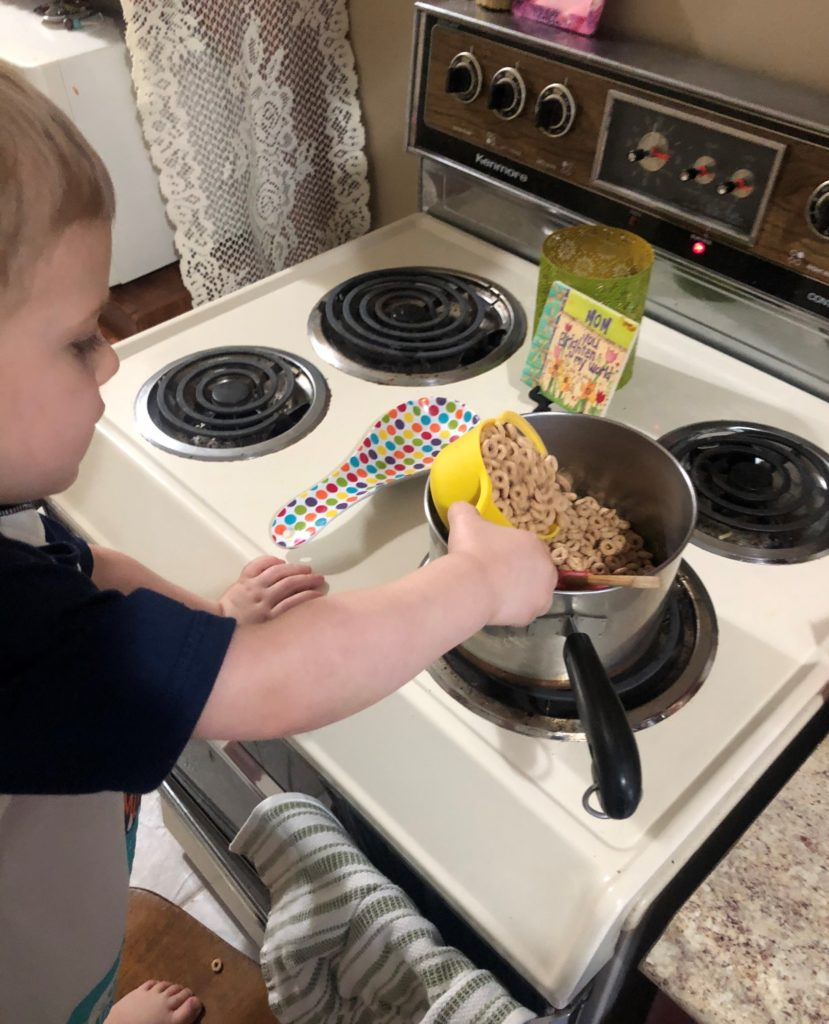
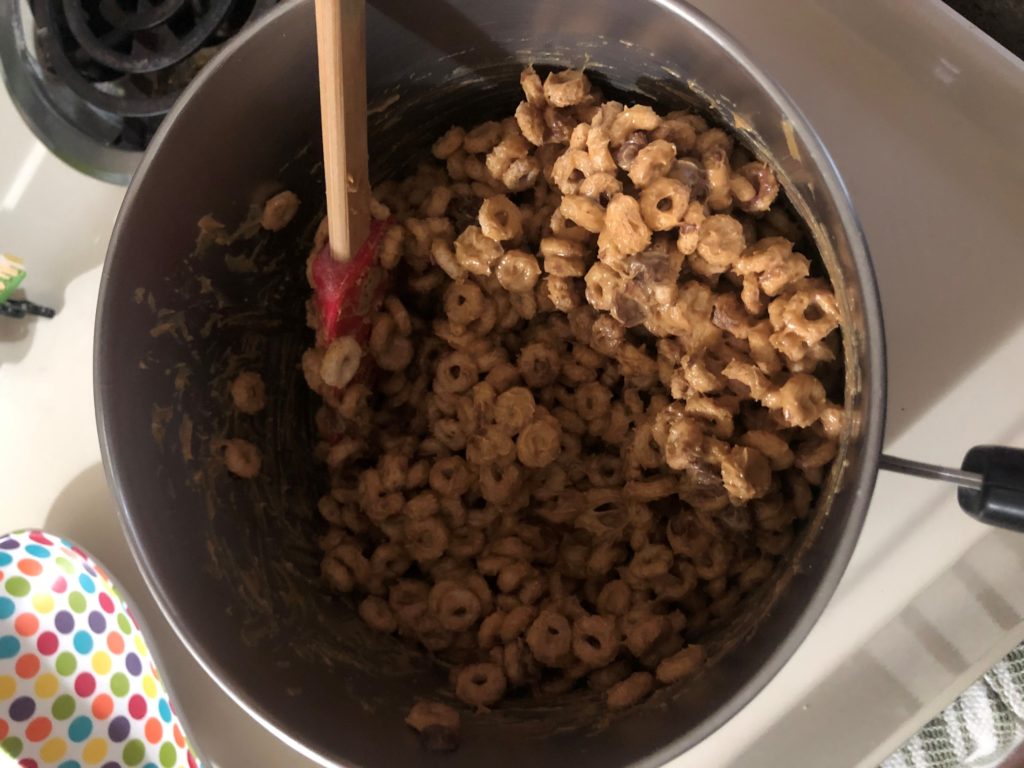
Step 1: Measure out all your ingredients. Involving your child in this step helps them develop their fine motor skills (pouring and scooping) and practice math principles (measuring)! Step 2: Pour the peanut butter and honey into a large pot on the stove (make sure it will be large enough to add the cheerios in later). Heat the mixture on medium-low heat, stirring constantly. If someone in your family has a nut allergy sun butter will also work great for this recipe! Step 3: Once melted and well mixed, incorporate the cheerios. I recommend spraying a spatula with a non-stick cooking spray before mixing the cheerios in. This will help prevent sticking to the spatula. If you are truly making this gluten free, make sure that your non-stick spray does not contain flour!
Step 4: Add in chocolate chips if you want them! We did!! Step 5: Pour the mixture into the 8X8 pan. I used two smaller pans. Use whatever you have too! If you are using parchment or wax paper lay this in the pan first. Press the mixture down with the sprayed spatula. Step 6: Refrigerate for at least an hour to harden. Once hard, remove the Cheerio snack from the pan and cut into squares or bars. Enjoy!! This wonderful snack is sure to please the whole family – even those who aren’t gluten free!
Vocabulary Words
Gluten: A protein found in wheat, barely and rye. Often associated with breads, cakes, cookies, pastas and other foods. Celiac Disease: An immune disorder where eating gluten causes damage to the small intestines. Small Intestine: Part of our digestive system that absorbs nutrients, including vitamins and minerals are absorbed into the body.
Night Night Buffalo: We sure do love our great city of Buffalo! This book takes us across the city to explore so much of what Buffalo has to offer! What is your favorite part of Buffalo? Our story is all about saying goodnight. What do you do as part of your bedtime routine? Do you think it is the same as your friends from school?
Celery stalks (keep the leaves on!) / Lettuce is a good alternative Spoon Knife Large clear cup(s) Measuring cup Water Food coloring (Darker colors tend to perform better, like blue or red) Patience
Length:
Set up → 5 minutes Actual experiment → 10 minutes Results → Wait at least 24 hours
Learning Goal Objective/s:
Children will measure the appropriate amount of water into their cup. Children will identify the colors of the rainbow as they select which colors they want their celery stick to absorb. Children will accurately count how many drops of food coloring they squeeze into their cup. Children will discuss their predictions and observations.
Academic Subject(s):
Science- This lesson supports: preschool to third grade Greetings!
This special “Sanity Saver” blog entry is based on the Living Lab project originally planned to be implemented with our visitors in Spring of 2020.
The Living Lab is a collaborative project between UB’s Early Childhood Research Center (ECRC) and Explore & More – The Ralph C. Wilson, Jr. Children’s Museum. The Living Lab is designed to bring child development research and knowledge directly to you through play-like experiments with your child! In each of the Living Lab sessions, UB graduate student researchers would engage your child in a brief and play-like experiment based on cutting-edge research. They would then explain to you the purpose of the experiment and why it is important. In addition, they would provide some fun activities and ideas for you to try at home to facilitate your child’s learning and development.
Since all in-person activities are on hold the ECRC and E&M partnered together to still be able to reach you in your living room! The UB student researchers have created fun and engaging activities based on their research experiments. We hope you will try them out.
As Explore & More’s community partner, ECRC also welcomes you to check out its online resources and activities for young children (ages 2-6) and their parents and caregivers: https://www.facebook.com/EarlyChildhoodResearchCenter.
What is Causal Explanatory Reasoning? A fundamental task for all humans is to explain why and how things happen. Causal explanatory reasoning, or the process of identifying cause and effect, allows children to grasp an understanding of the world around them. Causal knowledge allows children to create predictions, engage in efficacious interventions, and provide explanations to frequently asked questions about ways in which the world works.
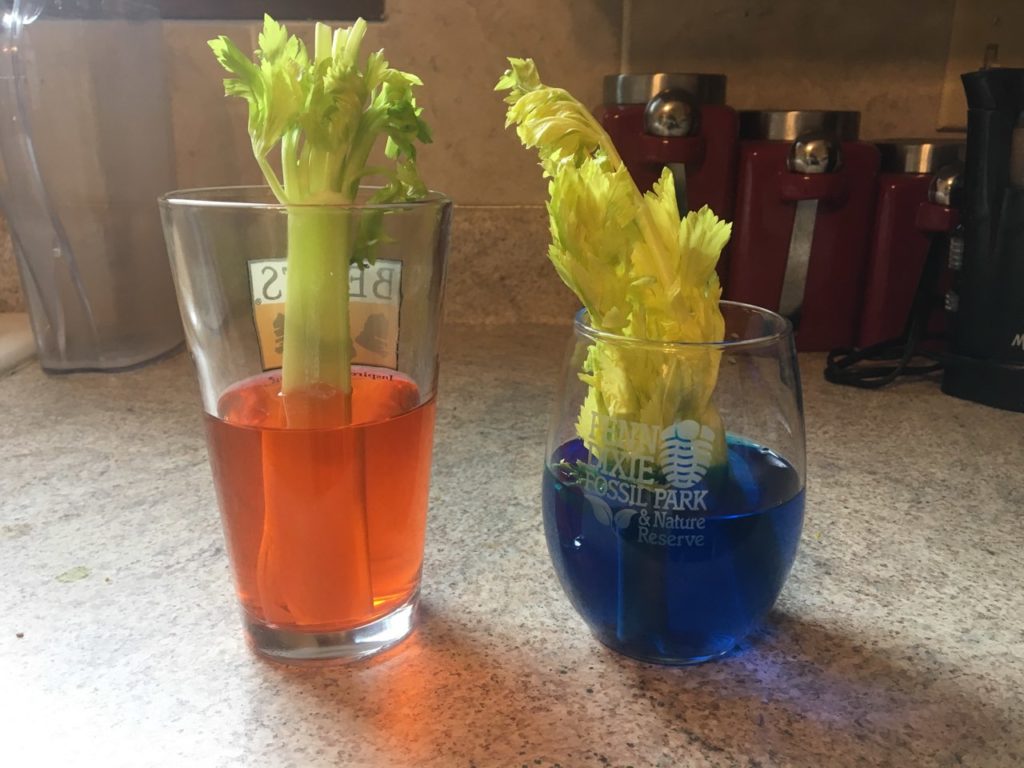
The Celery Experiment: This activity is an oldie, but a goodie! The color-changing-celery-stalk science experiment can help young learners better understand plant growth and how plants soak up their nutrients in order to survive and thrive. Aside from engaging in a fun and colorful activity, children will be able to visualize a cause and effect relationship as the experiment demonstrates and explains how plants absorb necessary nutrients. Caregivers may encourage their child(ren) to create predictions, share their observations, and provide their own conclusions as they carry out and discover this exciting representation of the exchanges that occur between plants and nutrients. Who knew something as simple as celery stalks could allow children to realize and appreciate how plants “eat and drink” in the real world?
Directions:
1. Caregiver-Preparation: Separate celery stalks and cut the white bottoms off of the stalk(s). Select a piece of celery that has the most leaves on the top, because a lot of the soaked up food coloring will show up in the leaves. Don’t hesitate to create this experiment with multiple cups of color-changing celery! It could be fun to see which colors from your food coloring selection will affect the celery stalks differently.
2. Introduce terms such as nutrients and absorption. To gain a better perspective of your child’s current understanding of plant-life, feel free to ask open-ended questions (such as: how do you think plants grow? Or what do you think plants need in order to survive and why?)
Explain that your child will be able to see how a plant soaks up nutrients through this colorful activity!
Also notify your child that once they complete the activity, they will have to wait one full day to see any results.
3. Ask your child(ren) to fill the cup(s) up using a measuring cup. Depending on the size of the large cup, measurements can vary. Use enough water to fill the cup halfway. Depending on the age and abilities of your child, you may need to provide hand-over-hand assistance
4. Tell your child(ren) to select and identify their desired food coloring color
5. Encourage your child to squeeze at least 10 drops of food coloring into the water cup. Depending on your child, you may want to guide him/her in either counting, squeezing the drops into the water, or both.
6. Stir water and food coloring mixture with a spoon.
7. Place one celery stalk into the cup
8. At this point, you can ask your child what predictions he/she is making. Example: What do you think is going to happen to the celery stick now that the water is a different color?
9. Activity is now complete! Wait at least a full day in order to see the results.
10. Put the experiment on display (on a windowsill) or in a safe place to prevent spills. Encourage your child to check in on the experiments to see if there will be any continuous changes to the celery sticks. In order to keep track of the experiment, your child can be encouraged to periodically draw their observations in a notebook.
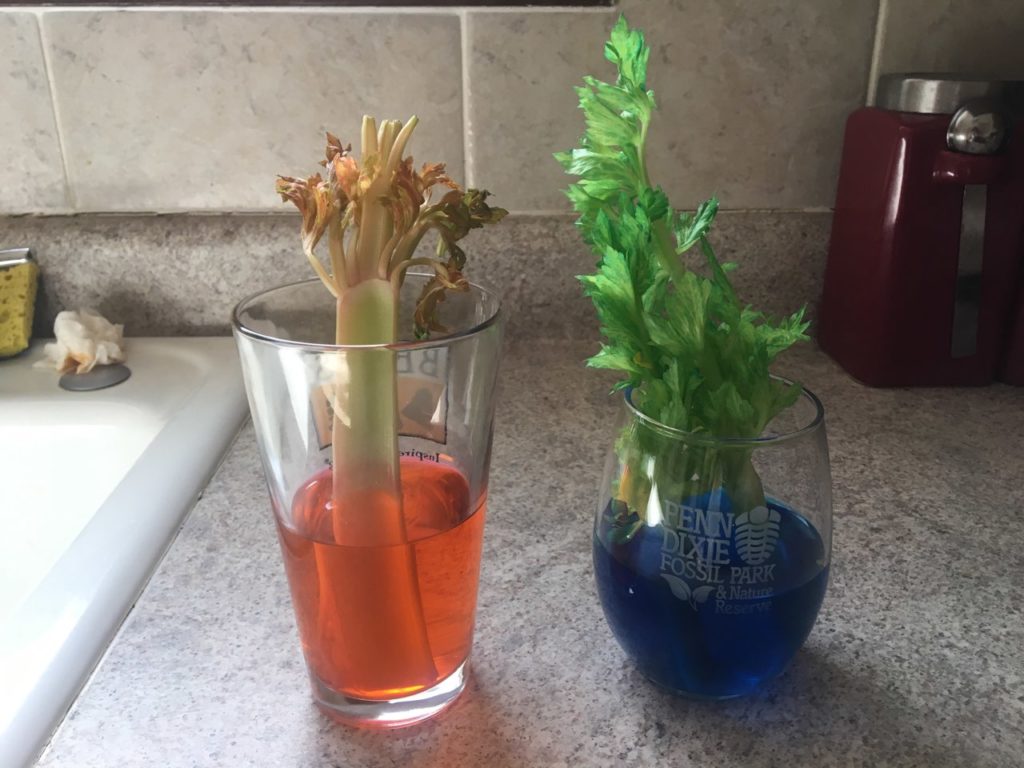
11. After about 24 hours, explore and discover what has happened to the celery stick and the water. Feel free to dissect the celery stick by breaking it in half, cutting it down the middle, and tearing the leaves apart.
12. Conclude the experiment by revisiting which observations have been stated and then ask your child about the experiment by using open-ended, “THINK” questions that require the child to think about possibilities, try out predication, etc.: What would happen if…? * How did…? * Why is…? * Why do you think…? (Example: Why did the water change color? What if you added more drops/different colors? How would it change your celery stick? How was the celery stick affected?).
13. Once you and your child(ren) have completed this experiment, relate the newfound knowledge to their natural surroundings. For example, next time you and your child are outside, try to find a flower/plant and recall the experiment to explain that plants in nature survive and grow by soaking up nutrients. For example, next time it rains, prompt a discussion about plant absorption and plant growth while revisiting your findings during the experiment.
Vocabulary Words:
Absorb: take in or soak up (energy or a liquid or other substance) by chemical or physical action. Nutrients: a substance that provides nourishment essential for growth and the maintenance of life. Growth:the process of increasing in physical size.
Thurman and Patti Thomas read The Lamington Man by Kel Richards and If You Give A Dog A Donut by Laura Numeroff
The Lamington Man:
This book is a great fit for our cooking galley and Farm to Fork play kitchen! At the Museum we often use stories to influence the cooking lessons we present in our educational studio.
Did this story remind you of any other books you have read? Perhaps the Gingerbread Man! Can you read both stories and compare how they are the same? How are they different?
Have you ever heard of Lamington? It is a delicious sponge cake coated in chocolate and coconut. This cake is one of the most iconic desserts in all of Australia. With your grown-up, look up a recipe for Lamington cake online. Maybe you can try to make it together in the future!
If You Give a Dog a Donut:
This is a circular story written by the same author as If You Give a Mouse a Cookie. One of the featured elements of this story is apples! Did you know that apples are the official state fruit of New York and they are prominently featured in the Farm to Fork play zone at the Museum. In our story today the main character creates a circular pattern, beginning and ending with giving a dog a donut. Can you work on creating a pattern at home? Maybe you can use colored objects found in your hours or fruits in your fridge. The possibilities are endless!
Do you think dogs really eat donuts? Probably not! But some dogs like healthy snacks just like you and me. Did you know that lots of dogs eat veggies as treats? Like carrots, lettuce and broccoli. Can you think of some healthy treats you like to eat?
For more storytime stories check out: https://exploreandmore.org/programs/storytime/
Air drying clay or salt dough clay (reciepe), paint, brushes
Length:
Build time: 5-10 minutes Dry time: A few days
Academic Subjects:
Art and Science
Directions for Archaelogical Pinch Pots:
May 10th marks the 141st anniversary of the American Archaelogical Society’s formation. An archaeologist is a person who studies the past by digging up artifacts. Today we are going to make our own artifacts with clay!
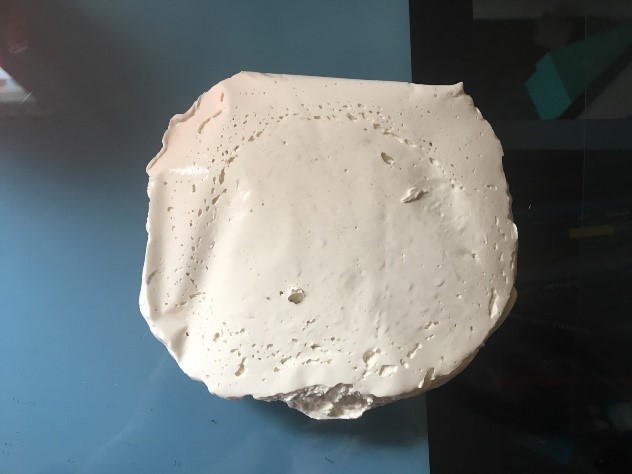
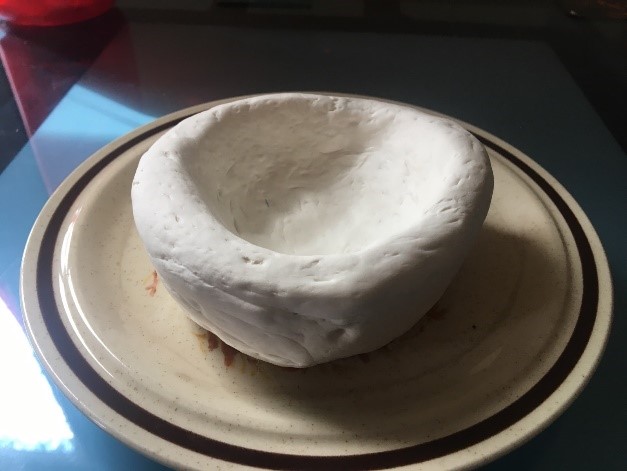
1.) Roll out your clay and then ball it up into one big ball.
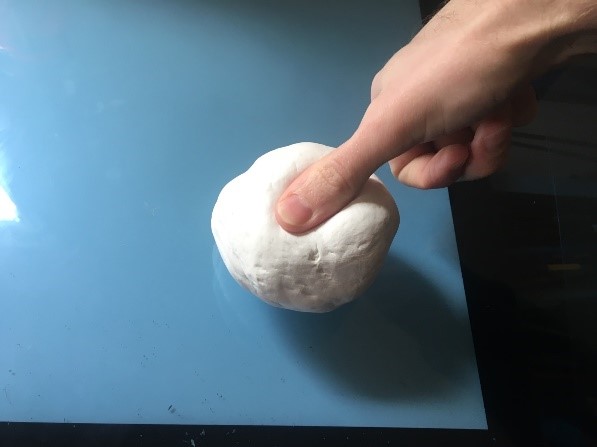
2.) Using your thumb push the center of the ball in. Push it in into you have a little floor.
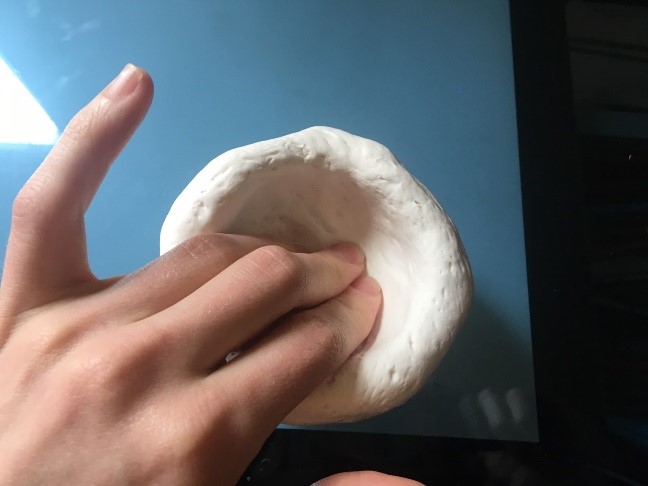
3.) Work your fingers around the hole and make it bigger.
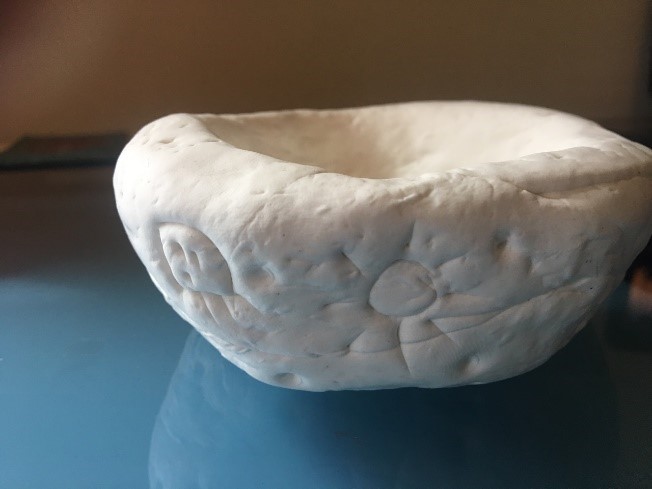
4.) Once you have a pot the size you want it, take a paintbrush or pencil and draw around the edges and inside the bowl.
5.) If using air dry clay, place it on a plate and let dry. It may take a day or two to completely dry.